The winner of the procrastination contest is ... Dave!
OK, before I can tell you about today's WONDERFUL events, you have to get up-to-date on something that happened back in the autumn of 2003. This page (from October 2003) on the Studio Construction section of the site will do that ... I'll wait here while you go read it ... :-)
The duct didn't work. As I wrote on a subsequent page back then: "The air duct was not so successful; it did pull a stream of air from the warm attic, but 12 meters is a _long_ way, and very little of the warmth made it to the bottom of the pipe. And what was worse, because the lower room was so cold, any moisture in that warmish air instantly condensed at the mouth of the pipe, and the room became damp. Cold is OK ... cold and damp is unbearable. So it stayed off. Perhaps in the future, once this room is properly insulated, thus negating the large temperature differential, it will be possible to move the air around without the condensation problem ... we'll have to wait and see."
Did you notice that phrase 'perhaps in the future'? Well, the future is here!
The basic reason for the failure of the original project had been the weakness of the fan that I had used. I should perhaps have searched for a stronger one, but the additional problem with the condensation - not to mention the lack of insulation in the lower room - combined to kind of kill my enthusiasm for it, and I just didn't bother.
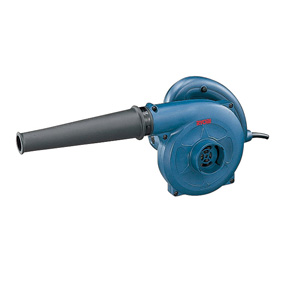
But now that we have done most of the insulation, I have started to think about giving this another try, and hunted around for a reasonably priced strong fan. A chance comment by Sadako the other day, when she mentioned that she had been having trouble with a little leaf blower she was using in her garden, led me to search the 'net for other such products, and I found this on a Yahoo auction listing - a Ryobi 'blower':
It at first looked like nothing more than a little toy, but the specs said that it could move 3.5 cubic meters a minute (a lot of air!), with a pressure of over 5.5 kiloPascals (also pretty impressive). And it was cheap.
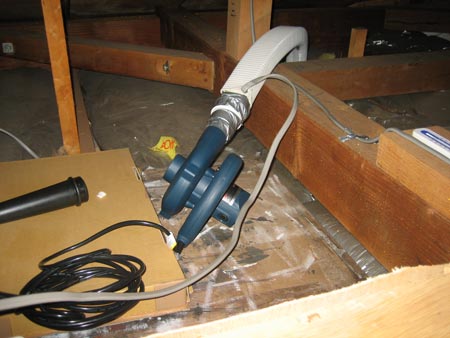
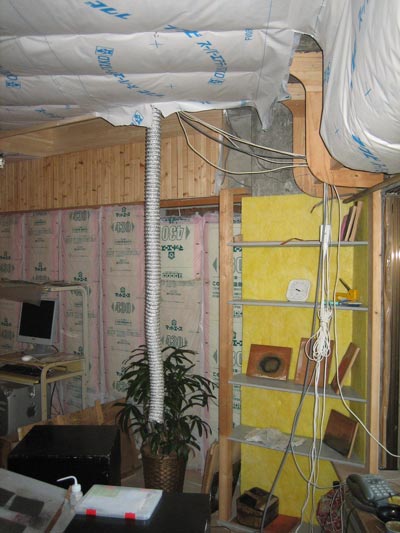
I put in a bid, won it, and it arrived yesterday afternoon. Today - a moderately clear day with quite a bit of haze in the sky - I took it upstairs, opened up the wall for access to the attic, and put it in place at the top of the long duct (replacing the earlier weak fan).
The attic was not actually all that hot today, just low 20s (although as we will see a bit later, this is not the most accurate thermometer in town!) On a day of full sunshine - in mid-winter - I've seen this thermometer pushing close to the 40 mark.
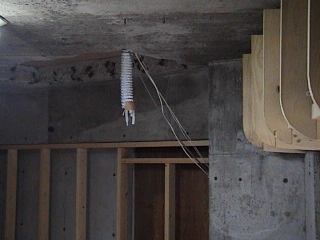
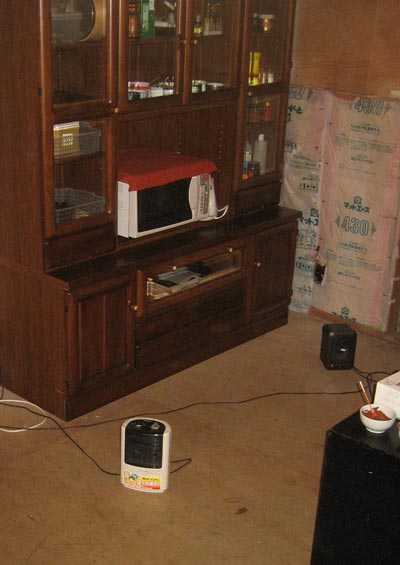
Here's one of the photos from that old web page, showing the outlet of the duct down in the (then un-insulated) workshop:
And here we are, ready for today's test:
When I built the duct all those years ago, I wired it with a two-way switch, one at the top of the stairs, and one down here in the workshop. I now switched it on for the first time in eight years, and was rewarded immediately by a very strong stream of air coming out of the opening. This was of course cold (just as when you turn on the sink tap and hot water has to come from the tank ...), but a few seconds later it felt a bit warmer, and over the course of the next few minutes heated up dramatically.
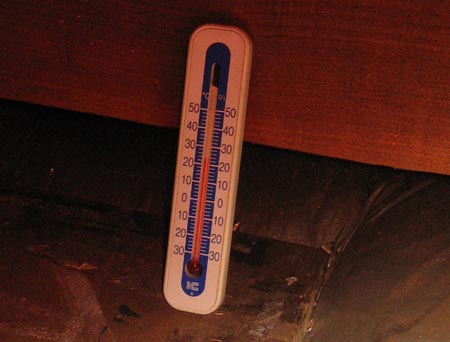
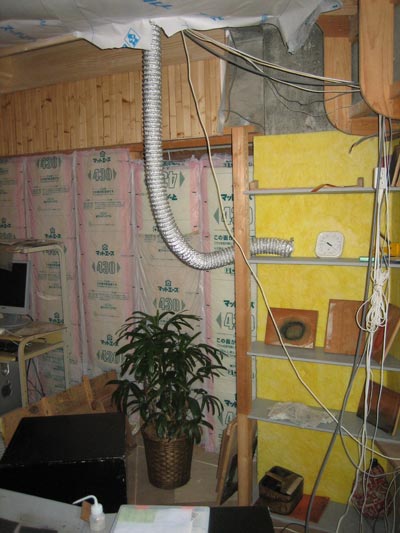
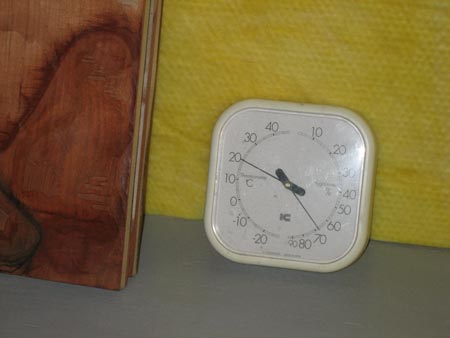
I twisted the duct to point towards the room thermometer, to give me some idea of the temperature of the air coming through:
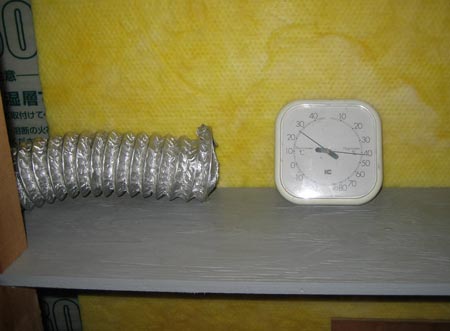
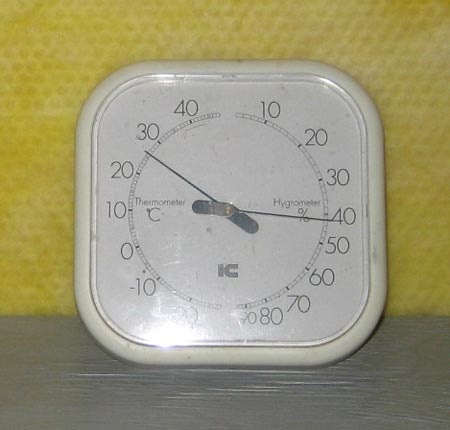
Look at that! Can you read it?
26 degrees, and a low humidity! Success!
And this is on a semi-overcast day! What will it be capable of on a really sunny day?!
I'm very much looking forward to seeing how this is going to work in practice. I have no idea how early in the mornings we will be able to turn it on. This test was happening in early afternoon just after I had my lunch. That'll be fine for getting the room warmed up for the afternoon/evening work, but it would be nice to be able to use this during our morning 'shift' too.
Another question is how long it might take for the fan to 'exhaust' the heat from the attic and start blowing cold air down the duct. My guess - after running this for over an hour today and finding that the thermometer upstairs hadn't changed at all when I went up there to check - is that the attic can supply far more than we can draw ...
Eight years ...
Do I win the procrastination prize? Or - now that I think about it - I guess I'm disqualified from membership in the procrastinator's club; after all, this is finally up and running!
After a weekend of printing the story sheets (on my Epson laser), and the backboards (on a large Epson inkjet), we're ready to get packing and shipping.
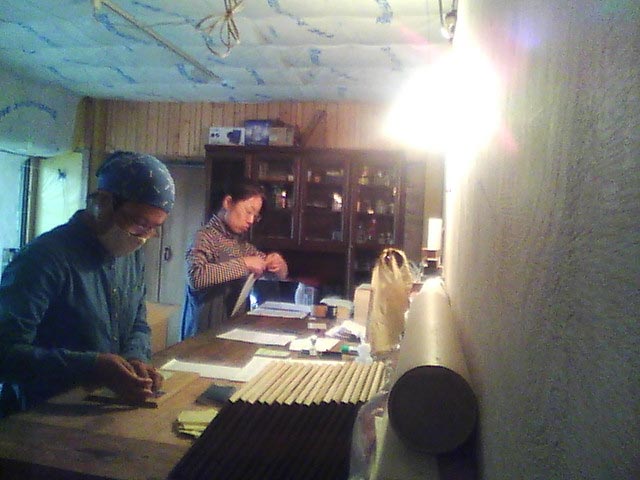
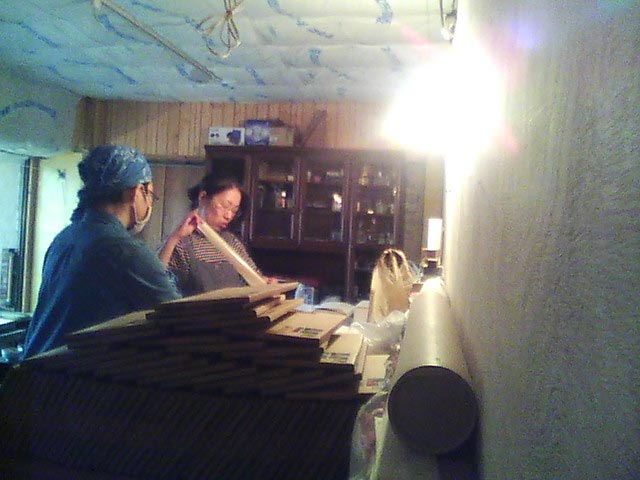
I say 'we', but I mean they! Printer trainees Tsushima-san and Ishigami-san set aside their barens today (and will again tomorrow) for a packing day. In recent months, I have been doing this job by myself, but that doesn't really make much sense, I think.
So although the three of us spent the day in the workshop together today, I kept to my carving bench, where I finished up the key block for the new year print, and the two ladies set up the large table on the back wall and started wrapping. I used my new 'time lapse' camera to capture their day, and here are a few scenes it caught.
They worked from left to right, Tsushima-san preparing the print and paperwork, then passing it to Ishigami-san for wrapping and labelling:
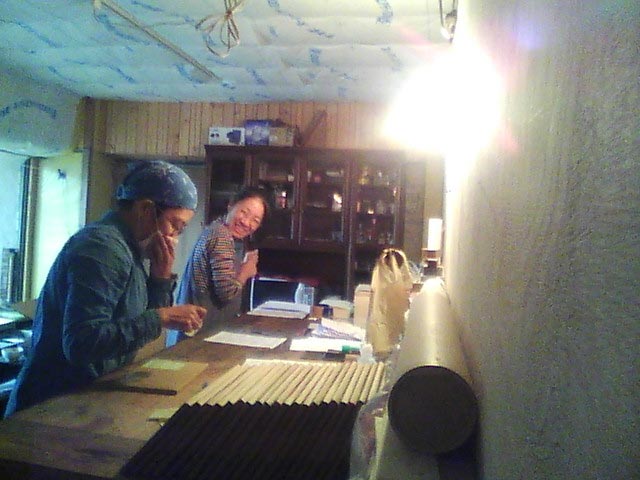
Seems like they were having fun ... at least at first!
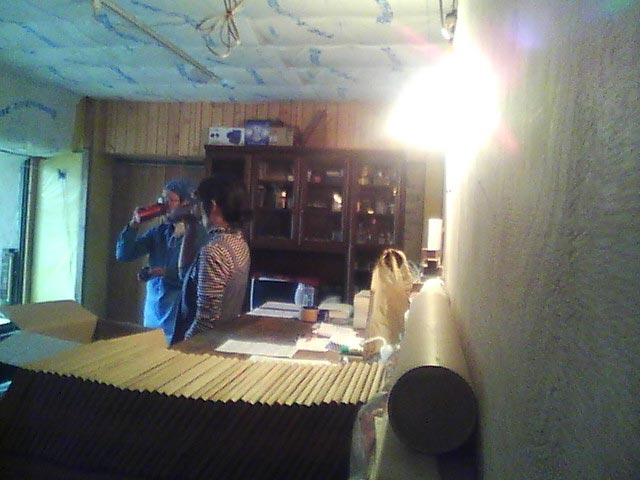
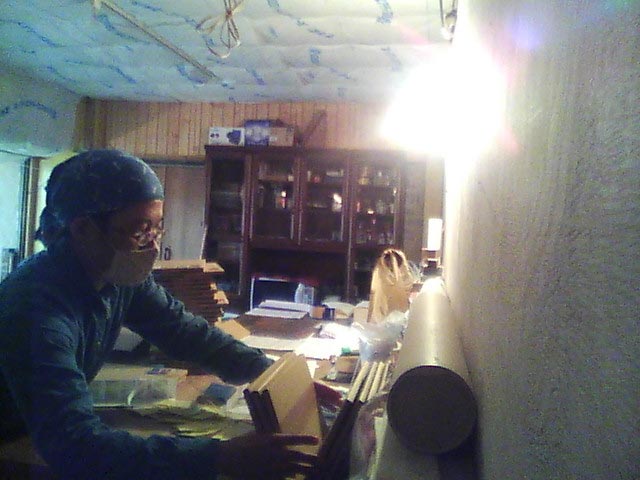
I'm out of view of the camera, in my alcove over by the windows. But at one point, the doorbell rang from upstairs ... I had to head up to accept a delivery:
While the cat's away ...
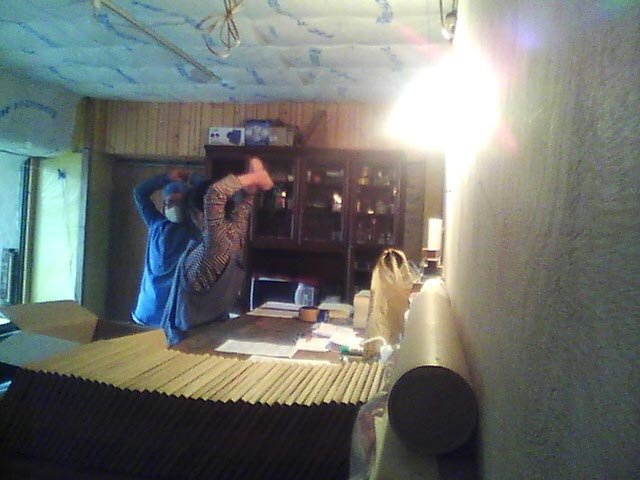
... the mice will stretch!
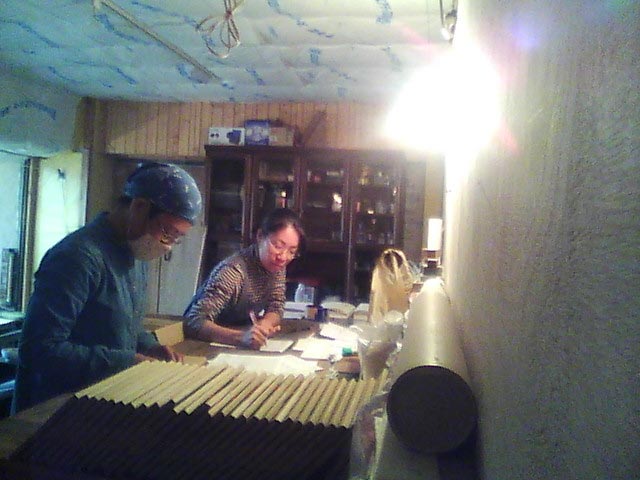
They kept at it right through the morning, building up quite a pile of print packages:
The stack got to be a bit too high, so Ishigami-san packed them all into boxes, and cleared off the table ...
... which soon started to fill up again.
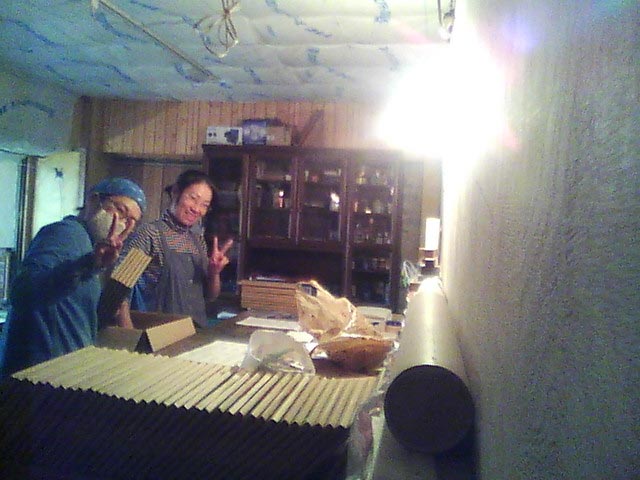
They both have to head off fairly early in the afternoon to pick up kids from the daycare center, so they called it a day after finishing the overseas batch (which I then took to the post office). Tomorrow the domestic collectors will get their turn ...
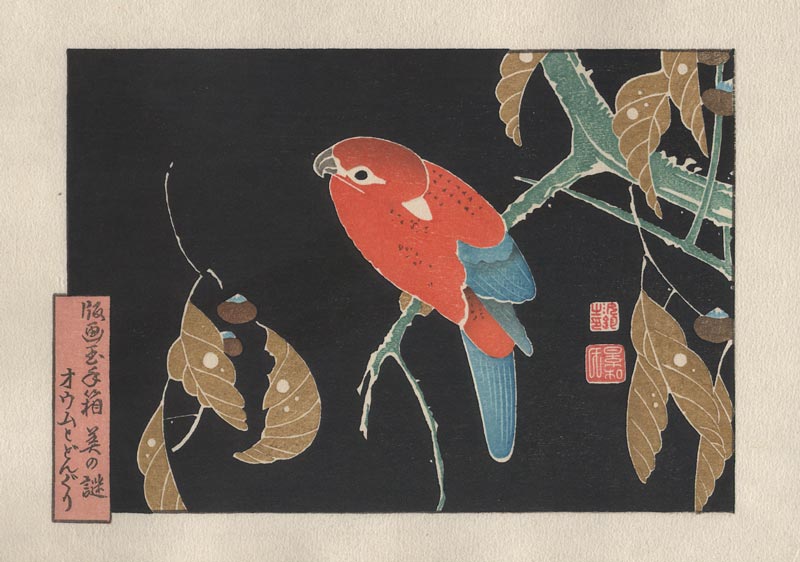
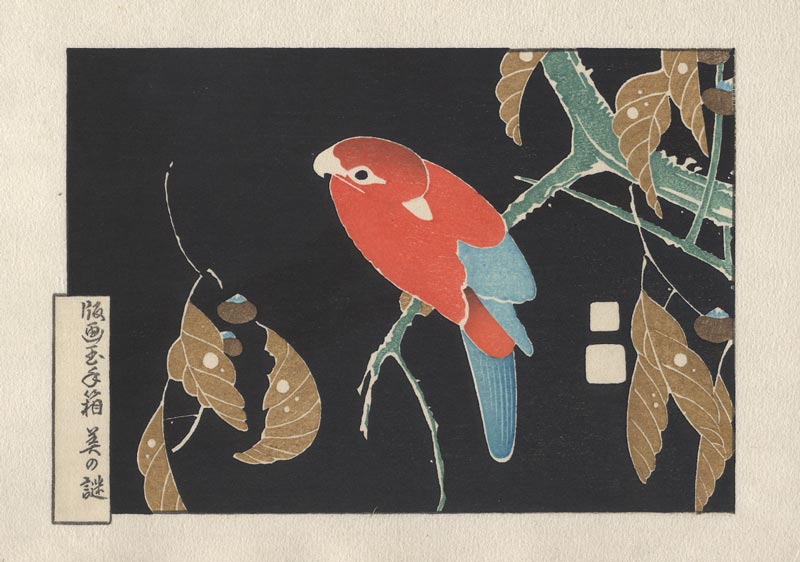
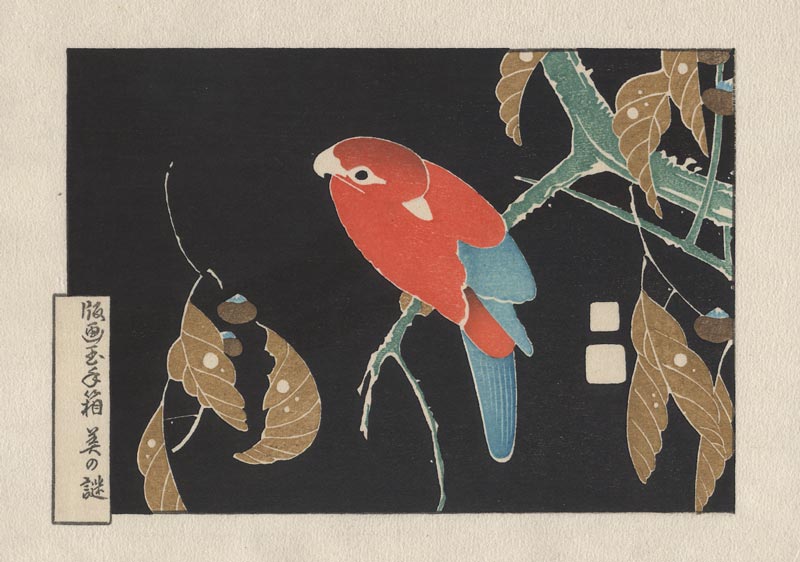
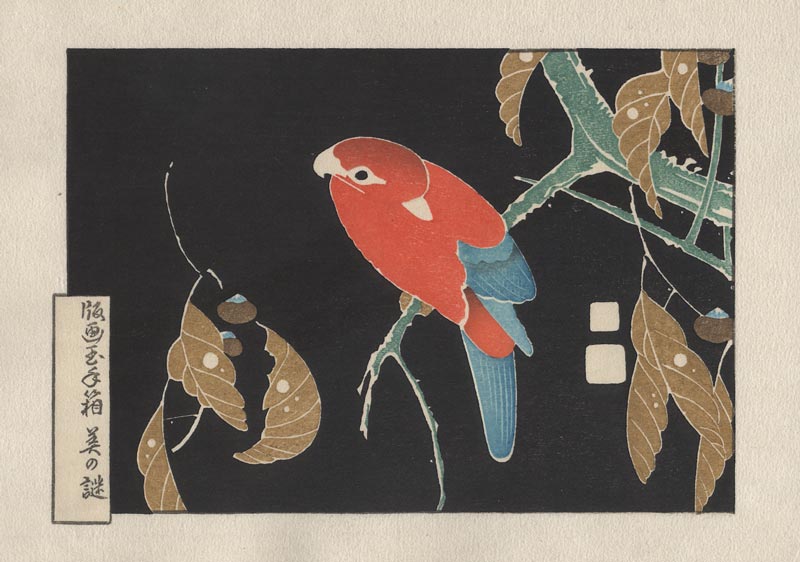
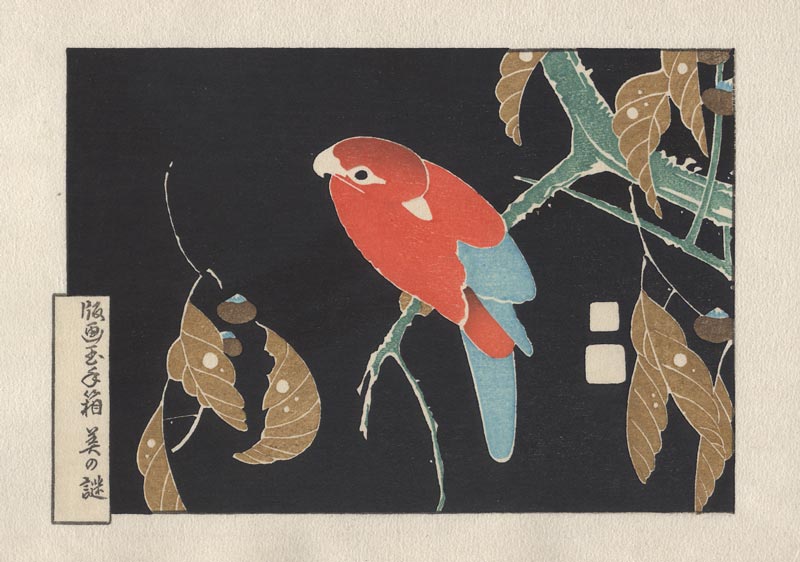
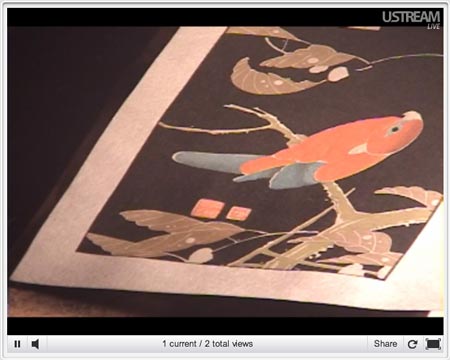
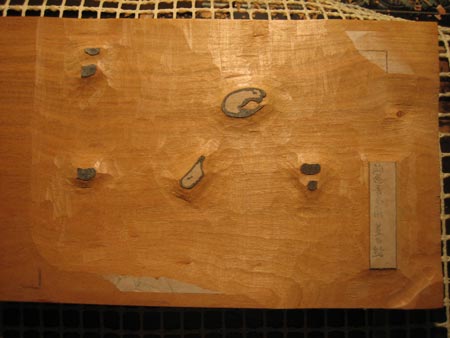
Here's the final bit of actual colour on the print - the cartouche box gets its usual touch of pink (slightly toned this time, as it was also 'hit' by the original beta block):
With the colour in that box now done, the title can go in. The series title was done back at the beginning, along with the outlines, but each print in the set of course has its own title block:
This next one may not be visible on these scans. It is a small-scale embossing block which adds feather shapes to the body of the bird. It'll certainly be visible to the collectors looking at the real thing!
And of course, the final stage of all these prints in the Mystique series is the patterned embossing around the edge of the paper:
So there she is. After a few days of deskwork, I'll get another batch of 100+ sheets moistened, and start all over again!
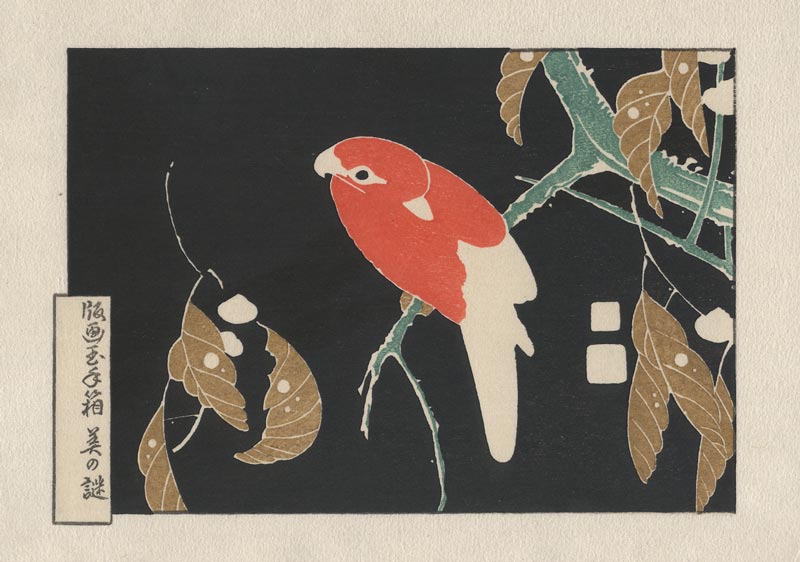
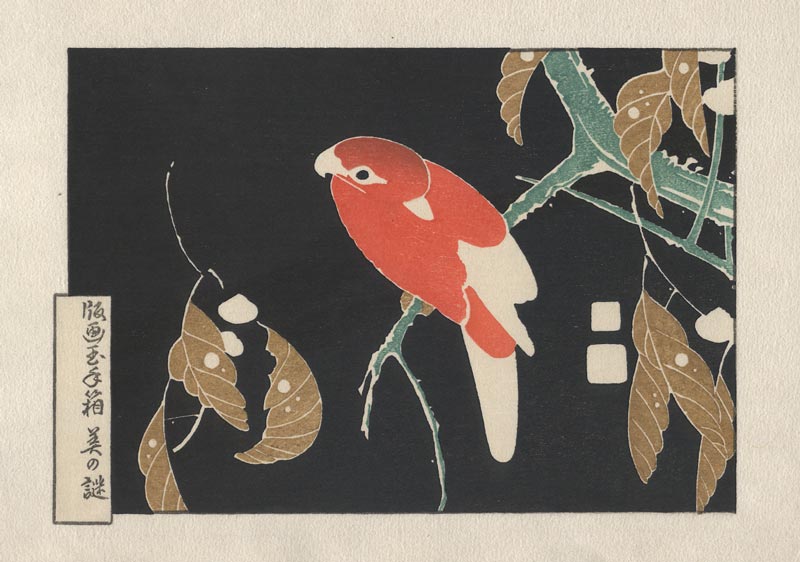
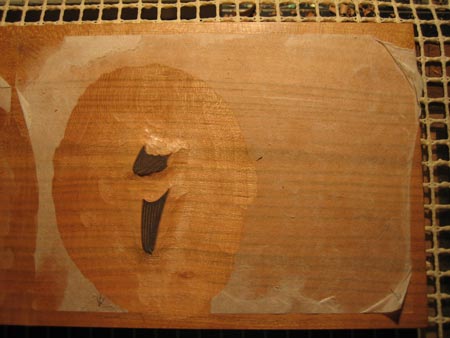
This one was also quick and easy, but adds a lot to the image - it's a darkish grey, giving the shape to the beak and adding some random spots to the body:
Next was the final gradation on the tail sections, giving us the full 'layering' effect:
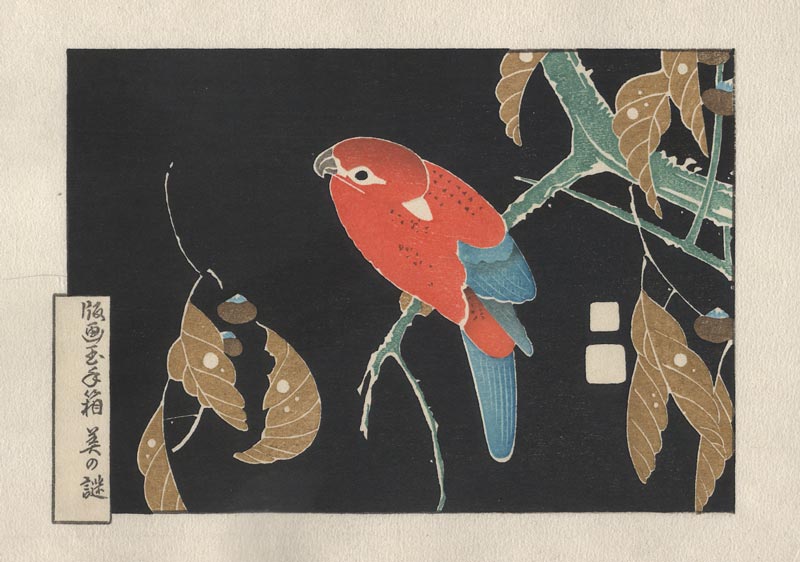
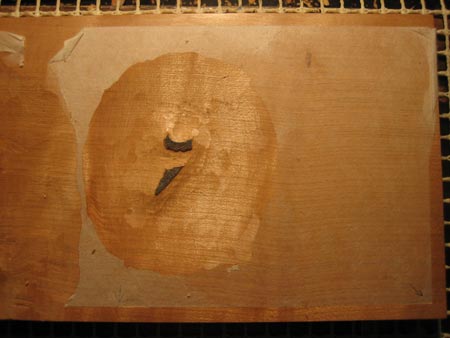
And ... a splash of red for the two seals:
We're within striking distance now, and unless there are any interruptions or distractions, she should be finished tomorrow.
Play time ... clouds float, what else can they do?
A month or so ago, a small package arrived here at the Seseragi Studio. Inside was a new toy - the Recolo IR5 Interval Recorder.
So what's that?
Well, what better way to explain than to show!
Yes, it's a time lapse view of the sky as seen from one of the upstairs windows!
What you see in the 1 minute 38 second long video took place in a two hour span in real time. I bet you can't watch this one just once! Nothing much seems to be happening at first, but watch over on the right hand side, as some small black clouds enter the scene ... And then, all while this 'invasion' going on, the upper clouds just keep flowing in their original direction ...
There are a few more of these over on my YouTube Channel. I'll upload more as and when nature co-operates with something interesting!
Here's the first of the overprintings on the bird's tail. This is a separate block, one that is cut with some striations to add a kind of 'feather' texture:
This next impression doesn't make much sense by itself - it just adds a bit of depth to the upper part of the tail; testing showed that this was too light ...
The next overprinting - with yet another block - adds some shadow and more feathery texture:
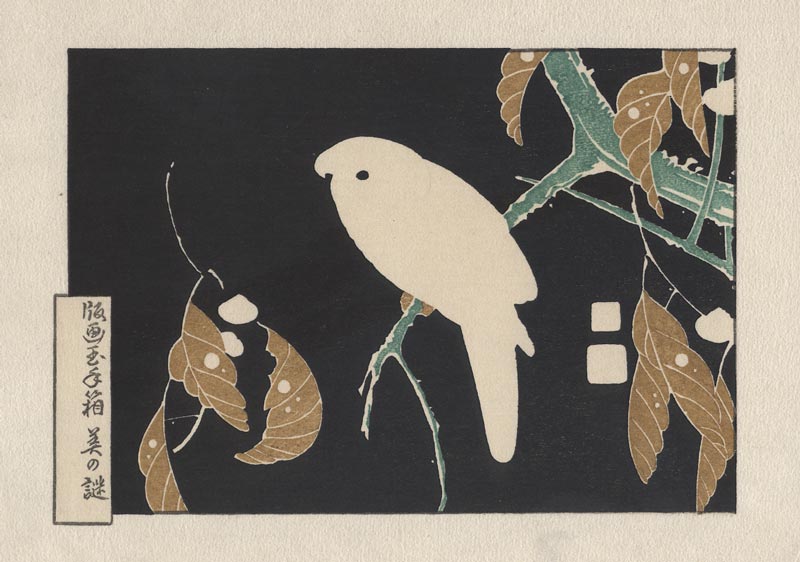
This leaves us with - I think - six or seven still to go. You can see some of the white places that are obviously not filled in yet ...
Yet another three impressions today - managing to keep this thing on schedule so far ...
Yesterday saw the vermillion base tone for the bird, and today sees the base for the tail areas - three patches which will receive four overprintings later:
(A little highlight for each of the acorns also came along for the ride on that block ...)
This next one is 'blink and you'll miss it' type of impression. Can you find it?
And the final impression of the day was an easy one - the tone for the 'body' of the acorns:
Squeezed in three impressions today - as they get smaller in area, the brushout goes quite a bit faster, so the work moves along quite quickly. All three of these are in a similar area of the print ...
First this morning was the vermillion base tone for the bird:
Then some shading over the head area. Note that this is a separate block - I don't want the shading to extend into the body area:
And then a quirky little one. This could have been carved together with the main body, but doing it separately like this means that we will be able to add a gradation later:
Tomorrow should be another full day of work, but I may then have to take a break and bung this into the freezer for a few days, while I get some new blocks ready for the trainees ...
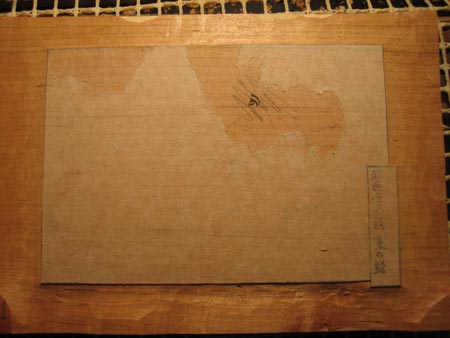
Just one impression today, although it was actually 'two', as it was printed twice on the same block:
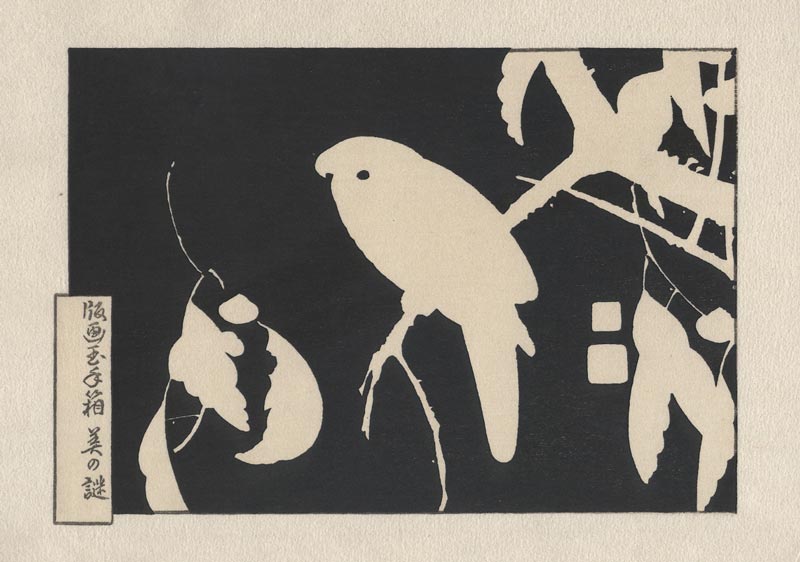
The background on this one is going to act as the 'key' block - everything else to come will now (hopefully) fit into its proper place in the open areas.
It wasn't an easy impression - the problem is to find a balance between pressing the paper very firmly, to get a good deep black, and yet not press it so hard that it smears over the edges of the lines. We'll see in the upcoming steps just how critical this is on this particular design. It's not at all clear at this point that it will be completely successful.
And you thought it would never happen ... Printing on Mystique #17 is finally under way!
First impression looks simple, but was actually a bit 'touchy':
It's a plain 'beta' impression - mostly for the purpose of killing the overly rough surface of the paper, but partly also for adding a base tone to the sheet. I sometimes do this flattening job with a small etching press I have here, but this time I couldn't do it that way - I didn't want to lose the fluffyness of the surrounding border, and I also didn't want to alter the paper in the (here unseen) other section of the sheet ... the place where print #18 will be printed later.
I said it was 'touchy' because for this print I am going to have to be very careful not to induce any paper distortion at any stage. We will see why a bit later ... Printing a wide beta like this - with very firm pressure to get it smooth and even - sometimes causes the paper to stretch and twist a bit if you are a bit rough with the baren pressure ...
Once the paper has settled and relaxed after that 'exercise', I put the border outlines on:
Coming up next, the most difficult impression - and the one that will 'make or break' each sheet ...
After all the postings about such things as insulation and assistants, perhaps we've all forgotten just what this is all about ... yes, time for some printmaking!
Mystique #16 shipped exactly on schedule on September 15th. I knew that the next one would be late, because of the interruption caused by the 10 day trip to Canada to see my family, but I didn't know that it would get this far off! What got in the way was the necessity of getting a stack of Gift Prints ready. Back last spring I had planned to get those all printed and set aside quite early this year, but with all the extra projects going on over on the Mokuhankan side of my affairs this year, it just wasn't possible. So there went another couple of weeks.
And of course, having two printer trainees here has eaten up enormous amounts of time ... not to mention the 'week off' I just had while busy with the construction progress on the workroom ...
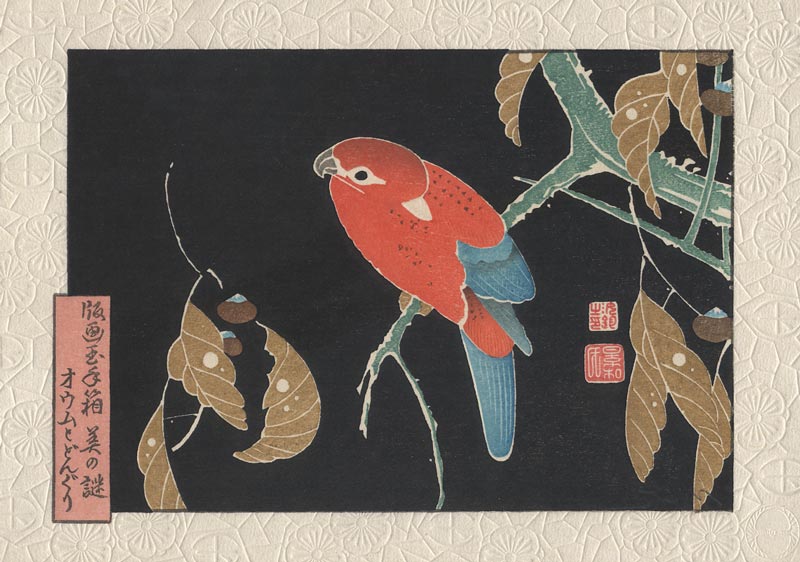
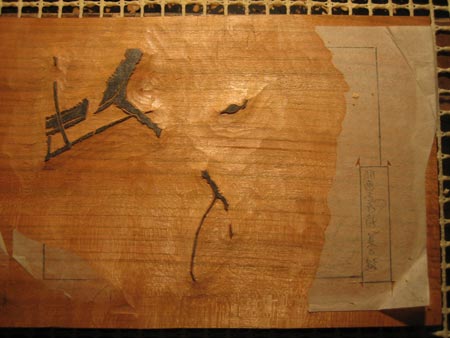
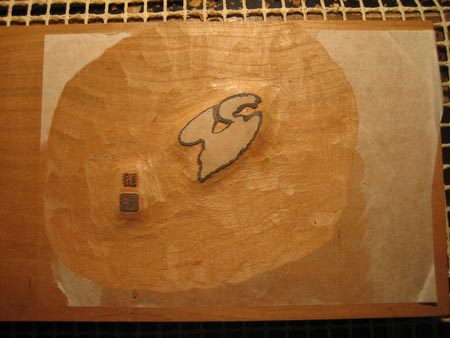
But over the past few days I have tried to get the ship back on course, and can now report that eight of the ten blocks for the next Mystique print are now done. Here's a quick rundown of what they look like - roughly snapped at the workbench this evening:
Can you 'assemble' the image in your mind?
There are two more to go, but they will have to wait a couple of days. Calligrapher Tauchi-san is currently drawing up the title, and as for the block that will be the background area, I can't carve that until I have done a proof run of these first eight ... That'll begin I guess tomorrow ...
While I have your attention, here's an interesting little update on the construction progress ...
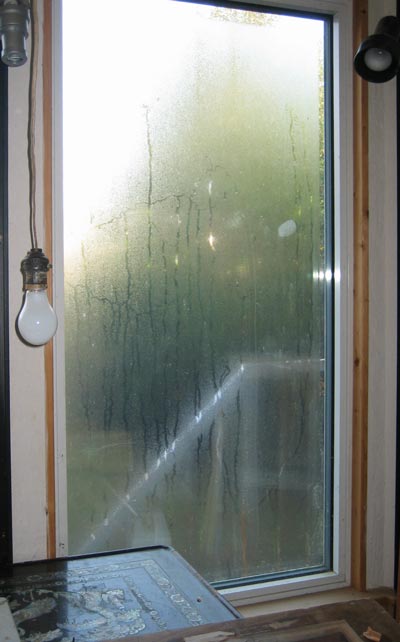
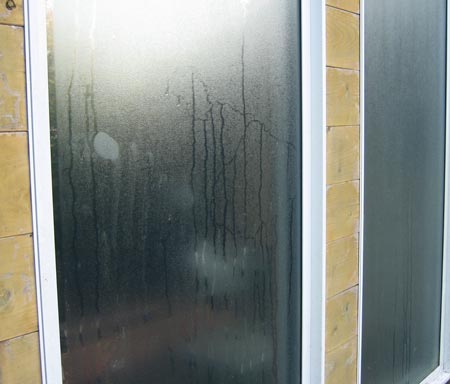
Here's a snapshot of one of the workshop front windows taken this morning when I came down to work:
Look at all that condensation! Oops! Houston, do we have a problem?
Nope. Let's look closer. Do you see any drips running off the bottom of the window?
None at all. Why?
Because the condensation is on the outside!
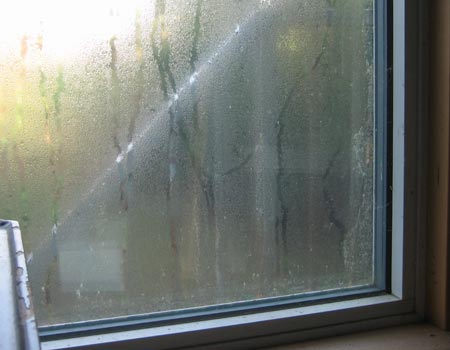
This is interesting. Moist morning air condenses on cold surfaces. And the insulation rating of these windows - which are triple glass, argon filled - is so high that even with the room inside now warmed up, the outer surface of the glass stays completely cold.
Over the next hour or so, the moisture gradually evaporated, leaving the view clear ... and the room inside warm and dry ...
Now that most of the bare wall areas have received their cover of insulation, it's time for the first test! As today was bright and sunny, I had the windows and door open most of the day, but when I headed down to the workshop in the evening, it was a different story. The outside temperature had plunged, and the room had become very chilly!
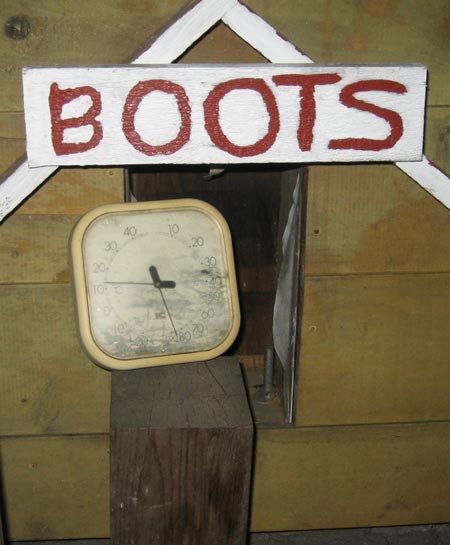
Here's a snapshot of the thermometer that sits just outside (since Boots-chan left us a year ago, her cat door has been unused ...) It shows just about 13 degrees ...
Here's the little heater that I used for tonight's test:
It's a little unit meant to be placed in a bathroom, to keep the chill off. It puts out 500W ... In this room, it looks ridiculously small!
The final large uninsulated surfaces got their turn this afternoon, and the printing alcove is now all covered in. Here's a quick shot taken (from outside) this evening, just before the final sheet went into place. The braces to hold some of the stringers while the glue sets are still in place ...
... and then after everything was covered, and the braces removed:
I'll be back to work on printmaking from tomorrow ...
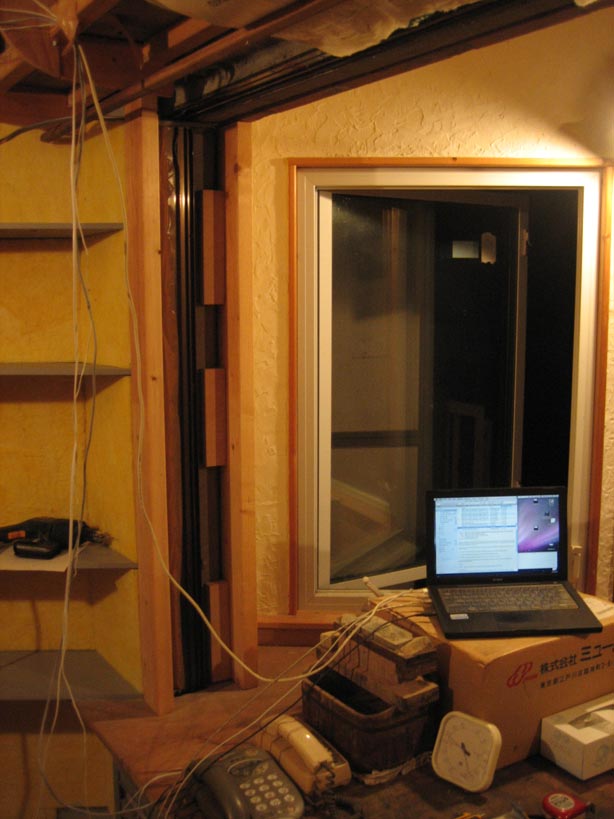
As you have seen in some of the recent snapshots, there is quite a rat's nest of cables terminating in this area, and I suspect it won't be too long before I get a bit frustrated and get to work on getting them under cover. All the wiring will be fed through a cable run starting under the top step of the staircase, and coming out into this vertical space at the side of the alcove. This will be covered with an openable 'face plate', which will have a number of connectors mounted on it: a pair of power plugs, an ethernet jack, the telephone connection, audio (out), and a plug for the intercom from the front door upstairs.
And finally, did you notice in the above photos the place in the alcove where there is a particularly heavy and strong plate mounted on the concrete wall?
This is exactly over my head as I sit there working ... Any guesses?
A full day of construction work today, continued from last night. Here's the printing alcove, with the normal gear all cleaned out of the way, and a long brace visible ...
It's holding up a long stringer that is being glued into place on the ceiling. (This is the area that was originally outside. Before I took out the doors and built this alcove this was the balcony.)
Sheets of insulated board will be glued onto these concrete faces, with a vapor sheet to cover, then light slats being tacked on top.
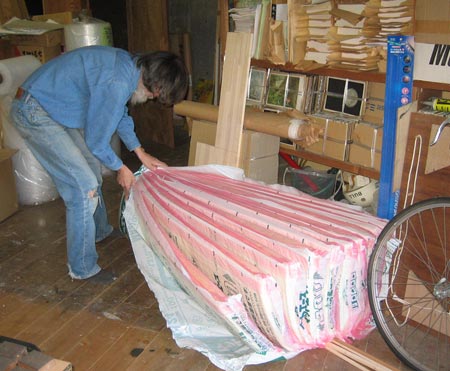
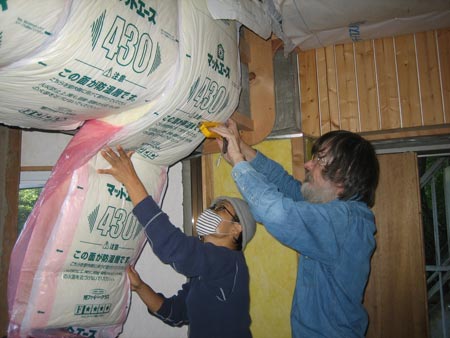
The main job today though, was to get as much of the main insulating done as possible. I cracked open a new package of fiberglass:
... and Ishigami-san and I began to staple it in place between the joists:
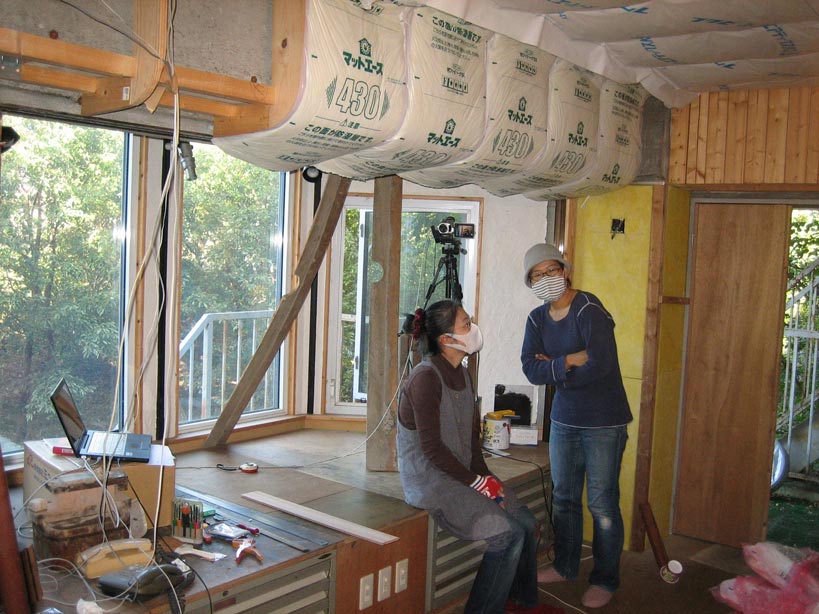
You can now perhaps see how the ceiling is going to look - light slats running the length of the room will be tacked up, and will curve down and around this concrete beam:
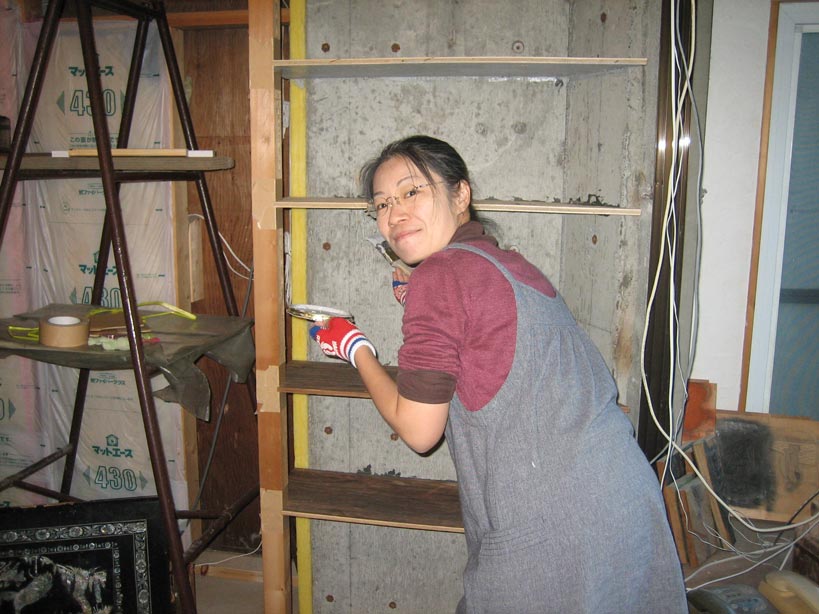
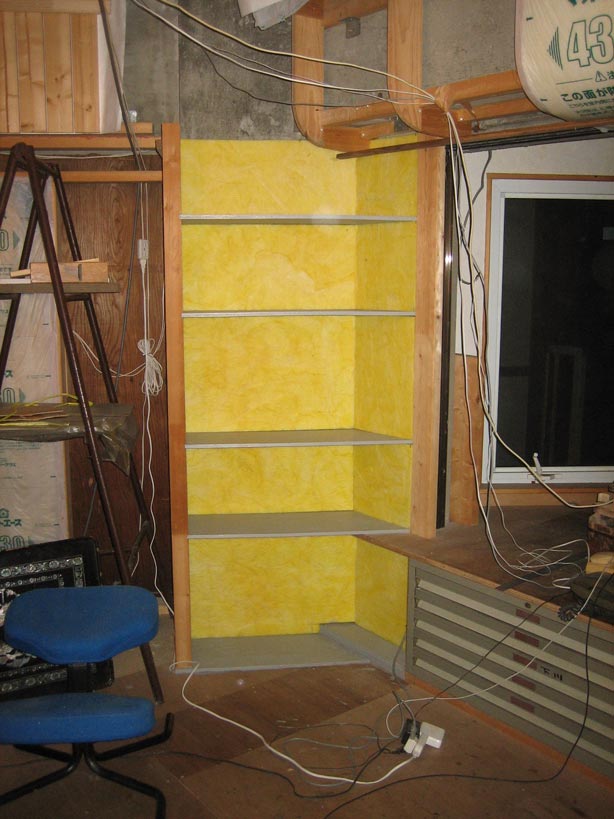
While the two of us were working on that, Tsushima-san was busy painting some new shelves that I put in place the other day:
With insulation panels measured, cut, and in place against the concrete, it looks much neater:
I think one more day should get us there. 'There' meaning having the room well enough insulated that we can work through the winter at a temperature that the ladies can manage ...