
June 6, 2006
A full month since the last update! Haven't I done any work on this scroll project in that time? Of course I have ... the reason for the infrequent updates is that the work now is very much the same each day, and there isn't much point in repeating the same images time and again ...
But as I haven't shown much of the carving work, it's certainly time to show you what sort of work is going on, so the other day before I started carving, I set the webcam software to 'archive' mode, and collected a set of images from a three-hour session during which I carved - start to finish - one of the blocks that will be used for printing the background colour of this print. I'm still not sure just how many blocks will be necessary for that area of the image, but there will definitely be one that prints a clean 'flat' colour in that area, and that is the block being carved here ...
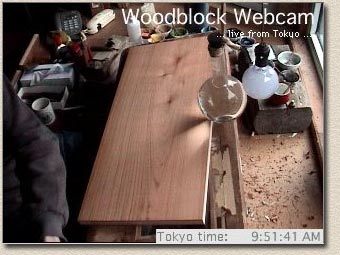
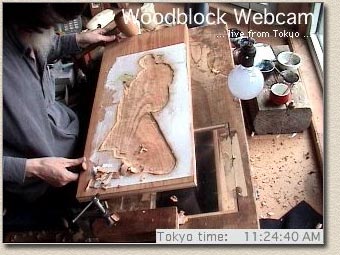
Here's the block, face down on the bench, ready to begin. Face down?
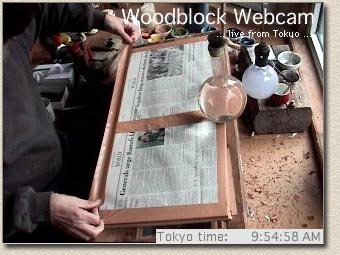
Face down, because before I start carving on the top side, I want to protect the bottom face from getting scratched. As you will see below, there is a bunch of hammering going on, and the back of the wood would get severely marked up without protection. Nothing special ... just some newspaper taped around the edges, to stop little chips of wood from getting under there and causing trouble.
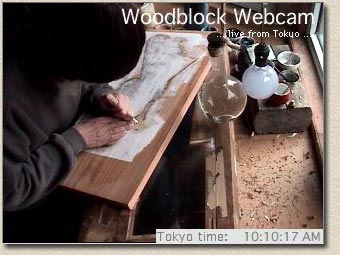
Flip it over, ready to start ... Before I start actually cutting, I am smearing a bit of oil (camellia oil) over some of the lines. This of course makes the paper more transparent and lets me see more clearly where to carve. It also seems to help the cutting action a bit too ...

And away we go ... The carving breaks down into three main stages. The first is to use the hangi-to - the main carving knife - to incise all the lines. This is a colour block, so there are no 'lines' as such, but just wide areas from which the colour will be printed. So cutting simply involves going around the edge of the colour areas.
This block is a bit 'backwards' from most blocks; for a block to print the kimono, for example, the area left behind after carving would look like a kimono-shaped island, but because this is a block to print the background area, I am going to simply remove everything in the center, rather than from around the edges ...
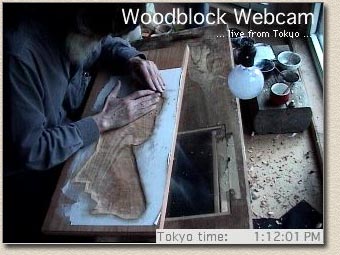
Once that is all done - I see by the timestamp that it took me around an hour - I change to the maru-nomi (U-gouge), for clearing work. I start by using this gouge to cut a channel all the way around the edge of the area of wood to be retained. This allows me to be more vigorous with the mallet during the next stage, as the boundary is clearly defined.

With the channel in place, I switch to the sarai-nomi - clearing chisel - and get whacking! Just a few minutes gets rid of all the unneeded wood ...
It sort of looks finished, doesn't it! But what you can't see is that there is a narrow strip of waste wood up against the carved border that still needs to be cleared.
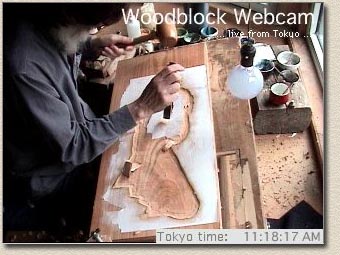
For this job, I have a collection of aisuki (bull-nose chisels) in different sizes. I work carefully along the lines, always being very aware of grain direction to avoid splitting or chipping the wood. It takes quite some time to do this, mainly because of the danger of causing damage.

Even though I work alone, and have no real need to 'watch the clock' I am called for lunch right at noon, as I have learned that if I don't get to the local bakery within a few minutes of twelve, all their fresh lunch stuff will be gone!

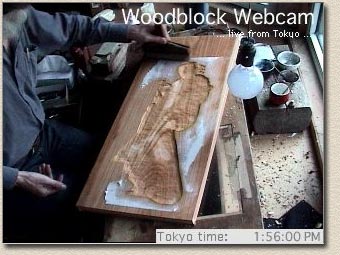
Back at it ... Seems as though it has clouded over this afternoon ... Still plenty of light to work by though ...
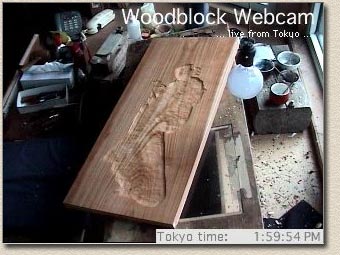
Looking at the timestamps it seems as though the carving broke down this way: about an hour for the first cutting stage, around a half-hour for the clearing stage with the mallet, and around 90 minutes for the final careful stage of clearing away the final waste, and general cleaning of the wood surface. Here's the last step, washing off the left-over hanshita paper.
And here she is - actually the simplest of the dozens of blocks that will be needed for this print. Not many of the others will take only three hours to cut!
I kept the webcam session on file, and made a short (two minute) QuickTime video file of the sequence. It's just under a 4Mb download, and if you like, you can see it here. Wow, is he fast! :-)
'Bonus'! Watch the video and answer the quiz, to win a print!

Note: if you would like to see a more detailed set of photos of making prints, there are plenty more over in the 'How the Prints are Made' section of the website.
![]()
![]()