June 11, 2006
There is no way that I am going to make a page in this Progress Report section for every one of the blocks that I am going to carve for this print. But it will be worthwhile if I show some typical examples ...
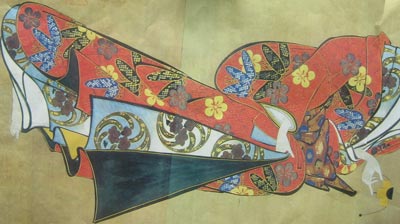
Today's example is the block that will be used to carve one of the detailed patterns on the kimono. Here's a shot of the photocopy of the original scroll that I keep at the side of my carving bench for a reference:
And here is the block that I am carving ... you should have no trouble seeing that this is the block that matches the blue-coloured bamboo leaf shapes. (Remember, the block is a mirror-reversal of the image ...
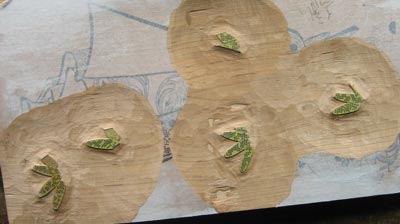
The procedure to get it to that stage is pretty much the same as we saw in the previous page: scribe the outlines of the colour areas, scoop away the large areas of un-needed wood, and then clean up the edges ... But with this block, that's not enough. Let's step back a bit, and inspect a small section of the image - one of the 'leaf' patterns:
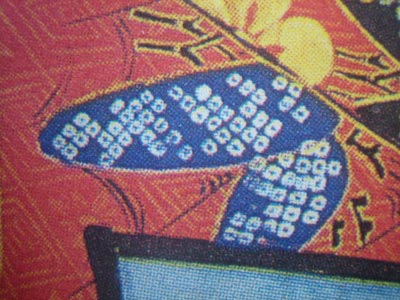
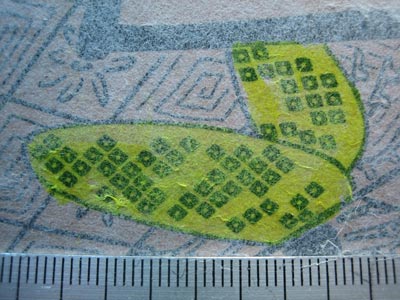
In the next photo is the corresponding section of the block, before I started carving. The marks on the scale are millimeters.
If you study those two images closely, you can see a couple of interesting things. One is that, although a 'normal' hanshita for carving is drawn such that the black lines represent the wood to be retained, as I wrote in an earlier page of this Progress Report, both 'positive' and 'negative' areas of the image will be appearing in black on my tracing. It was much easier to draw these patterns this way than in the 'proper' colour reversal. As long as I remember which is which during the carving, all will come out OK in the end ...
The second thing to note is the difference between my drawing and the original. The original artist used a small brush with an opaque white pigment to draw his patterns, and you can see many places where the pigment is uneven, as his brush gradually dropped its load. There is absolutely no need for me to reproduce such unsteadiness, so I drew the pattern neatly in place. (I'm well aware that different interpretations of this are possible, and that some people would not 'approve' of the fact that I have 'neatened' it up ... But this is my project, and I'll follow my own character!)
The next photo is a close-up of the one above, where I have completed the main clearing work on the block. I could have done it the other way around - cut the tiny dot patterns first, then the wide clearing - but I generally like to get rough work out of the way before I begin the delicate parts.
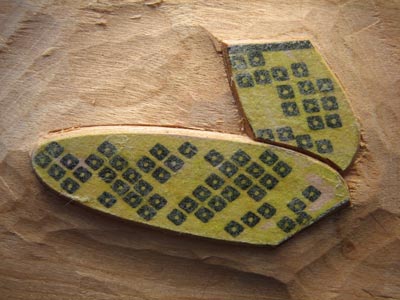
It's a bit difficult to shoot with one hand and cut with the other, but for this next photo I'll try ... You can see that I work in patches, cutting the patterns in groups, to avoid spinning the block around and around endlessly.
In a major difference from the way that the original painting was made, my white patterns will not consist of white pigment opaquely applied on top of a blue undercoat, but will be white paper showing through a blue area. So for this block, I cut away everything that is 'white' in the original ...
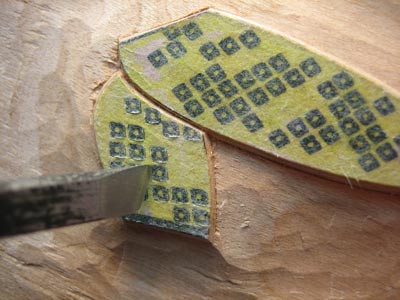
While cutting around the outer edge of each little 'box', it is very important not to let the knife plunge too far into the wood, or the entire center piece would pop out. Once the four edges are cut, a series of slices inside starts to release the little 'button' that has to be retained ...
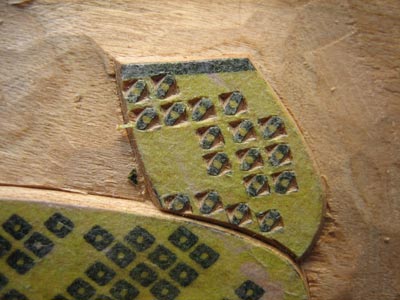
A few minutes later, the first little patch is done.
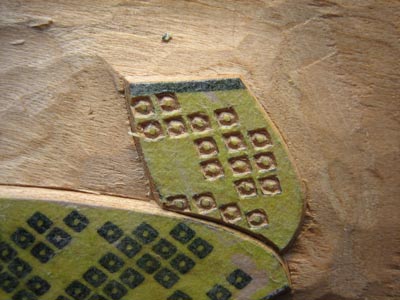
There are two such blocks in this print, one for the blue, and one that will be printed in a dark black. It's going to be 'fun' printing those - getting a good strong colour, but not getting pigment/paste down in these little patterns. We'll tackle that challenge when we get to it ...

