May 6, 2006
The next step is to get these sheets pasted down onto some woodblocks for carving. To ensure proper registration at time of printing, the wood must be held for this procedure in exactly the same alignment that it will be then, so I brace each block into position in the printing jig. Here's one clamped in place. (This is one of the blocks of the smallest size, so you can see the wooden spacers which keep it in the correct position.)
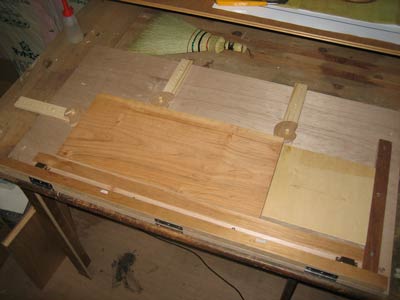
The glue I'm using is a standard 'mucilage' type of glue. The amount is important; too much applied and the paper will slide around on the block during the peeling step below, too little and the thin paper will lift off the wood during carving.
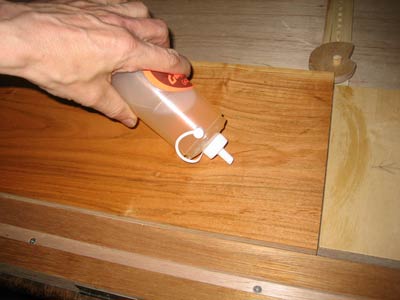
Spread it around evenly ...
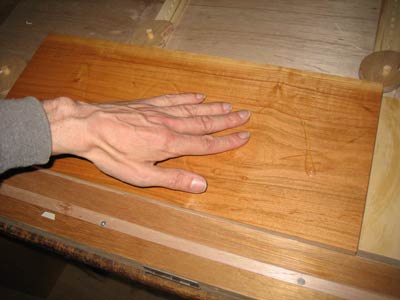
The next step needs two hands, so I couldn't hold the camera at the same time as I positioned the paper in place on the block, aligning it carefully with the registration marks.
As soon as it hits the moisture in the glue, it starts to buckle, so it's important to rub it down into place as fast as possible.
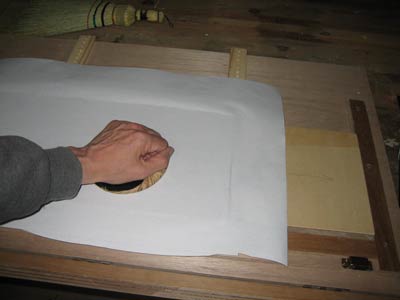
Trim away the excess ...
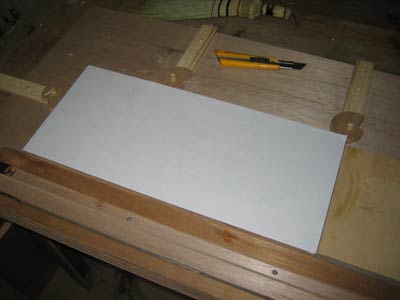
... then start to peel away the thicker sheet, leaving just the thin paper on the surface of the wood.
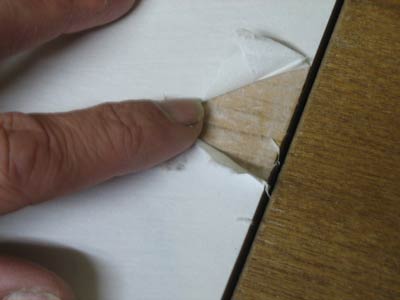
In those areas where I managed to get the amount of glue just right, it peels away pretty cleanly.
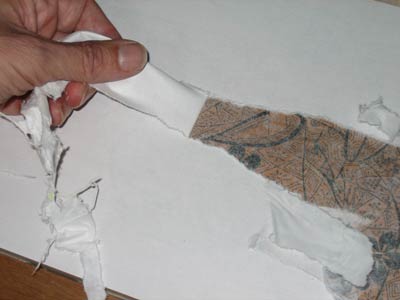
It sometimes doesn't separate all that easily - the glue the paper manufacturer used is sometimes applied rather unevenly, and the backing sheet tears in some places and stays stuck down. These places can be teased off by rubbing gently with a damp finger ...
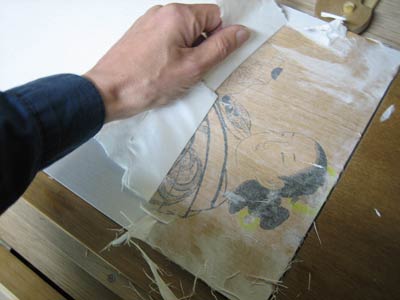
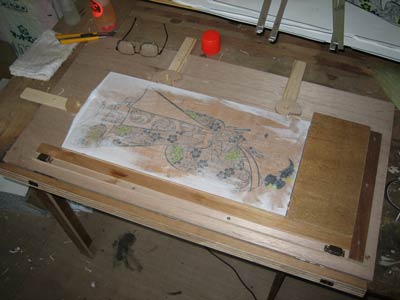
The main thing to be careful of is that the thin paper carrying the image isn't allowed to slip or slide at all on the surface, as this would of course make the carved block useless. Here's what I end up with ...
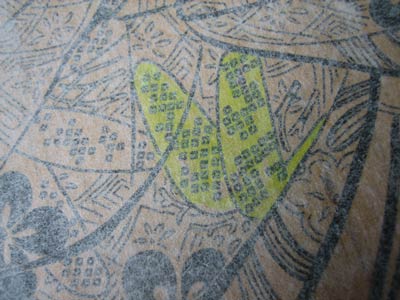
You can see in the close-up view that the areas to be retained (coloured in fluorescent yellow) are clearly visible. And when it comes time to carve this, I'll dab it with a bit of oil, making the paper almost completely transparent.
After they've dried well, it'll be time to start carving ... finally!

