Posted by Dave Bull at 7:22 AM, August 1, 2010
This thread about paper sizing is continued from here, and started here.

After yesterday's unforeseen delay (check the Comments in the previous post ...), it was back to work on the sizing experiments today.
First on the job list was a quick set of printing tests, using strips of paper cut from the sample sheets I sized the other day. I just grabbed a little blank strip of cherrywood, and printed it in a flat colour, doing it twice - overlapping to see how well the paper would take pigment.
I also picked up a nearby keyblock, and did a bit of 'delicate' work as well.
With all the strips from the 'junk' paper that I tried culled out, here are six pieces of Iwano's hosho paper:
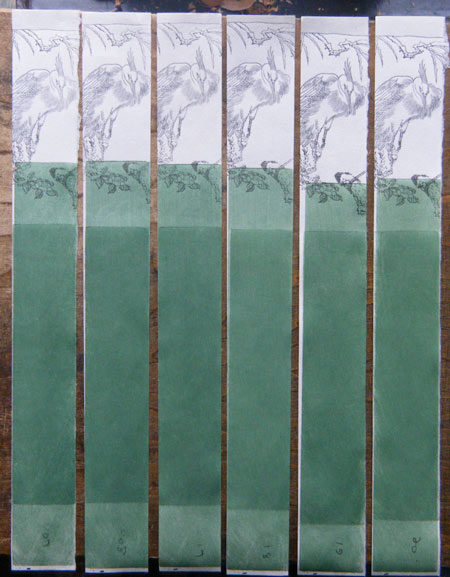
1) light size, one side only, 1/2 recommended alum
2) as 1) but sized on both faces
3) and 4) as 1) and 2) but with the size applied more heavily
5) and 6) as 1) and 2) but with the alum at 'full strength' (1/2 of the weight of the glue in the mix)
The results ... well, it's kind of good news/bad news. The good news is that all these strips printed quite well. There were no problems with the paper sticking to the wood (indicating too weak on the front), tearing on the back (indicating too weak on that surface), or 'disallowing' pigment entry into the paper (indicating too much alum). If the paper I have been recently receiving from the sizing craftsman was all like this, I would never have complained, and never started this whole project ... So the short story is that this is going to work! Woot!
But now, the bad news. I can't tell the difference between these test strips! Some have double the alum. Some have double the amount of size. And none of them were brushed nice and smoothly, as you saw the other day. But they all came out pretty much the same ...
Hmmmm ...
In any case, I made another practice run today. I have to get the brushing better, no doubt about that. And I added another variable to the mix: doing some sheets on the second face right away, and some after the first had dried. We'll see if that makes a detectable difference.
This thread about sizing continues here.
* * *
And to finish off today ... an update ...
That's amazing! The absolute first time out, the quality of your work surpassed the best quality available from the best sizer craftsmen in Japan.
Let's examine some explanations:
- Dave is brilliant and can do no wrong.
- Dave got lucky, this time...
- Dave's preparation (research, tool acquisition / building, and planning) was spot on and assured success.
- The "touchiness" of the sizing application process was a myth perpetuated by the craftsmen who wanted to keep their "franchise".
My gut feel is that all 4 of the above explanations have some validity, but the 4th one (the myth) is the strongest.
What a pleasant surprise!
Well, #2 has nothing to do with this, at all! :-)
#3 is the most valid here, for sure. It's simply the old, "If you are going to do something, do it properly!" kind of thinking. You can plan for success, or you can plan for failure. And we know which one of those options 'slapdash preparation' falls into!
But #4 is also interesting, although I have to say right up front that I don't believe for a minute that anybody in the field is specifically trying to either keep people out, or make things appear more difficult than they are.
I find myself in the same position when it comes to talking on the [Baren] Forum about printing or carving; I try and emphasize that 'No, you must do it this way," and people 'accuse' me of making it seem too difficult. It's just that I'm trying to be very 'particular' about how a job should be done, because I have a strong image in mind of how it should go, and they are being more 'general', having a wider view of what is acceptable.
But the net result of that kind of discussion is that I definitely come across as 'making it seem more difficult than it is ...'.
So I think we have something similar operating here with the sizing. The clear 'ideal' for me would be to produce a batch of X00 sheets in which every single one was sized at the perfect density from top to bottom left to right, allowing a perfectly smooth application of colour to be applied across it, should that be necessary. Given such a 'blank canvas', a printer would then have no barriers to producing whatever kind of impression is required by the job at hand. In real life, such perfection is rarely necessary.
Another thing to think about is the fact that those early British workers (Fletcher, Phillips, Platt, etc.) did their own sizing, with very little information to go on, and ended up 'just fine'. As can be seen from my comment on this page, their size recipe was very different from the traditional Japanese one. Did it matter to them? Obviously not. But it does help point out why we never see deep rich saturated and smooth impressions in their prints; the colour is usually far more 'atmospheric'. They worked with the tools, materials, and techniques that they had available to them, and their (wonderful) work reflects the presence of those boundaries.
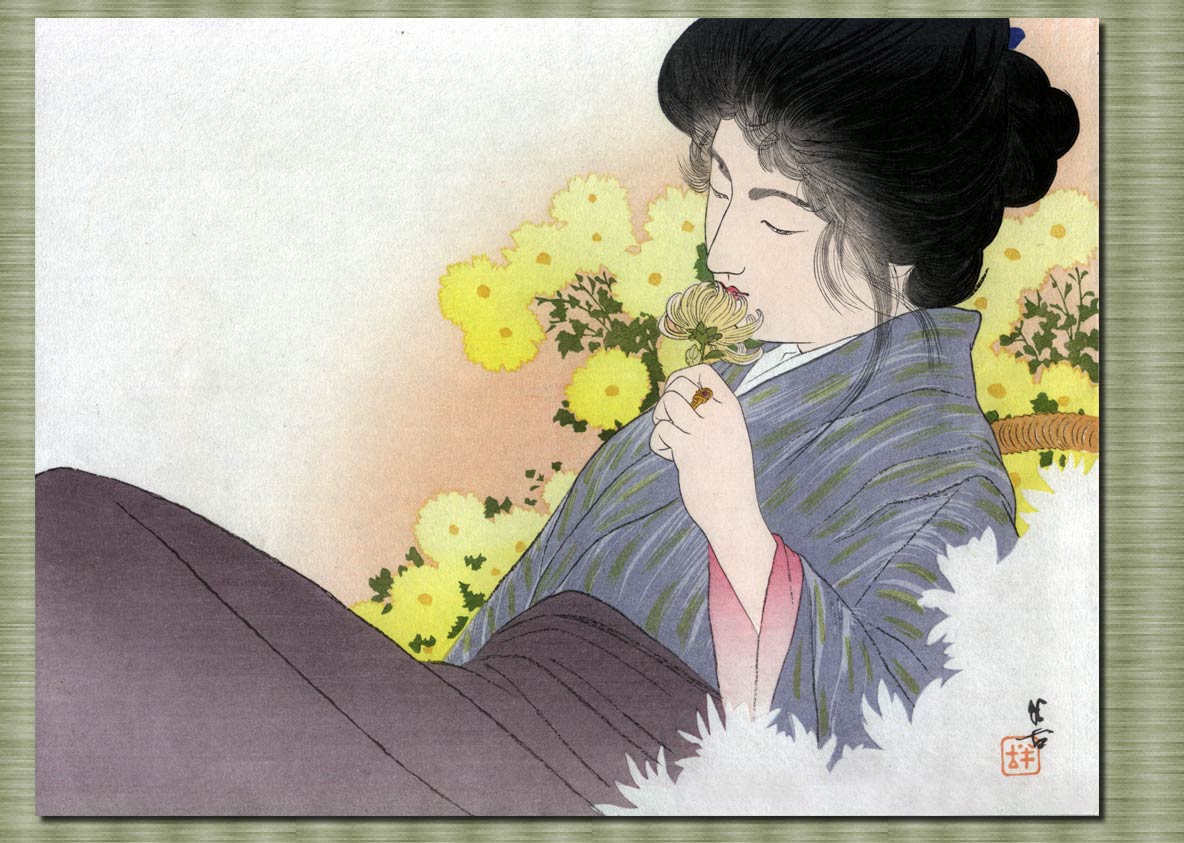
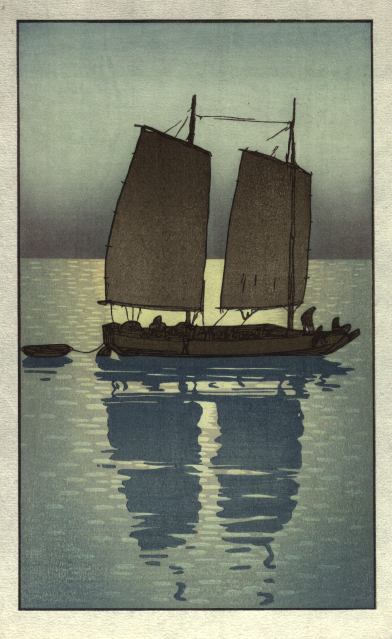
My particular 'problem' (such as it is), is that my work contains within it, examples of all possible types of printing: from the 'perfect' colour we might see on the kimono of a bijin-ga, to the mottled surface of a Yoshida sea , to the patterns on a glazed ceramic. I need paper that can do it all!
So yeah, I might be making it sound a lot more difficult than it really is. Not much I can do about that, really ...
Now as for Marc's point #1 ... well, let's just let that slide by, shall we?
Also, to add a bit more about that 'the quality of your work surpassed the best' thing ...
Please remember that there is a real danger here from 'unknown' factors. I can in no way claim that I am doing work 'as good as' the pros. Suppose ... (this is hypothetical) ... it happened that because I did my job on a hot summer day, and because I am fairly slow at this, the size was held at an unsuitable temperature for too long, and we now have a situation where there is a 'ticking time bomb' of mold lurking unseen within the paper. The prints will look OK, but (say) ten years down the road, the collector will open his folder one day and find that the print is covered with black mold. The professional sizer has the accumulated experience of his training to avoid this. David has no such knowledge at all.
It's that old phrase: 'A little knowledge is a dangerous thing', don't you think?
So anyway, even though this first experiment has turned out in a promising way, I have to proceed very carefully.