Posted by Dave Bull at 2:31 AM, March 29, 2012 [Permalink]
Time to snatch a few minutes and put up a blog update ... Lee-san has just gone home after another three days of work here, and I have a few minutes to myself. We still don't have a finished sample case to show everybody, but we've pushed things forward quite a bit. Actually, we've spent the past three days up to our neck in alligators ... one problem after another, and we're getting quite proud of our ability to shoot them away as they rise up to bite us!
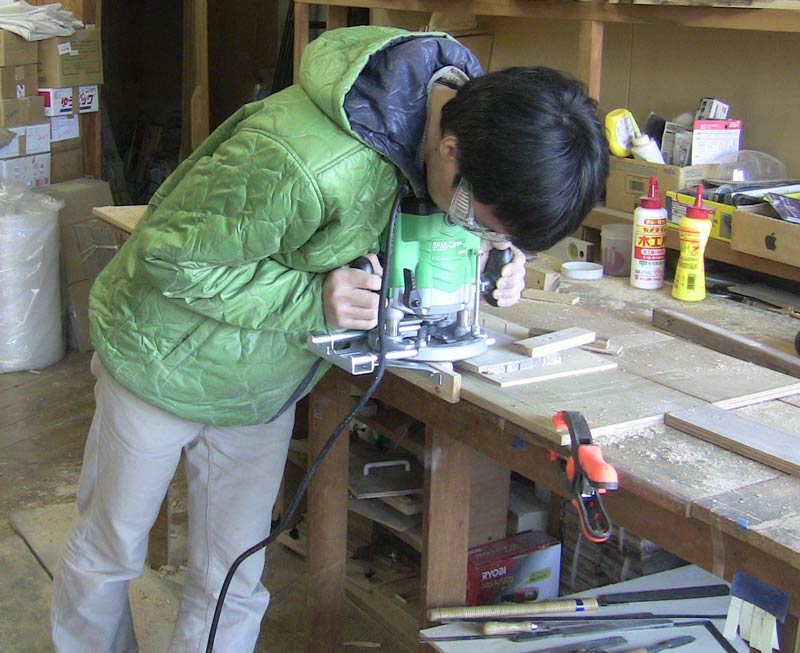
This tool, we have had no problem with at all - a beautiful (and powerful) Hitachi router. Lee is putting a straight face on each board before starting the work of ripping the stock to the widths we need:
We then hit the first of the major problems. I wrote a few days ago on the Mokuhankan Conversations blog about the problems with the table saw, and how I jury-rigged a set-up to cut rabbets on it. That worked basically OK, but given that we have 200 cases to make, both Lee and I thought that we should bite the bullet and order a proper router table for that kind of work. So I browsed around, and ignoring the Chinese junk models, ordered a nice Bosch table. Good brand name, solid metal top, etc. etc. What could go wrong?
Everything. Google, are you listening? Current model Bosch tools are junk! Repeat: Bosch = junk! (Am I bitter? Not much ...)
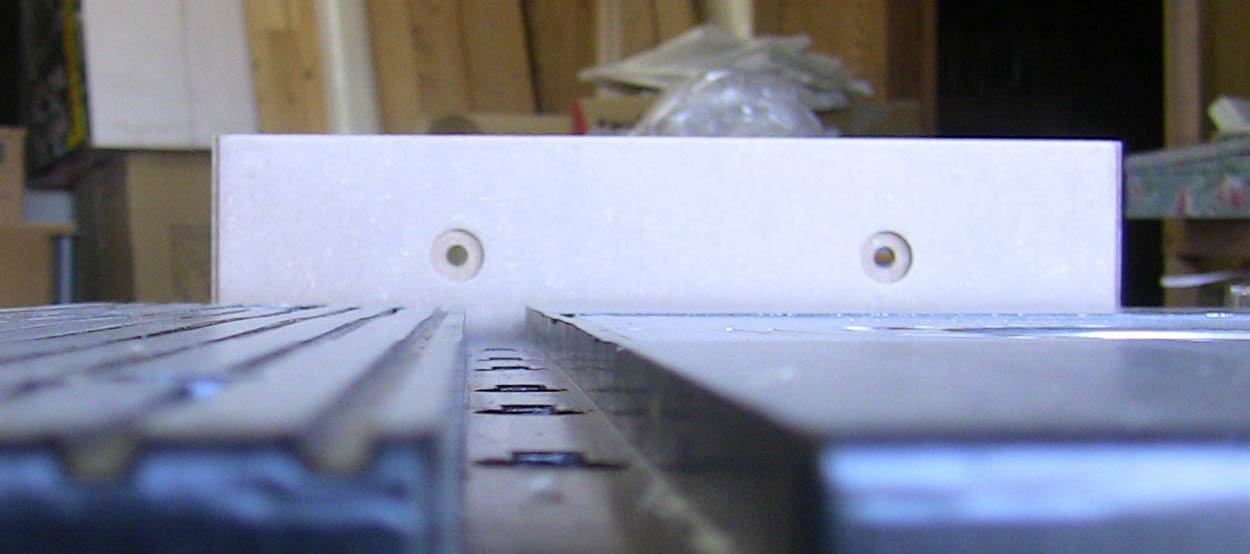
We opened the package and started inspecting it, laying a straight edge on the table itself:
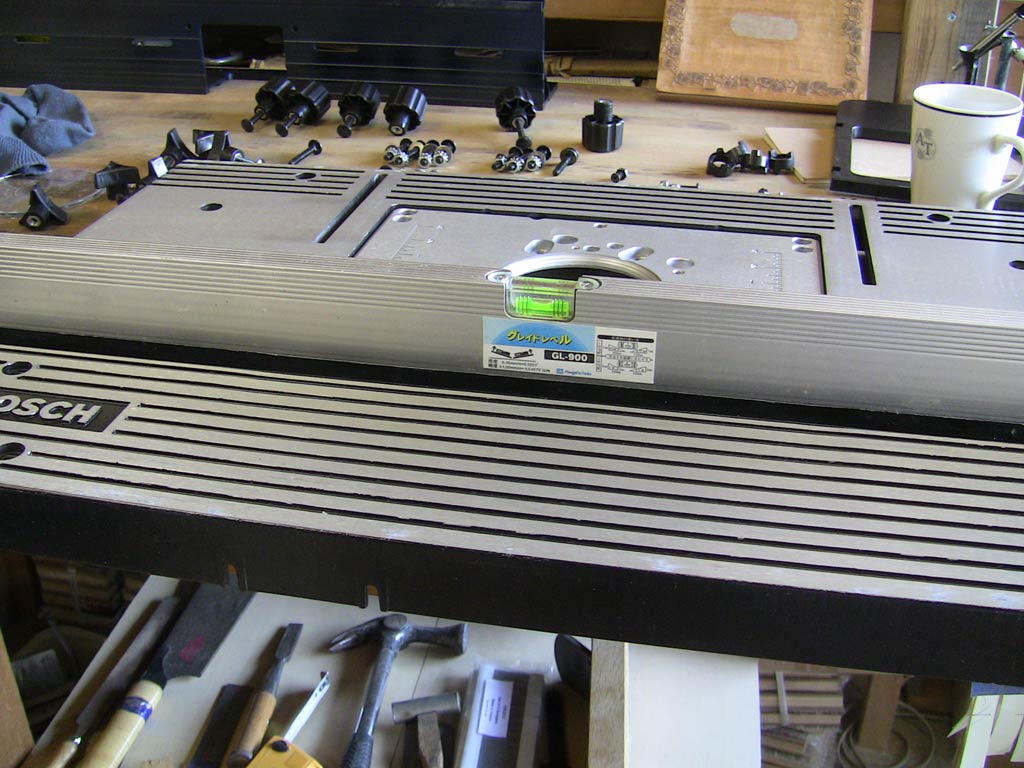
Oops!
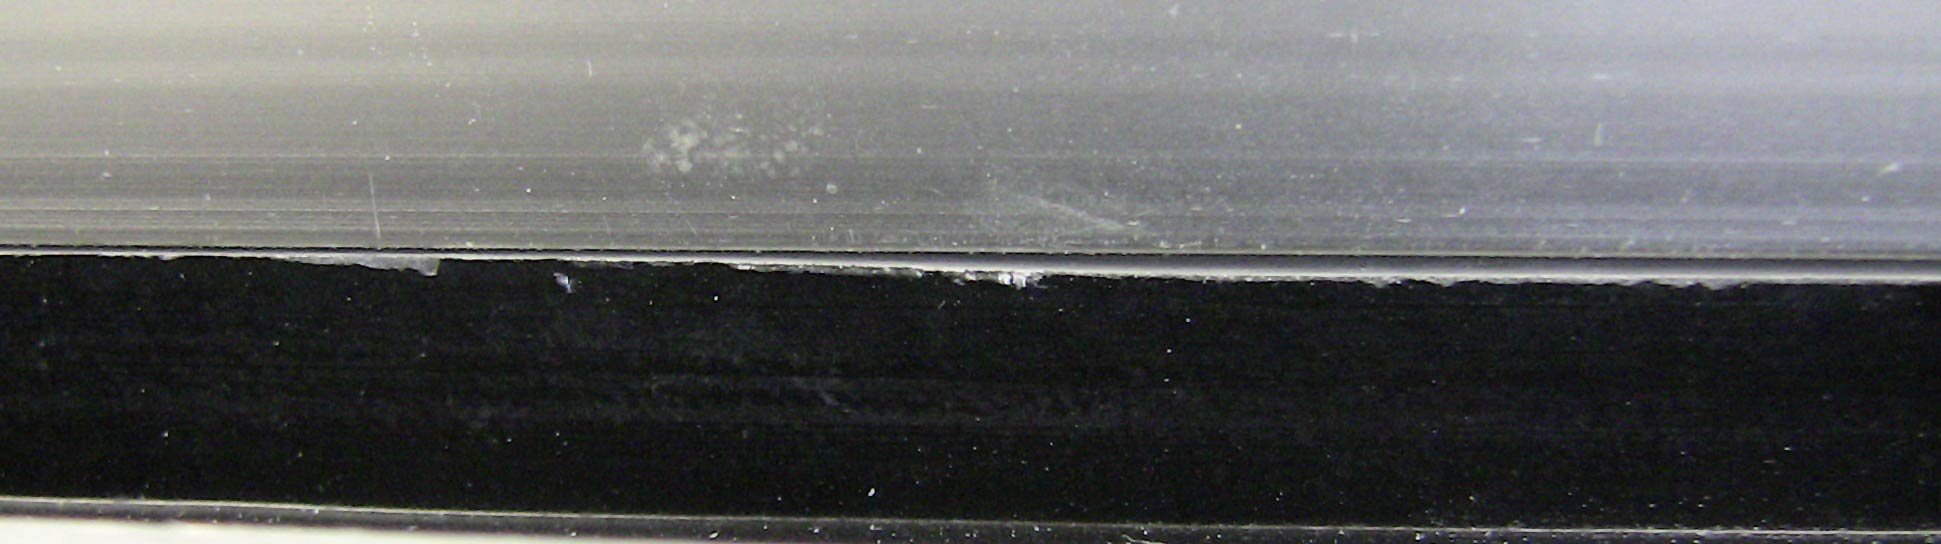
And here's a view looking horizontally along the table (click for closeup):
It looks like the runways of Sendai Airport after the earthquake last year! So back in the box it went, straight back to the supplier ... Time for Plan B. Lee-san and I have now lost our faith in ordering anything, so we looked around to see what we could use to build our own. Here's a little TV flashback to 1994, sitting with my father in the Gallery Takano, in Shinjuku:

That little black table! Solid frame, sturdy legs ... and I still have it!
I dug it out of storage, and a couple of hours later, we had it outfitted with reinforcement panels on top, a mitre gauge slot, embedded nuts for attaching our featherboards, and a place to mount the router:
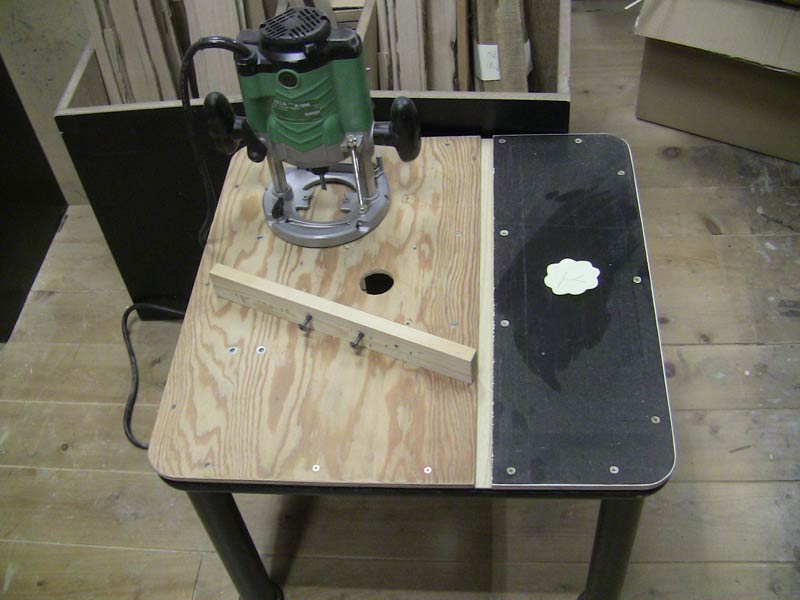
... which of course goes in from the underside:
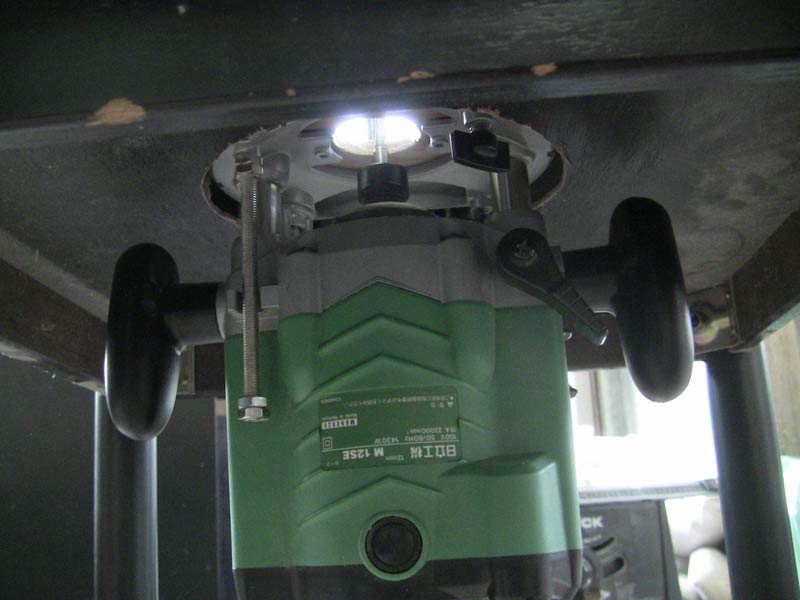
You'll see this 'new' table (which in our first testing worked very well indeed), in plenty of photos in the coming weeks!
Once Lee got a pile of stock ripped to width - enough for a first test run of 20 cases - he began cutting rabbets and slots, using a combination of our jury-rigged table saw ...
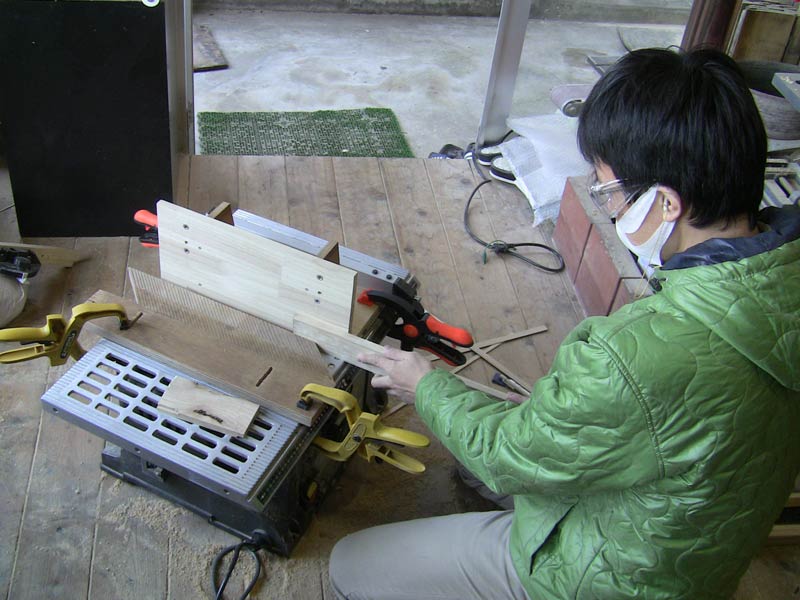
... and our new router table:
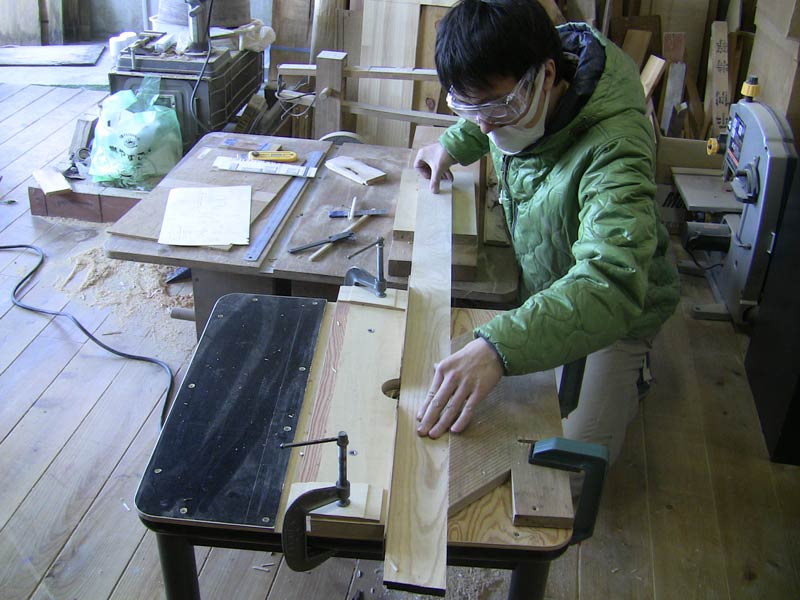
And the results look pretty good.

By the time he left this evening, he had done all the rabbeting on this batch, and the first job waiting when he returns next week will be to cut the slots for the base in all the side pieces, fronts and backs. We'll then begin to make the first assembly of the basic 'carcass' of each case.
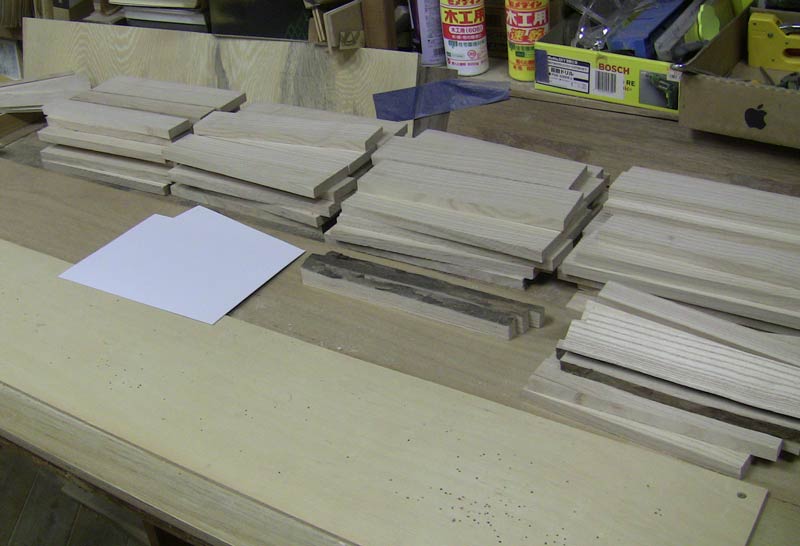
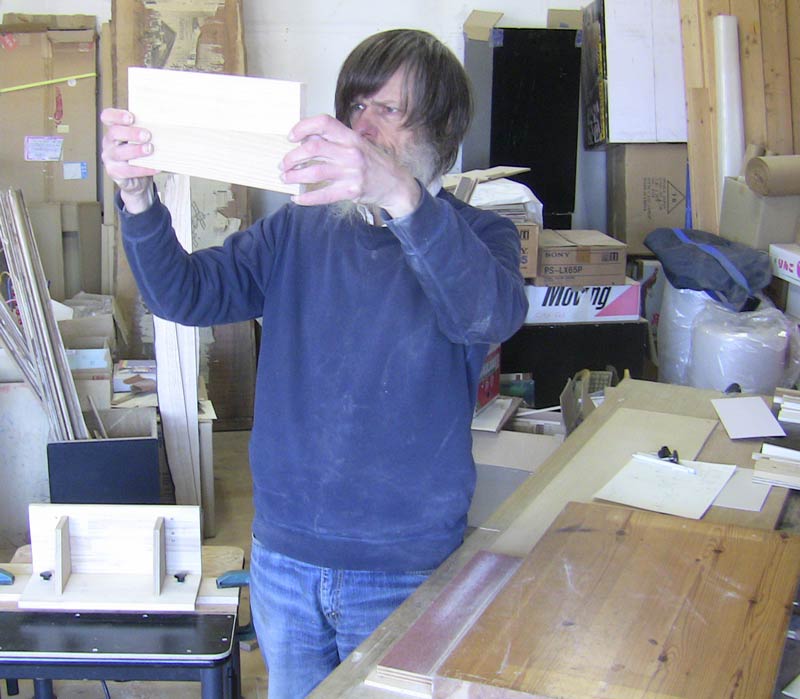
In the meantime, I got busy with the job of building a batch of case 'tops'. None of our lumber is wide enough to make a top in a single piece, and we don't want to try that anyway, as such pieces would almost certainly warp, so we're building them up from smaller bits. I took a batch of the paulownia pieces that Lee had put a straight edge on, and worked out what bits of them we could use for the tops, avoiding knots, bad grain, etc. etc. 'Unfortunately', Lee-san had the table saw pretty much tied up, so the only tool available for me was the one visible in this photo ...

A few (sweaty) hours later, I had a nice pile of pieces cut to rough length, and ripped to width:
A hand saw doesn't leave a nicely finished edge of course, so I dressed them all on our belt sander:

Unfortunately, the 'bed' of the belt sander has a slight arch in it (I'm not making this up you know - every single one of those Chinese tools has 'deal killer' level defects...) so all the pieces had to be given a final dressing with a sanding stick before they would fit together properly:
I then matched them all up with suitable mates for gluing up to make tops (I'm laying up sections wide enough to cut two case tops):

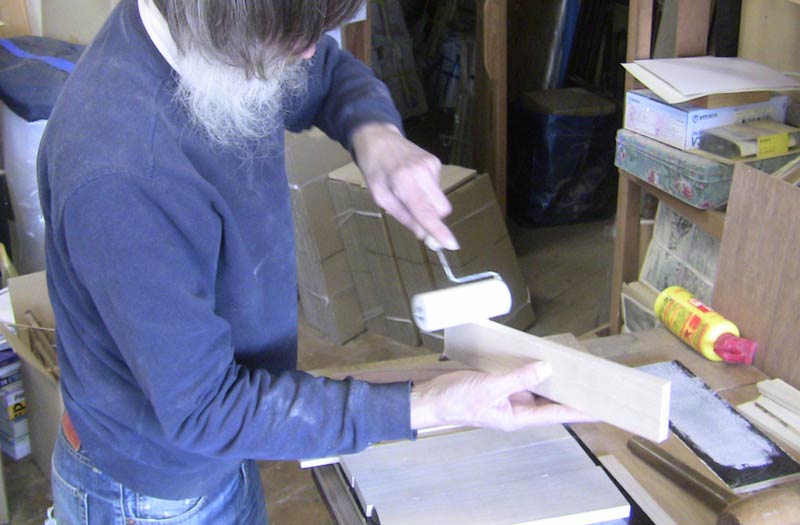
I roll a thin layer of glue evenly on each piece (trying to avoid squeeze-out as much as possible):
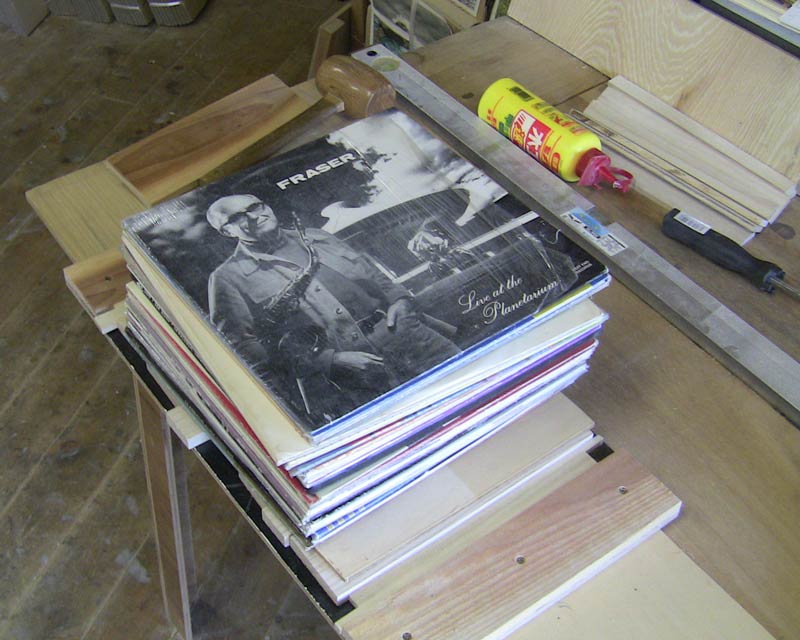
... then clamp them all together, and - with a little help from old friend Fraser MacPherson - keep them flat while the glue dries.
It's going pretty slowly - a lot slower than I had wanted - as we're spending very little time actually cutting wood ... most of the time being spent in building tools and rigging jigs. The second - and subsequent - batches should move along much more quickly we think ...
