Posted by Dave Bull at 2:19 AM, March 25, 2012 [Permalink]
We got an overview of the entire set of 10 colour blocks yesterday; today let's see how one of them is carved - start to finish.
Here's the block ready to carve. The paper sheet pasted on the wood is a kyogo-zuri ('transfer printing'), and was done on a very thin gampi paper, lightly bonded to a carrier sheet with spray adhesive. It was pasted face down onto the wood, and the carrier then peeled away, to leave nothing but the gampi in place.
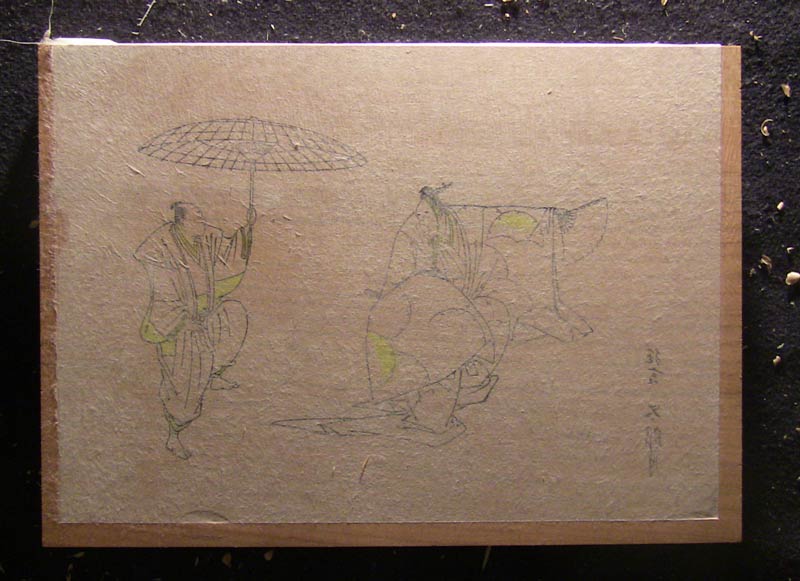
Here's what happened over the course of the next hour:
First step in carving one of these blocks is to rub lightly with a damp finger in the areas to be carved (marked here with yellow highlighter), to peel off some of the gampi paper:
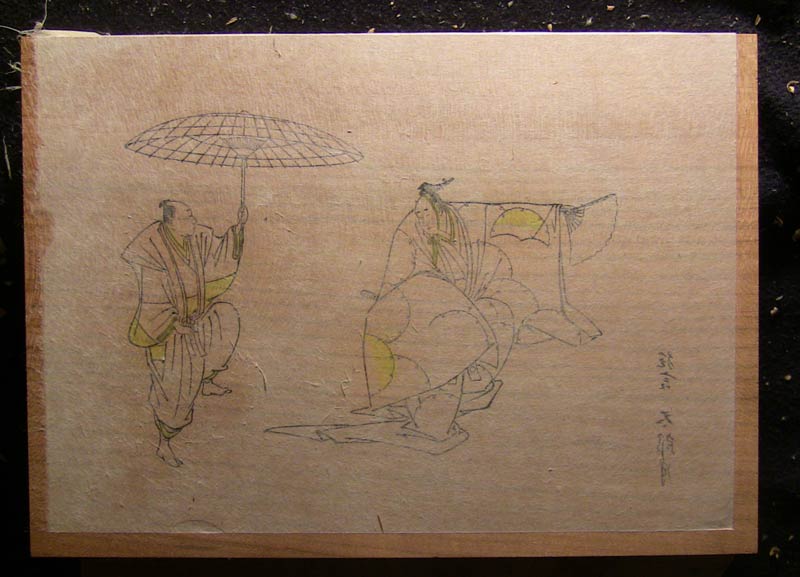
I then rub a very thin film of camellia oil on each area - just as I am about to carve it. Don't do the whole block at once, or it will just get smudged and smeary.
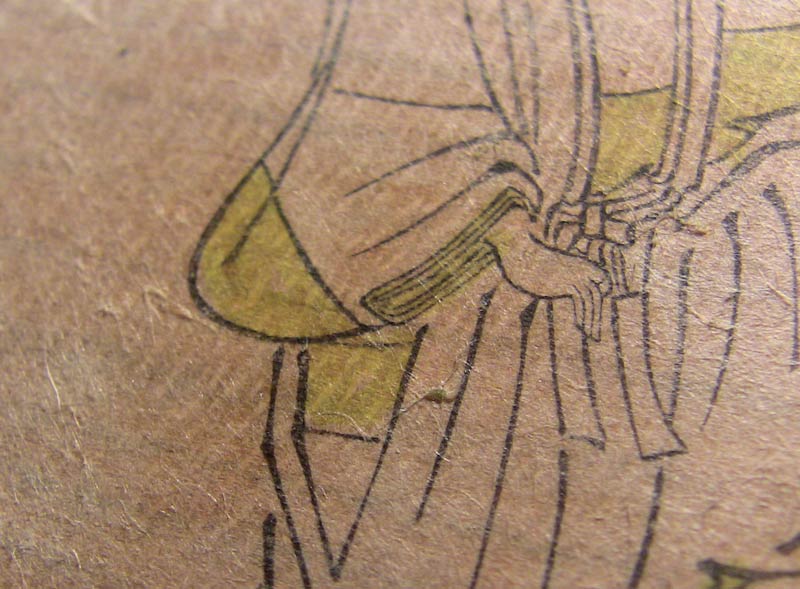
First tool at bat is the hangi-toh:

... which is of course used to cut the outlines of the relevant areas, giving us this result:

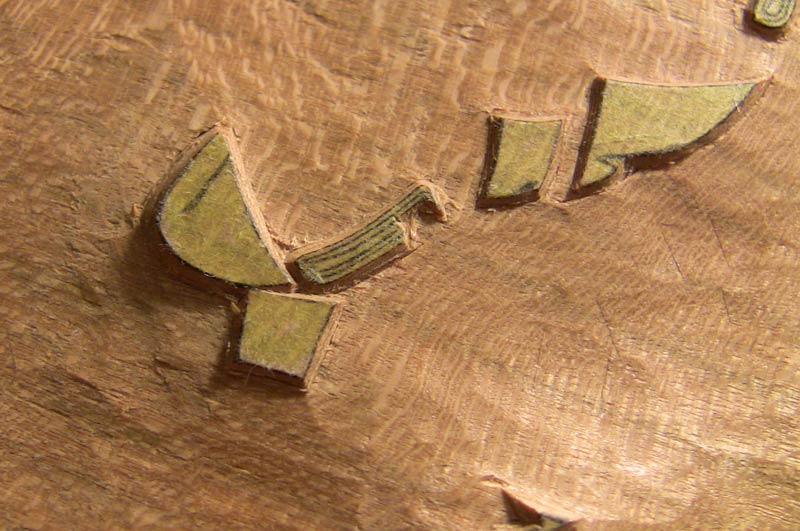
Here's a close-up of one particular area (we'll come back to this same place again as we move along); I've 'popped out' many of the corners, giving a place for the clearing chisels to enter cleanly later on:
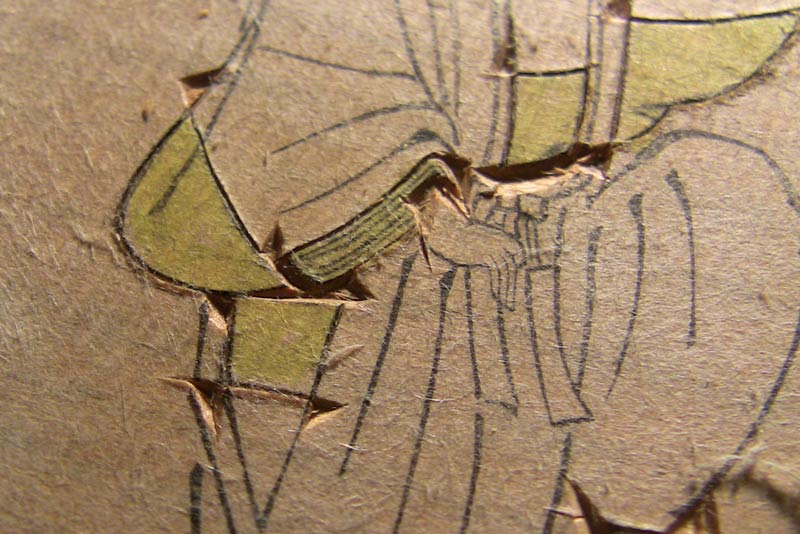
For the second stage - general clearing - I begin with a 15mm maru-nomi (shallow U-gouge), together with a mallet:

... and with the block sideways on my bench, gouge a groove alongside each area:
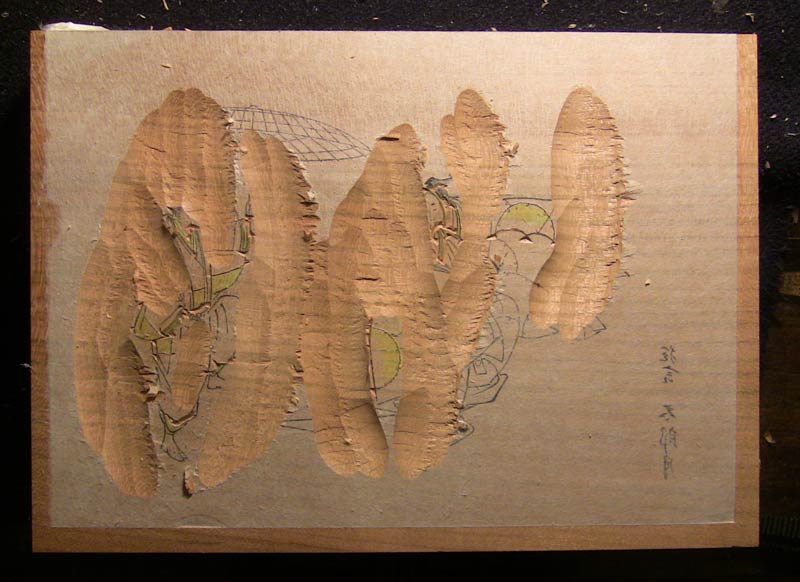
I then turn the block back to the normal orientation and complete the 'isolation' of the desired printing areas:
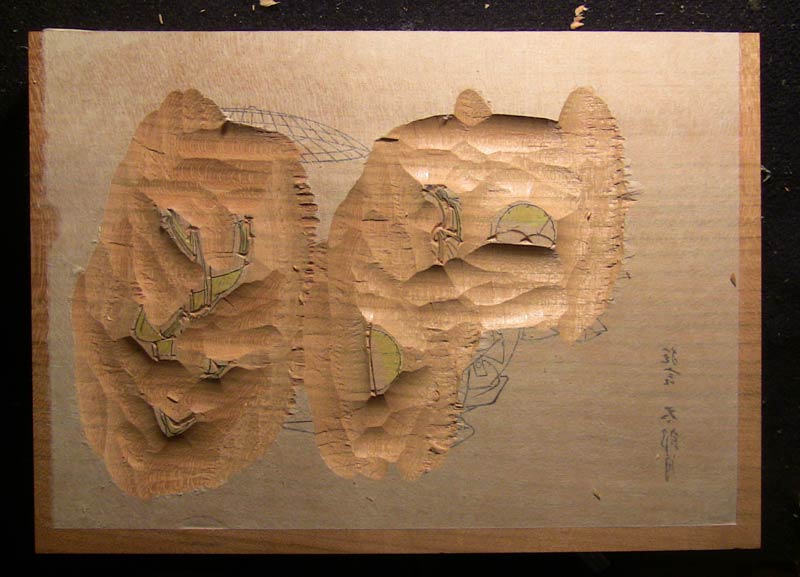
With the areas to be retained now safely visible, I switch to my 24mm soai-nomi (general clearing chisel):

... and quickly whack away the unwanted wood, out far enough that my printing brush won't strike the unwanted edges:
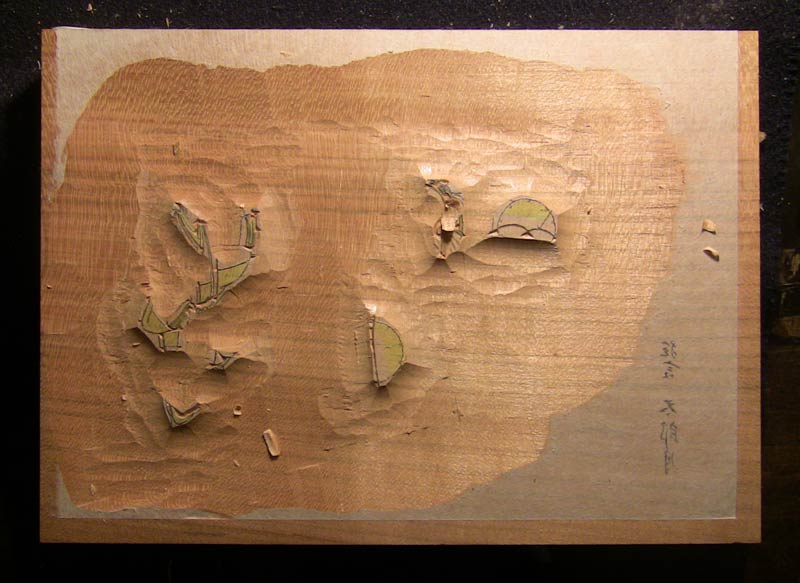
Here's a close-up view; you can see that I don't run too dangerously close to the retained places:
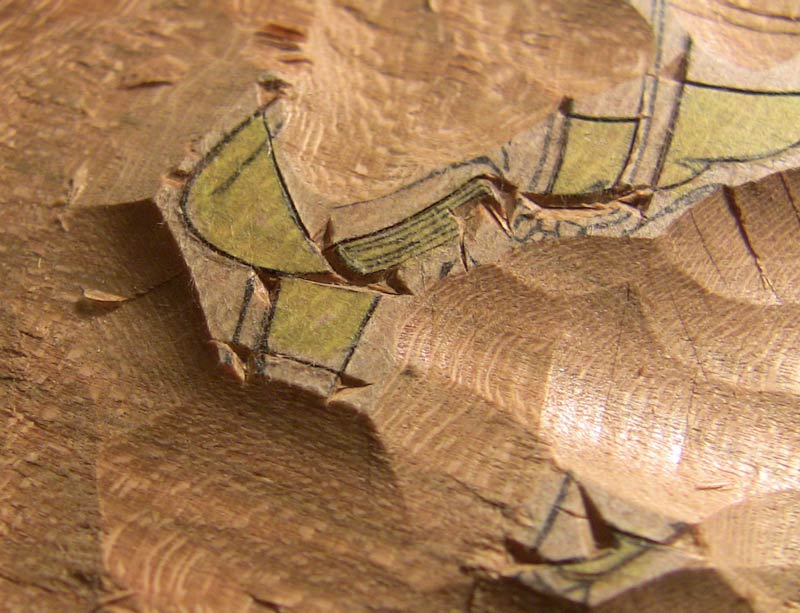
That's it for the 'rough stuff', and the mallet now goes away back into its drawer. For the third stage, I use my collection of aisuki (bullnose chisels), starting with this nice fat one:
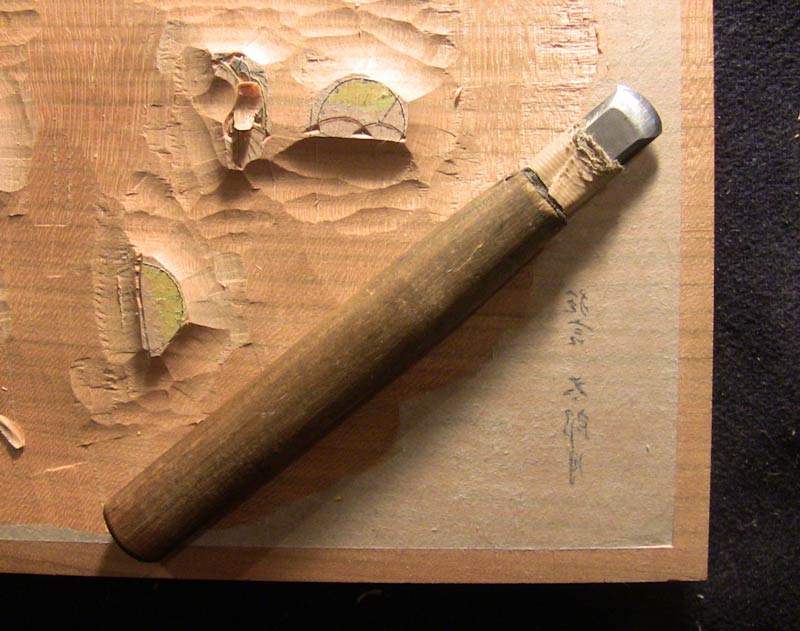
After I'm done with it, the surface of the wood between the carved zones is nice and smooth. This is important, as roughness here will quickly cause pigment to build up as the printing progresses, leading to blots on the front of the paper.
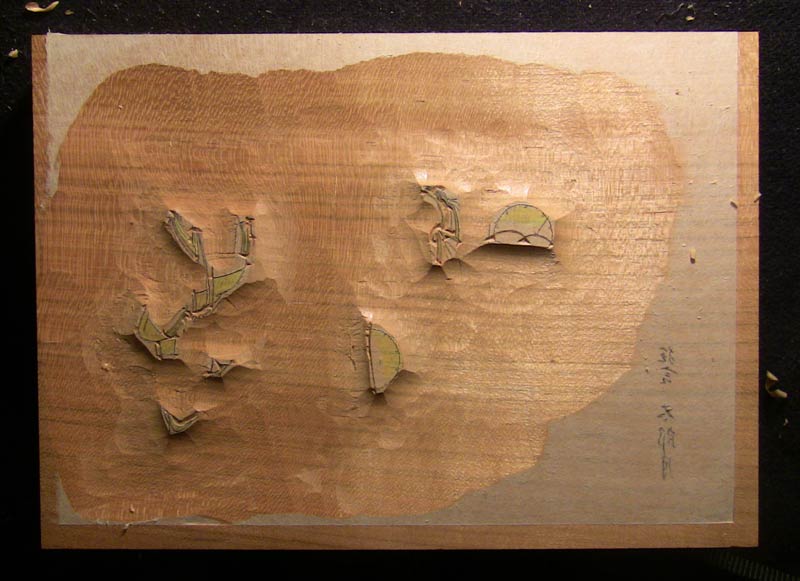
Here's the rest of the aisuki collection, from 6mm down to a tiny point:

And with their work done, the block looks like this:
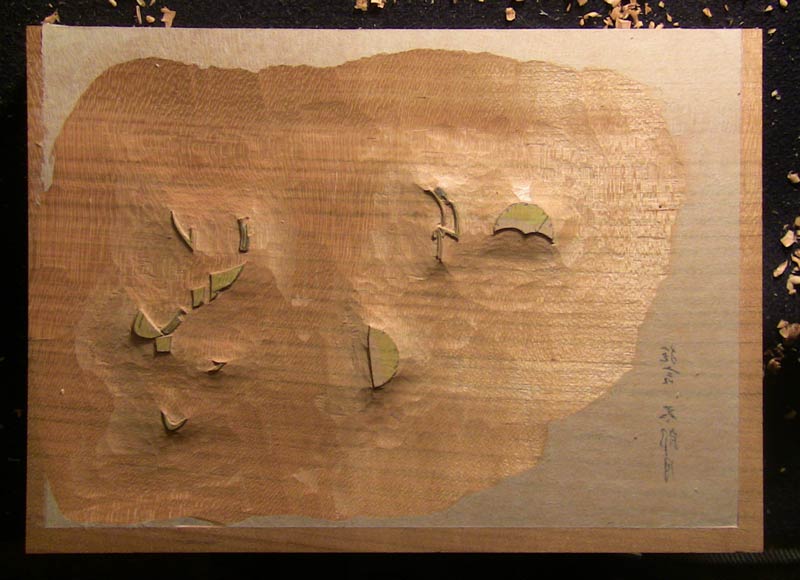
Zooming in to our chosen area, we can see that the surface isn't 'perfectly' smooth, but this is close enough for jazz!
