Posted by Dave Bull at 2:16 AM, March 31, 2012 [Permalink]
Lee-san has gone home to see if his kids still remember him; while he's away, I'm sneaking a bit of work on this construction, among the other jobs ...
I tested a new router bit for cutting the small slots that will hold the base (and top) of the case:
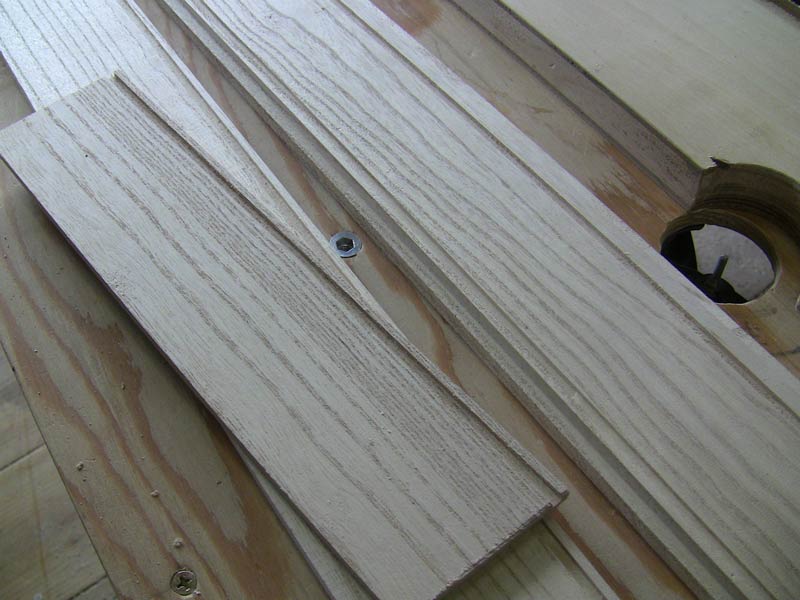
... and then cut a few sample pieces to length:
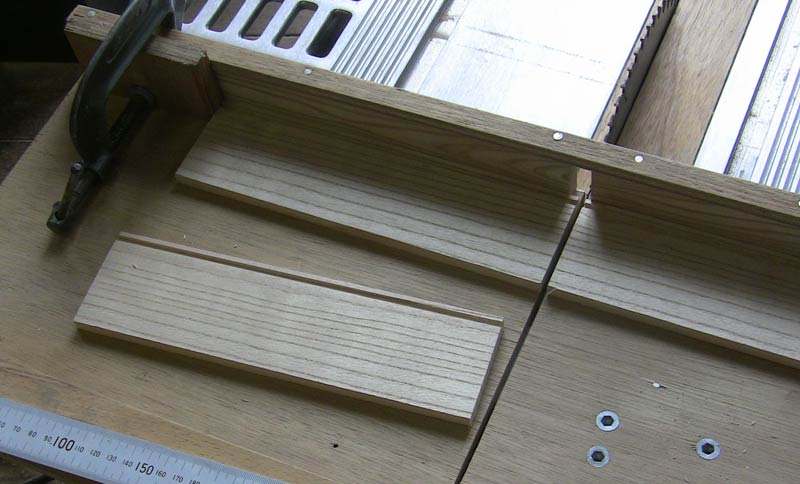
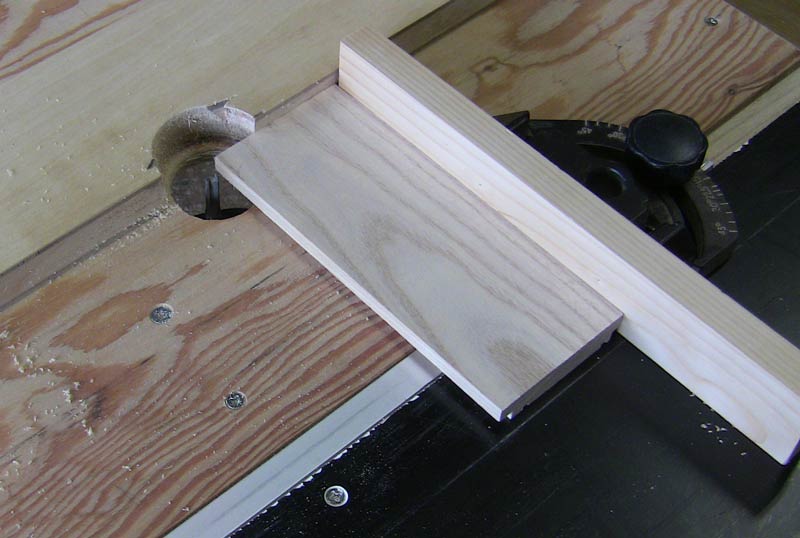
The two side pieces need to be rabbeted again after cutting to length - to receive the front and back pieces:
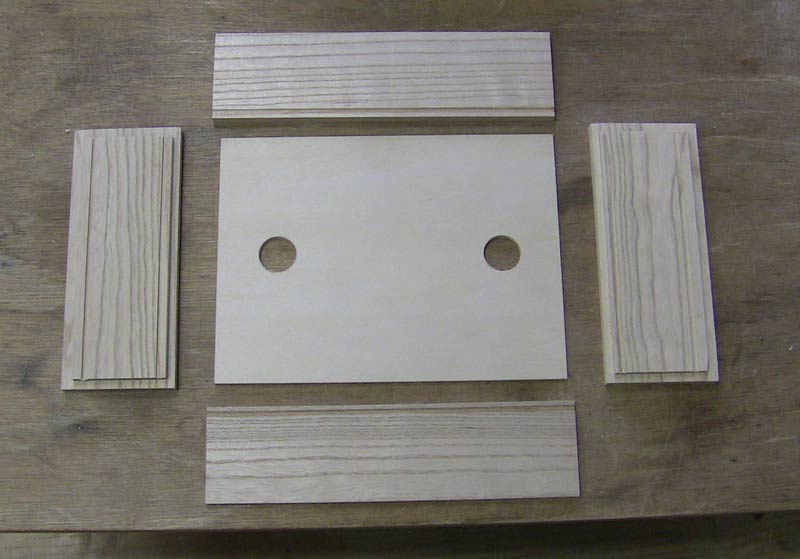
So - together with the base piece, which I ordered pre-cut - that gives us the main parts of the carcass itself:
We're going to glue them up a batch at a time, but we haven't yet built the jig for that, so I used a small plywood tray (one of the jigs for making the Surimono Albums print mountings, actually) as a quick 'n dirty glue jig for this sample:
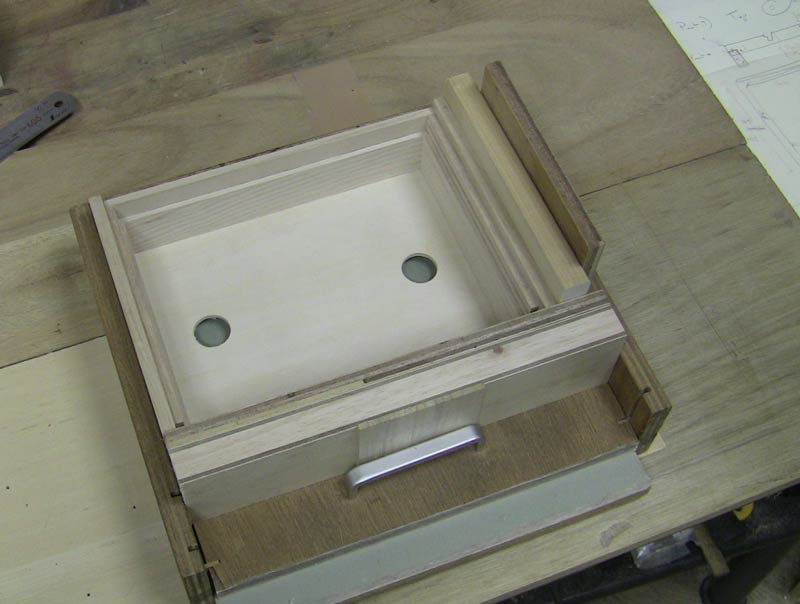
It's going to be a nice little piece of joinery, I think!
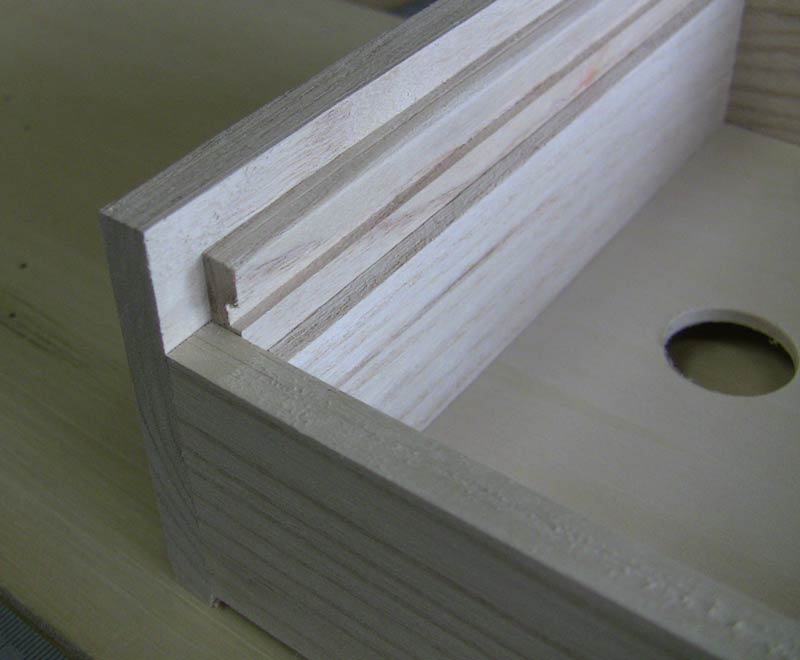
And with the top rabbeted and slipped into place, our basic box is together:
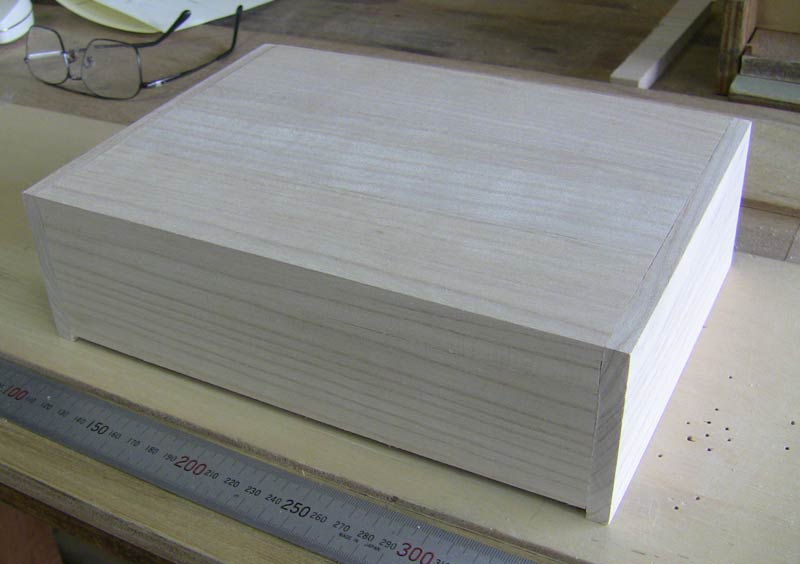
At this stage, it is indeed very 'boxy'!
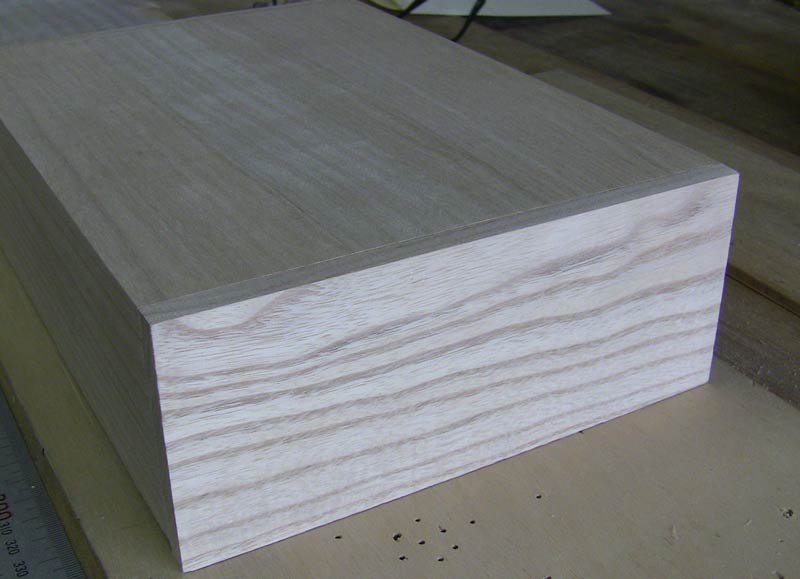
Next step is to use the router to put some 'feet' on it:
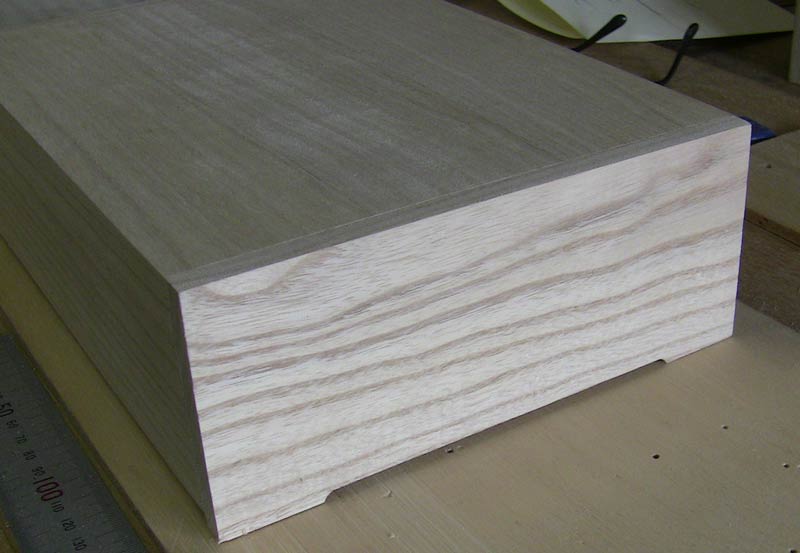
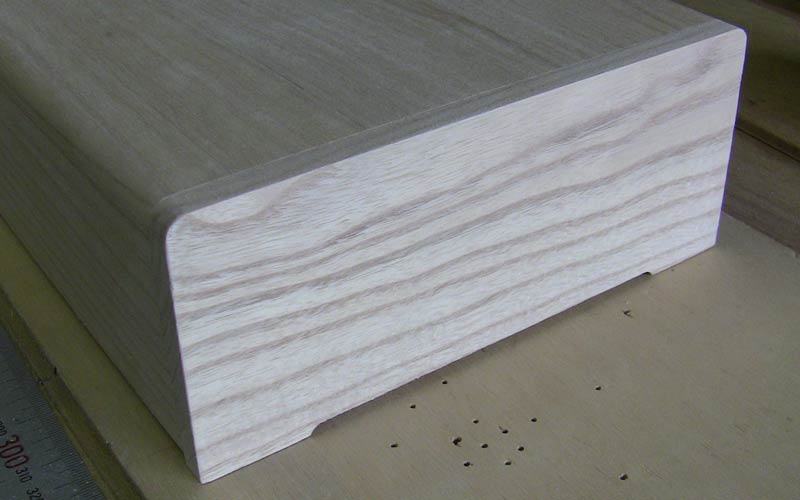
And also to gently curve the two top corners - front and back:
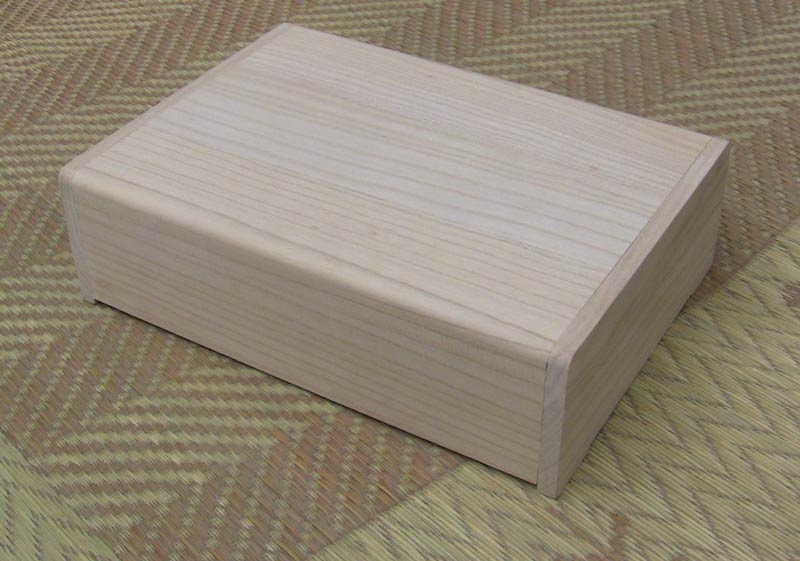
We're not completely done yet, as we still have to figure out how to put the slots in the top for carrying the print stand, but anyway, this is pretty much what it will look like (we're going to stain and finish it, of course):
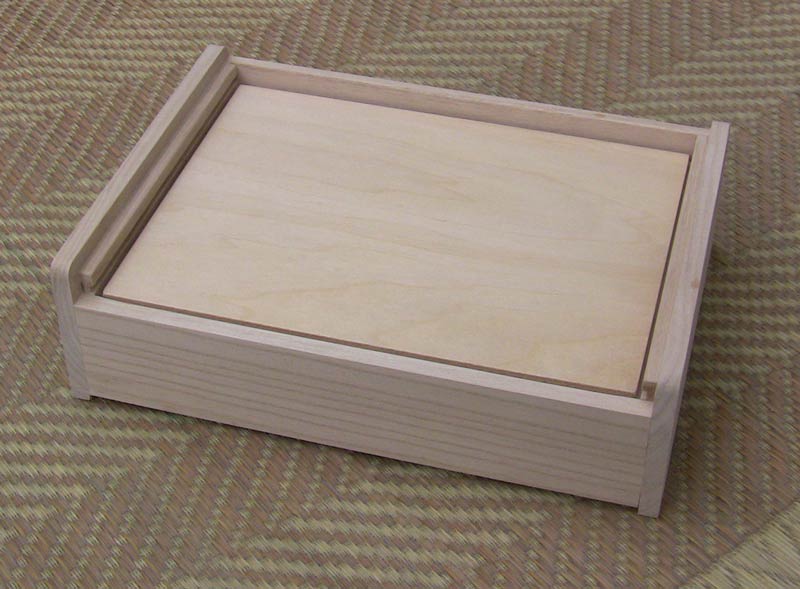
And when opened, the print stand - just as with the previous Mystique series case - acts as a cover for the print storage compartment.
So we've confirmed that the set of scribbled sketches is actually going to result in a nice-looking case in actual practice. Once Lee-san returns on Monday, we'll get that gluing jig built, and start up our little assembly line!

