Posted by Dave Bull at 11:47 AM, February 9, 2009
Continued from [Seacoast in Winter - 8] | Starting point of the thread is [Seacoast in Winter]

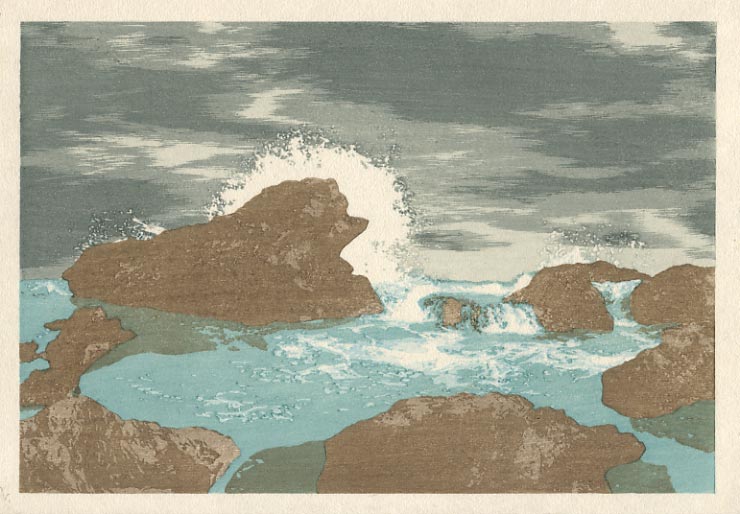
Step #8 - Next tone on the water, stepping up the depth quite a bit ...

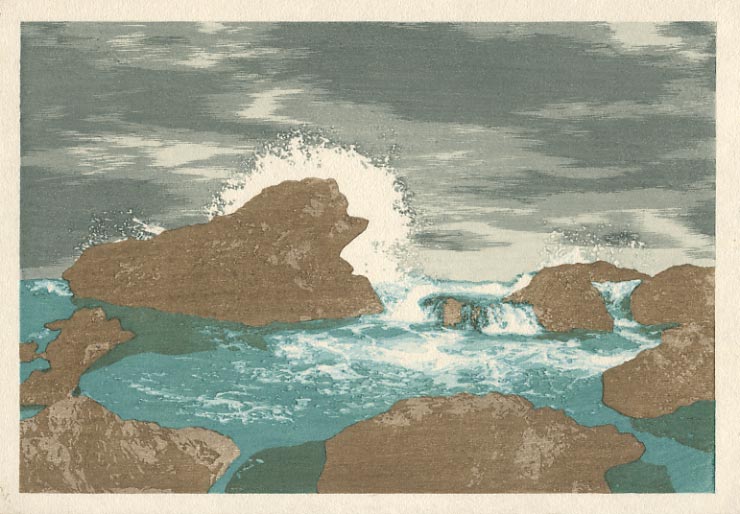
Step #9 - And another one right on top of it ...

This now leaves two more blocks for the sky, two for the rocks, and two for the water, although I may certainly have to do one or more of them again, once I see where we have got to at the 'end' ...
The image sure looks strange to me now at this point. I have the final proof at my side, so I 'know' where we're going, but for the rest of you - you are in the same situation I was when doing the first proofing, working through the block set for the very first time. Just how dark/light to make each impression? There really just isn't any way to tell - as the tonal value of any given area changes so dramatically when the areas around it change.
So it nearly always happens during proofing that I print things too lightly. They look to be dark enough by themselves, but once the surrounding areas become more saturated, they end up being too light in comparison. Now, knowing this, I try and compensate for it, but it is very difficult to get it right ... at first.

The thread continues in [Seacoast in Winter - 10] ...
