Posted by Dave Bull at 6:23 PM, February 4, 2009
Continued from [Seacoast in Winter - 6] | Starting point of the thread is [Seacoast in Winter]

Step #4 - Here's the next tone on the sky. This is the way it is going to go ... a gradual build-up over five layers. The blocks are all gouged with a v-cutter to put a ragged edge on each boundary area, in a horizontal pattern.
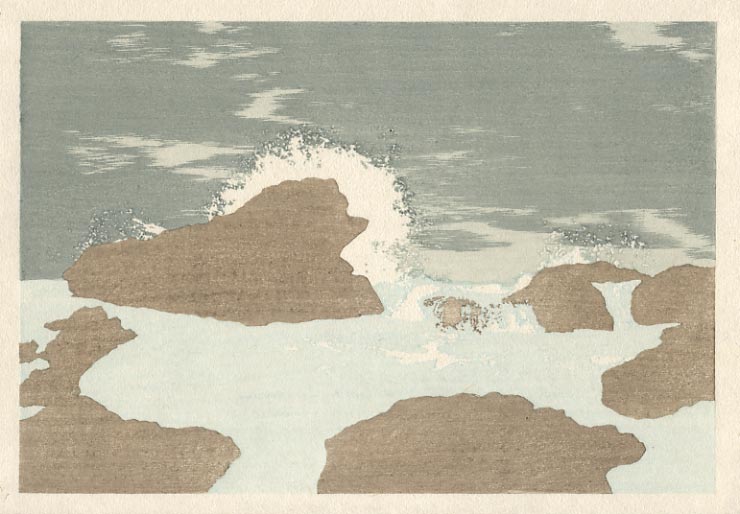
At this stage, the printed area is large, so the missing places are 'cutouts'. As we progress, the printed area will get smaller, and the positive/negative of each block will be reversed ...
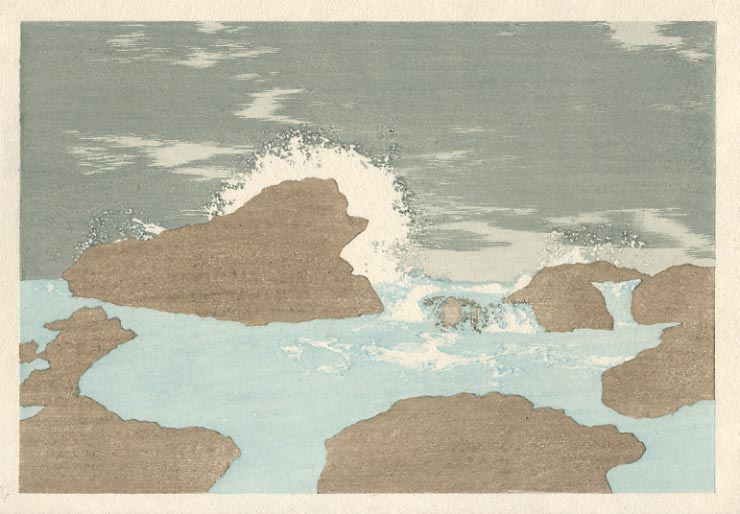
Step #5 - The second tone on the water is the same light blue tint as the first. Bits and pieces are cut out here and there, in a pattern that will gradually expand over the next four water blocks (six in all).
The thread continues in [Seacoast in Winter - 8] ...