Posted by Dave Bull at 8:12 PM, August 19, 2008
Continued from [River in Autumn - 2] | Starting point of the thread is [River in Autumn - 1]

Well, I managed to get enough hours down at the bench the past two days to get the keyblock done. I got a bit sidetracked by some translation work at Sadako's place (along with a bit of electrical work for her), and also by a 'mid-river' meeting with my neighbour Tamura-san, whose home and garden you see whenever I turn the webcam to shoot out the window. He was down in the water clearing out some weeds this morning, and I went down to talk with him about some of the river maintenance problems. It was hours before I could get back to the block ...
Anyway, as I did the other day, I'm linking to a shot taken from the Woodblock Webcam just as I signed off ...
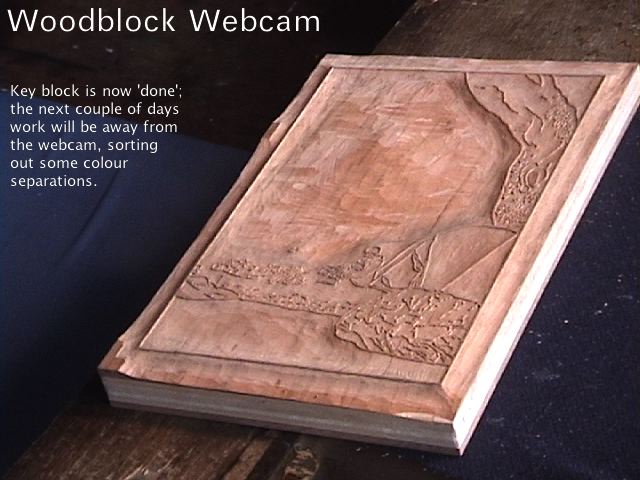
If you click it for the enlargement, you should be able to get a basic idea of the layout of the design. As mentioned, the focus is the campfire, and the other elements around it will disappear into the darkness, illuminated only on the parts that face the light. My campfire was placed near a rock wall, and we should hopefully be able to see some interesting light/shadow effects there ...
I was digging through my print folders here today, looking for something to show as an example of the things I'll be trying to achieve with this print. I don't have anything that has the same overall feeling, but here is one that I can use to illustrate part of what I'm after. It's a pre-war design from Ito Yuhan, published by Nishinomiya. This is an image that I found on the net somewhere of a not-particularly-fine copy:
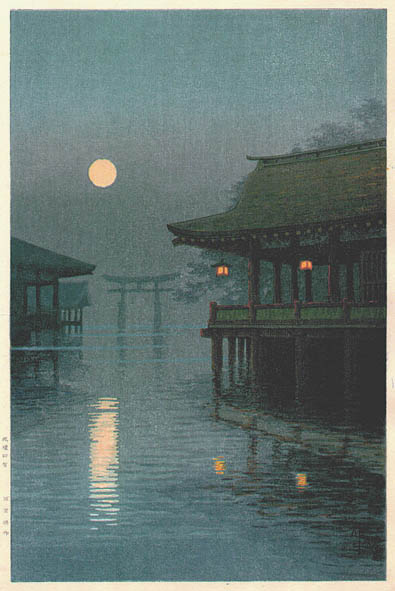
I don't have an 'original' of this print (whatever that means), but I do have one made by Numabe-san, the contemporary printer who has done a number of my Mokuhankan editions. I had dropped in on him one day recently, and he was just finishing up a fresh batch of these for Nishinomiya; he had a few 'seconds', and was kind enough to give me one.
Here's a closeup snapshot of the area under the wooden structure:
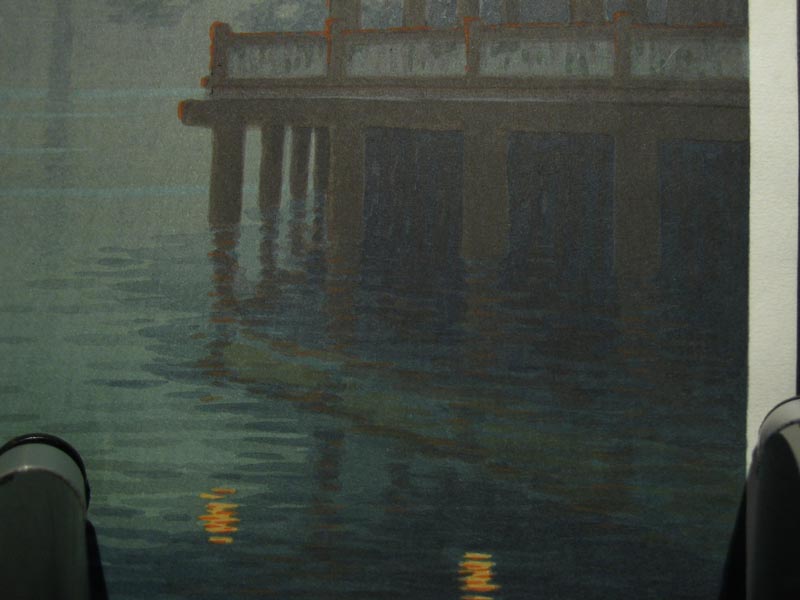
There are actually columns underneath that platform, receding into the distance. Now why would he take the time and trouble to get these 'just right', when the printer of that older (presumably more 'authentic' copy) didn't bother?
Because he knows that there are people out there who know the difference.
Because even if there weren't, it is still worth doing.
Just because!
The thread continues in [River in Autumn - 4] ...