
November 25, 2006 - Tutorial on Printing 'Silver' Powder
The first one of the two new pattern blocks that I mentioned the other day is now ready for use, so let's make today's report into a kind of tutorial on how to print these metallic pigments.
I'm working here tonight by myself as usual, so it's awkward to take photos at the same time; but let's see if I can get a sequence that will show most of the process ... Here's the block that I am using for the silver-coloured pigment.
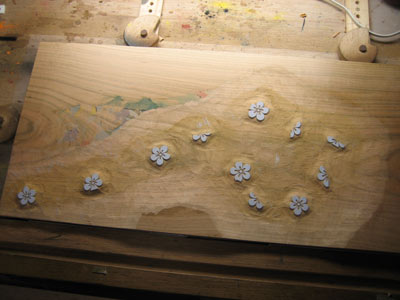
Because we are working with dry paper, I can't easily print an impression of glue, as the moisture in the mix would cause the paper to buckle. So as a base layer for the pigment to stick to, I'm doing an impression using litho ink. I've created an off-white mix - a silvery-grey - that will provide a good undertone for the powder to adhere to.
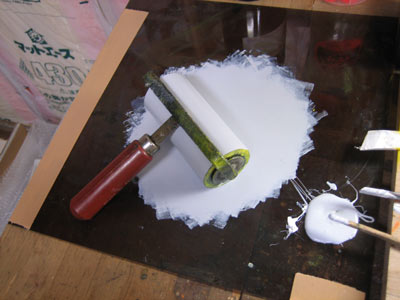
Roll on a thin layer ...
Here's a close-up shot of one of the pattern elements.
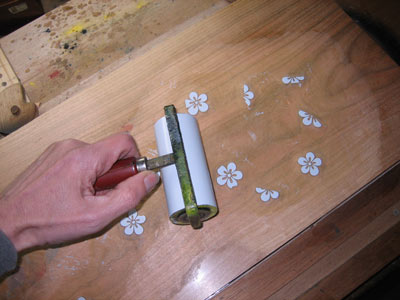
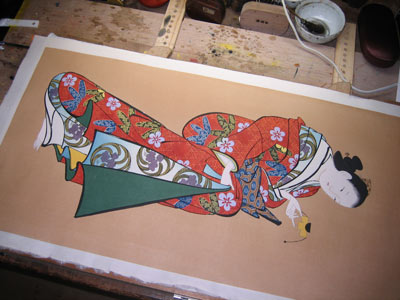
Put the paper carefully in place, and take the impression as usual.
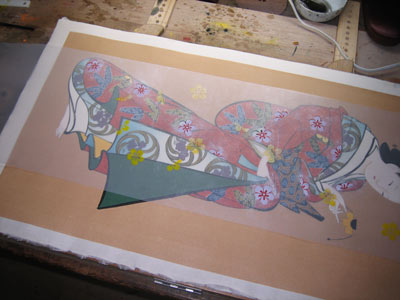
It's flipped over for the next step ... (You can't see it in this shot, but there is a sheet of 'junk' paper behind the print, to stop the reverse site of the sheet from picking up stains from the block below it.)
Here's a closeup. The litho ink is opaque, and has covered up the red in the pattern areas
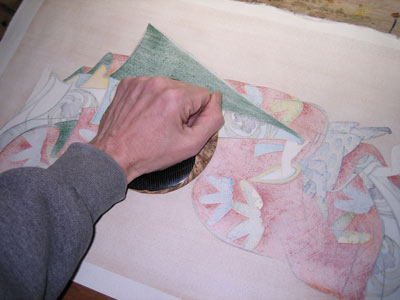
This is difficult to see - I have prepared a kind of 'masking' sheet from a sheet of mylar with the pattern elements cut out. This is to help me avoid getting the powder in unwanted areas of the print. (Ignore the yellow/gold coloured areas here; they were printed on this sheet of mylar the other day, when I was thinking of using the alternate block set for these patterns ...)
Here's a closeup. You can see that the cutouts aren't so exact ... just hacked out quickly ... A small dollop of pigment is in place. I've been using the word pigment, but that's incorrect really. I experimented with various ways to create a silvery colour, and have decided to use a fine powder of mica and titanium. Applied over the greyish base, it gives a nice 'antique' effect, and I think it will stay fairly shiny for many years to come, unlike real silver powder, which would oxidize quickly.
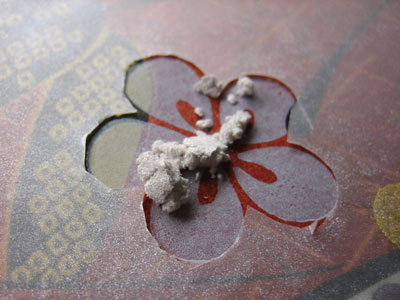
I use a very soft brush to spread it over the printed litho ink.
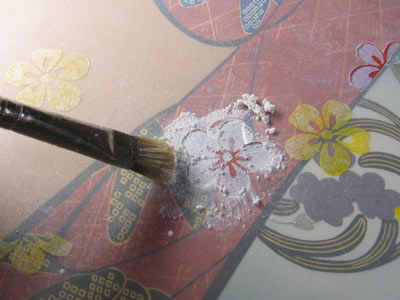
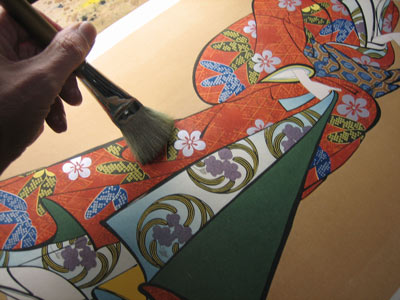
Now, there are three photos missing here ... just no way to take them myself while doing the action. I carefully lift off the mylar sheet, take it to the other workbench, and dump the powder off onto a large sheet of newspaper for reclaiming later. Then, I lift the print up, take it over there also, and quickly flip it upside down so that any excess powder falls straight off. Then, I take the print over near an open window, and use a soft brush to tap the sheet here and there causing more excess powder to fall away. Then, back to the main bench ... using the softest brush I can find, I brush away any final powdery residue around the pattern areas.
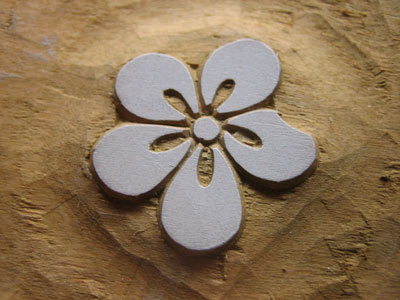
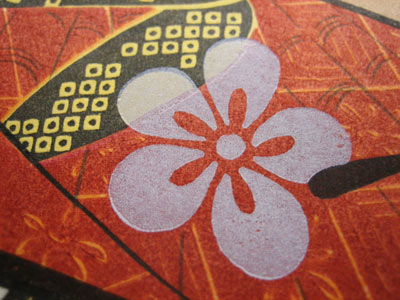
And here's a closeup of one of the patterns.
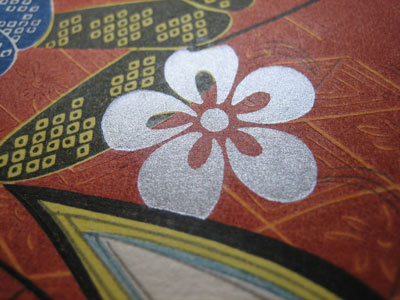
A beautiful and sharp impression, well-registered, and which changes with the light as you move your point of view around ... Nice!

![]()
![]()