
October 10, 2006
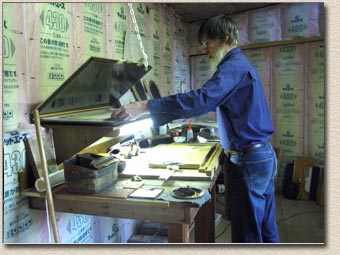
Let's have an overview of a recent test printing session ...
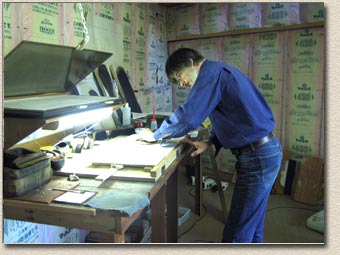
As each block in turn is placed into the printing jig, it is positioned with the help of a number of thin shims. I have prepared these in three sizes - 2mm, .5mm and paper-thin. The blocks and paper are changing with the daily climate variations, and these shims are needing constant alteration from batch to batch. We'll see if things settle down a bit once the stable dry winter weather gets here ...
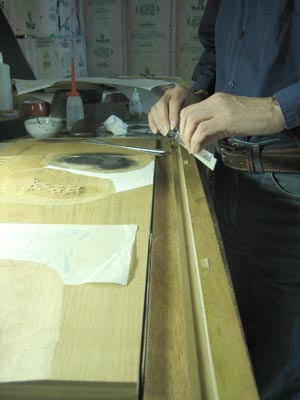
Then, with the shims in place, the three cams are used to clamp the block securely in place:
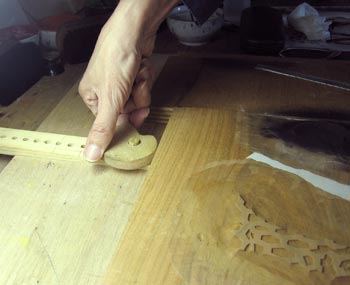
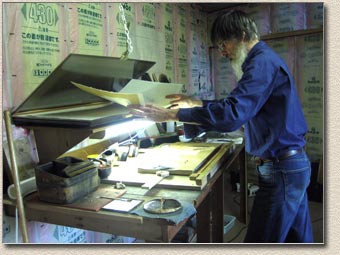
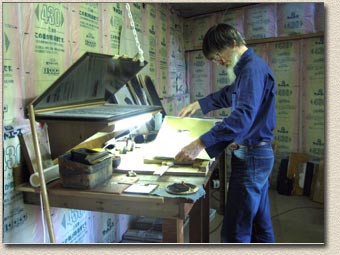
The pigment is then brushed on for an impression. In this photo, I'm using one of my very smallest brushes - this particular block is one that will print a faint blush on the throat ...

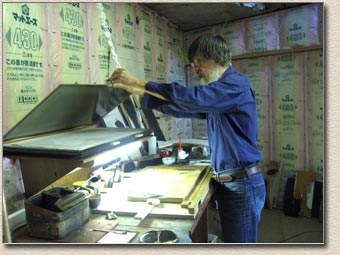
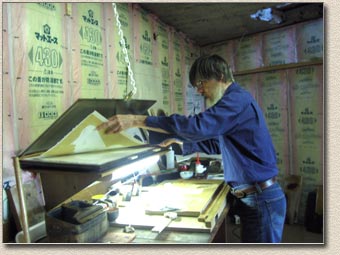
Now the fun part begins. The actual printing has to proceed quite quickly, as the pigment on the block will soon dry out if left alone for more than a few seconds.
The printing paper is moist, and to help maintain it in the proper condition, I have prepared a double-layer 'damp box' in which to keep it. The top compartment contains the paper yet to be printed, and the lower holds the sheets after they come off the block. It is nothing complicated, just a couple of trays with a cover, all made from stiff plastic boards. You can see a few wooden 'handles' on the front, the center one opens the top flap for pulling fresh paper out, and the other two attach to the centre panel, to lift it for putting the paper into the lower compartment. (There is a clothespeg that grips these handles, hanging on the chain.)
Anyway, let's go through step by step ... First step is to open the top flap and clip it up in place:
I reach for the top sheet ...
... and pull it forward over the block. This paper is very difficult to hold when damp like this. You can see how I'm holding it in a curved shape (under tension) to stop it from flopping down.
I guide it carefully into the registration marks, and let it down onto the wood;
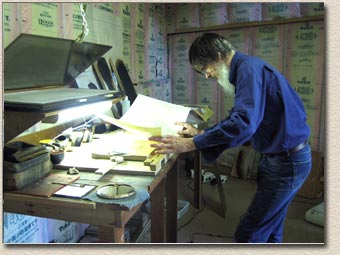
Next step of course is to pull the impression with my baren:
For a very quick little impression like this one, I didn't bother to close the drawer. If it had been a larger one that would take more than a couple of seconds, I would have quickly released the clothespeg. In this next picture, you can see the chain is hooked to one of the other wooden handles, and the lower drawer is now open. A quick glance at the flipped-over paper to check the impression ...
... and then into the lower drawer it goes, face up.
Unhook the chain, close the box, and get ready to brush on the pigment for the next impression. (I'm thinking that I will attach magnets to the handles, with a piece of metal suspended on the chain; that should made the opening/closing a smoother maneuver than it currently is.)

As I mentioned on the previous page, the full set of blocks is not yet completed, but there are enough done to get quite a good way along the process, and to get an idea of what the print should look like. That was a pretty poor impression I showed you the other day; I think I should let you see how it has improved since then. Here's test print #8, finished up last night ... it has 39 printing impressions ...

Now this is looking a lot better, don't you think?

![]()
![]()