Posted by Dave Bull at 2:46 AM, March 8, 2012 [Permalink]
Back to the bench, at last!
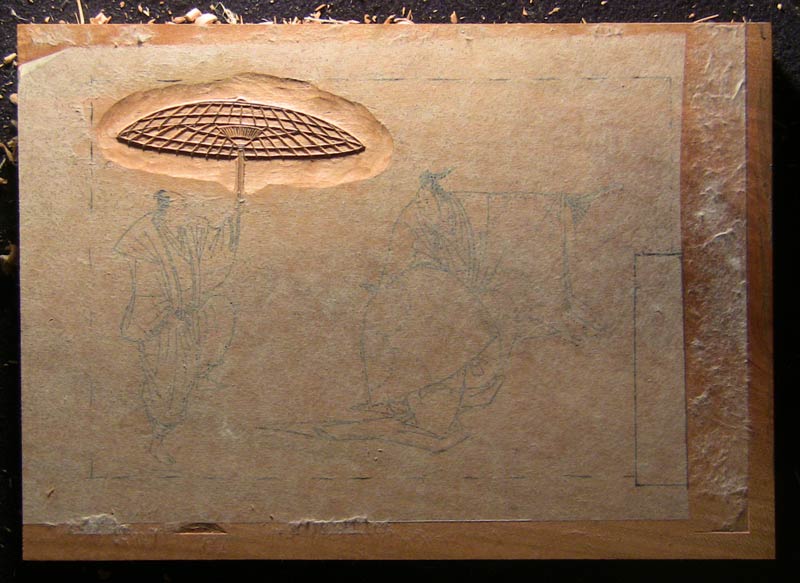
That's not a whole lot of progress for one day, but - as usual - there were plenty of other things getting in the way. But anyway, I'm back in the saddle, and work should progress smoothly from here on, I think.
Good start! Looks promising! Nice to see you back at the bench. Wishing you plenty of success with the new series

Serious question. I used Usomino for drawing and gluing to the first block. It has two different surfaces. One is smooth and a bit shiny, the other ... well, more fuzzyish. Now, after carving this key block, for transferring it to the rest of the blocks, I am printing dry and gluing directly to the next block with nori. Which side do you recommend should be printed on/glued to the block? Thanks so much. Under the gun here ...
Carole Dwinell
Are you planning to use the usumino for those transfers? Just by itself? I myself would never try such a thing ... it is far too thin and delicate to control securely.
I use a 3M low tack spray adhesive (#55) to bond it to a heavier, more stable paper first. I then treat the registration corner of that paper with a bit of nail polish (clear Top Coat) to ensure getting things as accurate as possible.
I then cut registration marks on the fresh colour blocks, ready to receive this sheet after it has been printed. When all is ready, I do the impression - dry, with only as much sumi as necessary to get a readable image - and then glue it face down on the waiting block. I use either a mucilage glue (for images without too much detail), or lightly thinned white glue (if there is much detail).
As for the mino, the smooth side is technically the front, but there isn't really any difference other than the smoothness, which is a reflection of the fact that it was placed that side down on the drying boards.
Thank you, Dave-san,
This is very interesting. My plan was to print the key block on the usomino, INCLUDING the kento. Then carefully weight half the drawing (5.5"x 9") on the new block, and with a bake, swiftly and smoothly paint the nori onto the new block, then from the center out, using my 2.5" Dose Bake, adhere the transfered print to the block, then repeat with the other half. This is the way that my teacher, Tomoko Murakami demonstrated the gluing of the original drawing. It worked SO WELL!
I am using shina and the glued original drawing on the 'soon to be' key block seemed to totally eliminate the chipping that has sometimes occurred in previous works on that particular kind of wood.
And ... since the original drawing is my first attempt at a very fine line key, there will not be much 'wet'ness when I print it on the dry usomino.
Tomoko-san suggested that it would be better to do the ensuing colors with the use of a jig that keeps the blocks in the exact same position, and then for each new color block, print the key block on to a piece of paper that has been carefully secured, slide the key block out and put a new block in for an offset image, then repeat.
So I now have three options. What is the purpose of this exercise? To try and emulate tradition, to avoid modern tools and materials. I've read and seen about the traditional process. I am especially drawn to printing on the paper to transfer method because it especially seemed to really hold the block together during carving.
Thank you so much for taking the time to respond. I am pondering as it is not so much the end result that this is about but the technique. Regards, Carole
The method you describe - transferring the kento - is of course the more traditional one, is perfectly viable, and is what I would use if I were making a block set for use by another printer (they like to cut their own registration marks).
The transfer jig is the method long in use at the Yoshida studio (and I mean long - probably since before I was born ...) They have a wooden jig with a base to hold the block(s) in a set position, over which is mounted a frame with a sheet of mylar tightly stretched across it. The key block is put in place, a light oil-based ink is rolled over it, and the mylar then laid down and lightly rubbed with a baren. This transfers the impression to the mylar. Remove the key block, put a blank colour block in place, lower the mylar, rub again with the baren, and presto, the transfer is made ...
Thank you yet again, Dave-san. I spent yesterday learning and learning. Learning that what is in my head as reasonable doesn't always work. So ... lesson # 2392 (that's just this YEAR!) is that you are right. The usomino while lovely for transferring the original drawing (because I 'drew' right on it) by itself does not work as well with transferring with ink. It puckered for lack of a better word, when the sumi ink/nori inked image dried. However, the print was BEAUTIFUL. I LOVE that paper. I then tried it on some other papers, but it also puckered on the tracing paper, and the parchment. I then printed the image on regular copy paper, and it printed just fine but it of course is not transparent enough at all to see the drawing to carve if I glued it onto the block. At least I don't think so. It did not transfer. I'm going to glue it anyway on some scrap shino to see if it GETS transparent with the nori. Tomorrow.
I also printed the block on mylar that was attached in a secure manner to a jig, but again it did not transfer well to the block. Perhaps it is the ink consistency ... or not wetting the block enough. I tried using both a surikomi bake and a takech roller but again not happy with the results. I did not use an oil based ink being afraid that it would resist the eventual water based mokuhanga inks.
I will work again tomorrow for your 'presto' moment!
Regards,
your distant friend, Carole.