Posted by Dave Bull at 2:31 AM, October 30, 2011 [Permalink]
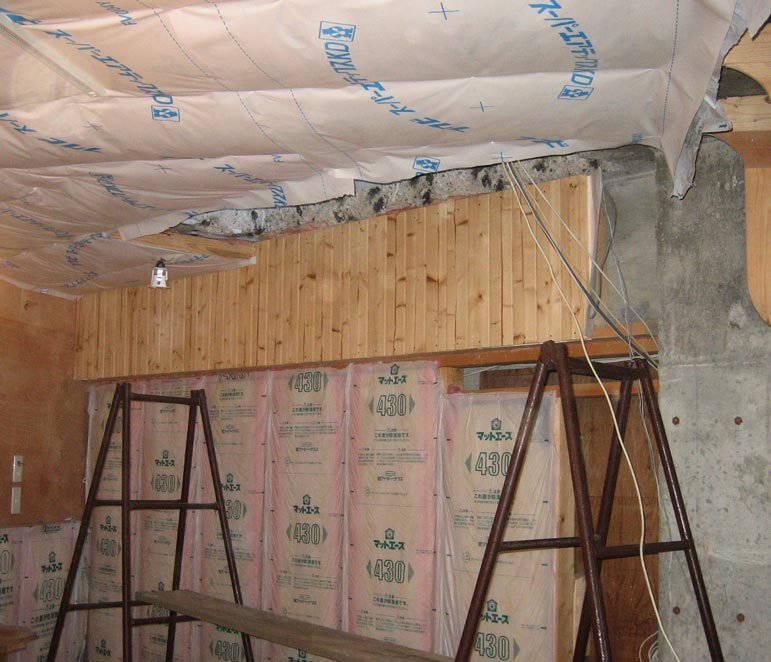
After - literally - years of paralysis on the studio construction, I finally got some work done down there this weekend. First my stepladders came out of storage, and took a position under the stairwell hole:

This hole was hammered out for me shortly after I bought this place, by a couple of local handymen. Here's a snapshot taken when they were done:
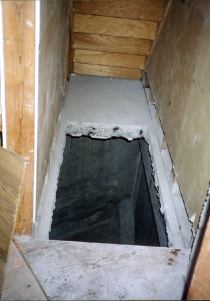
If you had told me at the time that it would be ten years - to the month! - before I moved forward on it, I would have looked at you like you were nuts ...
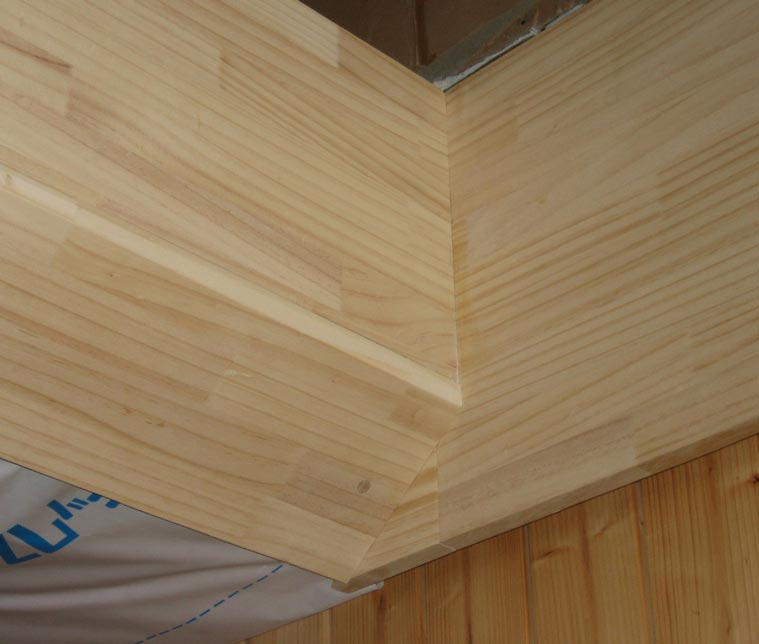
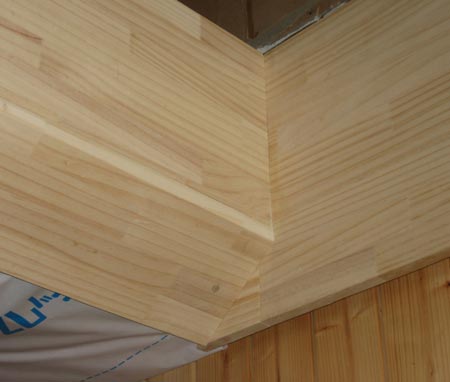
Anyway, here we are, with the rough concrete edges nicely boxed in:
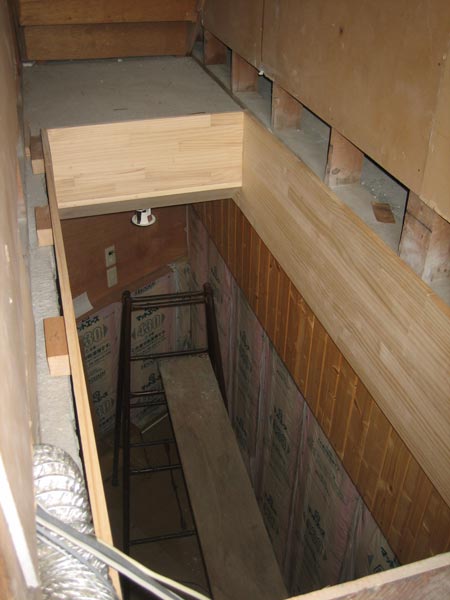
You can see how the 'box' is held in place by cleats screwed into the back faces. These rest on the flat surface of the concrete floor. (I will mix some mortar and fill the empty space between the rough cut concrete and the back of the boards, to help give the thing a more solid feel.)
Here's what it looks like looking up from below:
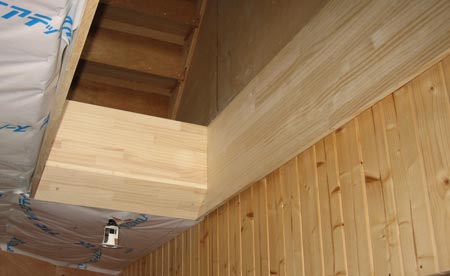
It was fun getting all the angles worked out to try and give the maximum amount of headroom.
There is no getting around it, this will be quite a steep staircase when it's done. That will come later though. The immediate priority now - I'm being 'pushed around' here by the two printer ladies - is to get the room insulated. So I'll cap this box with a temporary (insulated) cover, and turn my attention to finishing the insulation in the workroom. Perhaps there'll be another update tomorrow ...
Hi Dave,
So you're a carpenter now. Well done! I hope to come and visit one day. In the meantime, thanks for sharing....
Best wishes and get the ladies warm....

Maybe use expanding foam rather than mortar behind the boards.
expanding foam ...
Tom, how tight a seal would that produce? Watertight?
That's an issue here, because all the water/sewer pipes for the building come from the street directly into the B1 level (that's the first basement; the workshop is below in the second basement - B2).
It's quite possible that when (not 'if'!) we get our turn at a major earthquake, these pipes are going to fracture and there will be some spillage before they get shut off. Potentially a lot of spillage.
The floor of B1 is a flat concrete pad, and this hole is where all that water would drain out. So the idea is to have this box act as a cofferdam surrounding the hole to a height of about 10 centimeters, thus making the B1 outside doors the lowest point of exit for the water.
Having this box waterproof just may save an awful lot of grief one day ...
Expanding foam would be more watertight than mortar as it would adhere to the timber and the concrete and forms a closed cell foam matrix. Mortar will not adhere well to the timber. However, neither solution is a proper tanking method. A flexible paint that laps over the concrete and the timber is the real answer. Ideally this latex paint would have some fiber reinforcement tape bedded in to it. The change from the concrete to the timber is the point where movement will occur and a crack may appear. At this point the flexible painted membrane is under most stress and in danger of ripping, so the answer is to put down a bond-breaking tape - like packing tape to stop the membrane sticking to the area close to the crack, thus allowing it to stretch over a wider area. Phew! Probably overkill - the foam alone should do a decent job.
I thought the idea of putting wet mortar against the pine boards would not be good for the timber and it would be a pretty messy job underneath. The foam can also be messy, especially if you are gung-ho with the can. Unlike the mortar you can control the foam underneath with cardboard and tape. Best to build it up in a couple of layers to avoid the molten lava effect. Good thing is that the excess can be carved off with a sharp knife once it is set.
Depending on the importance you put on cosmetics, you could surround the box with flashing and seal it with roofing compound (the thick black goop that seals around skylights and chimneys). Expanding foam may well wind up waterproof, but that's not really what it's designed for.
If you do go with self-expanding foam, remember to open the windows, the fumes it gives off are _very_ toxic...