Posted by Dave Bull at 4:03 AM, February 11, 2011 [Permalink]
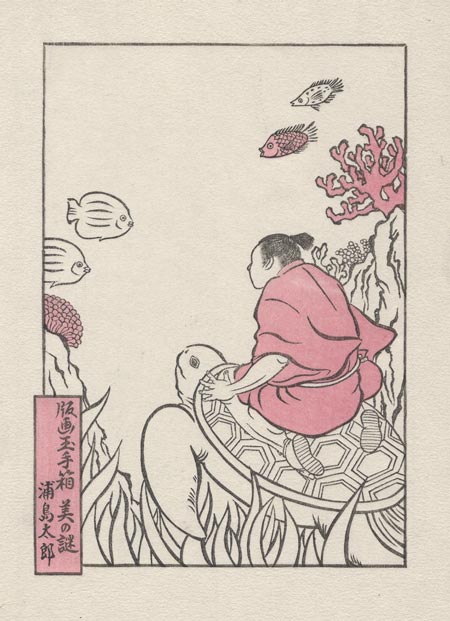
We start the colour blocks with the traditional tint known as beni. The cartouche area will be untouched from here on in, but the rest will probably all be overprinted:
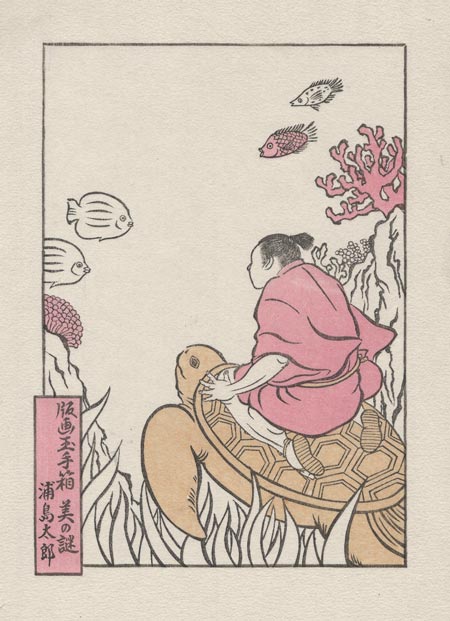
Next up is a simple one - a base tone for the turtle area:

Most of the prints in this series have a kind of 'technical' point tied to them, and this one is no exception. Here's an excerpt from the story that will accompany the print when it is mailed out to collectors:
... and that brings us to another very important point about traditional Japanese print production, one that is unfortunately not readily visible to the typical viewer.
Three different green tones appear in the finished print, but I used no green pigment at all (I do not own any). Purple is there also, as is orange, but again, neither of those tones appeared anywhere in my mixing bowls. Our colours are all _transparent_, and thus create blends when overprinted. The bright yellow of the tropical fish in this picture is also printed in other areas - in the sea grasses and the orange fish. Blue also printed on the grass thus creates a green tone, while light red printed on the fish turns it orange.
Combining colours like this does save some time by reducing the number of blocks required, but that’s not really why we do it. Colours created in this way - blended in place _on the paper_, rather than being mixed separately in bowls and then applied side by side - have a wonderful harmony and coherence. This is one of the least-known ‘secrets’ of the old prints, and is the single most important factor contributing to their visual appeal.