Posted by Dave Bull at 7:31 AM, November 23, 2010 [Permalink]
With all the recent posts about the Gift Prints, the mortgage, the US shipping problems, and the Mokuhankan planning, you might get the impression that I've given up printmaking! But of course, the work has been continuing, although there haven't been very many days where I've managed a 'full' eight hours at the bench ...
So here's an update!
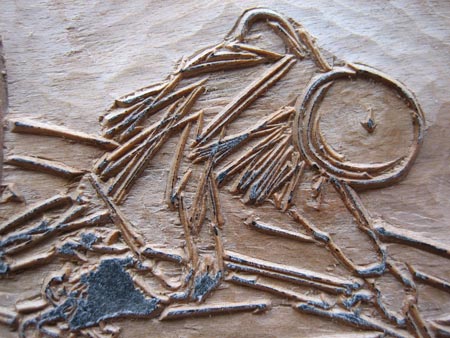
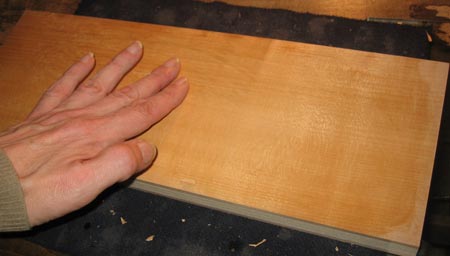
The designs for the next pair - #9 and #10 - were wrapped up just over a week ago, and I got busy on cutting the key block. That was finished last night, and here's a photo, before the hanshita scraps were washed off:
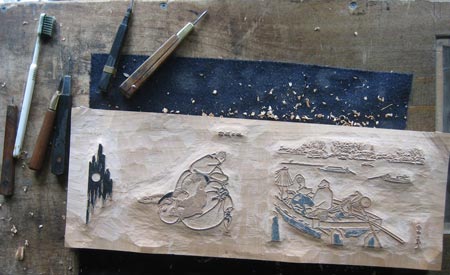
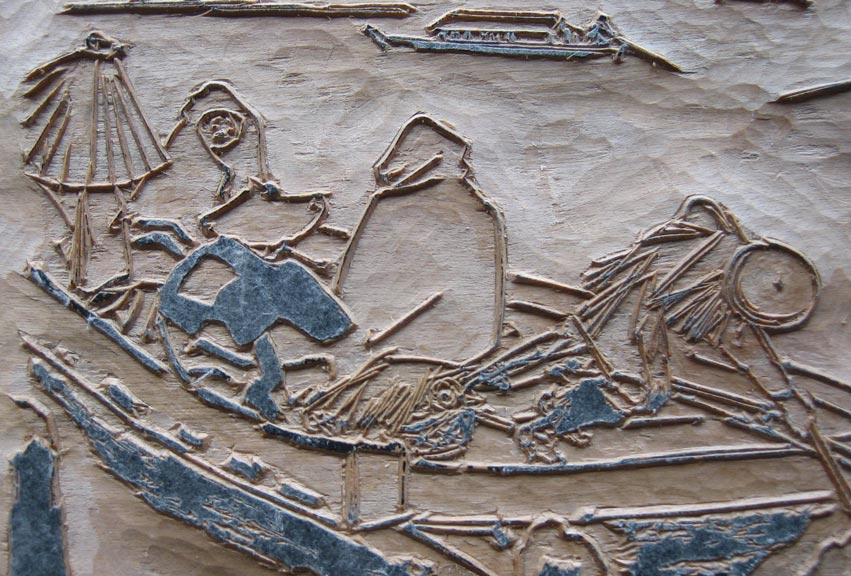
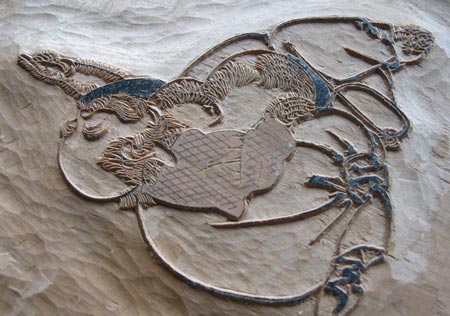
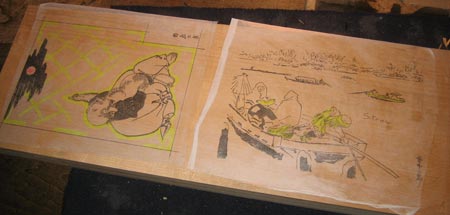
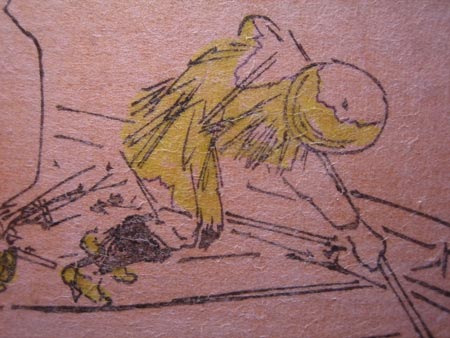
Let's have a few closeups (these are all clickable for enlargements); this is part of print #9, which is a small-scale reproduction of a Yoshitoshi original:
#10 is a scene 'stolen' from the background of a larger print; here's part of it:
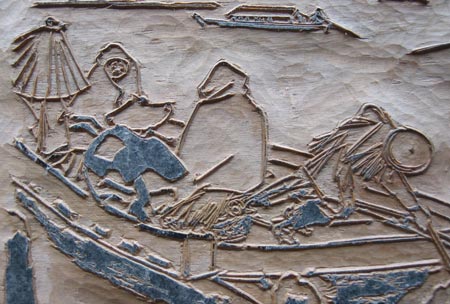
... and a closer closeup:
(Both of these prints will have a 'technique' theme - the Yoshitoshi will demonstrate kasure-bori (carving in imitation of a brush partly running out of ink), and the landscape will utilize one or another (I haven't decided yet) of the 'spray' techniques of producing snow.)
As you can see from those images, this has not been the easiest piece of wood to work with. It is far too brittle, and although I managed to cut the lines cleanly, clearing the 'floor' between the image areas was nothing but trouble. That won't affect the finished print, as those areas of course do not touch the paper, but it's embarrassing to have such a mess left behind ...
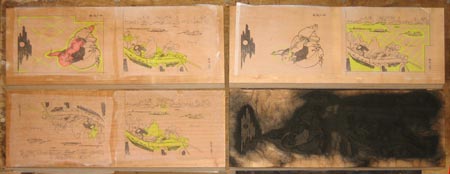
Here's what it looks like after washing and taking some proofs:
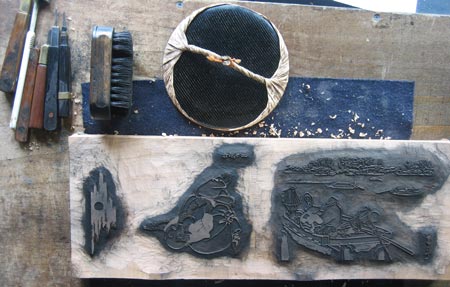
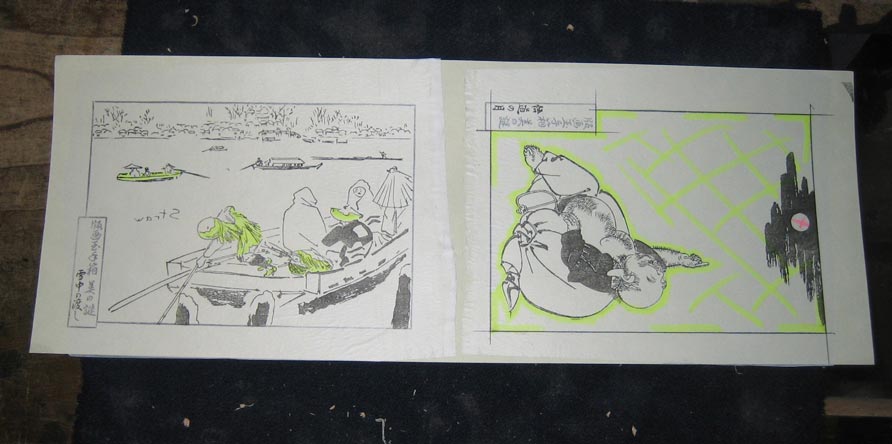
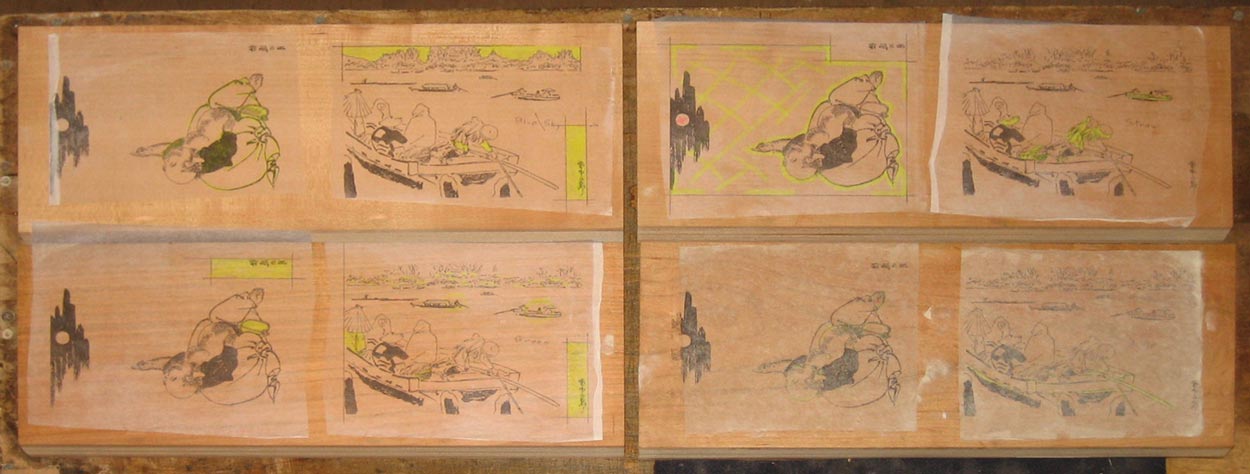
The next step is to prepare the kyogo - the sheets that will be marked up with zones for colours. The procedure for preparing those for these Mystique prints is a two-step process: first I use a stiff sheet of paper and print the border outlines (from a block that is being used for the entire series). I then use low-tack spray glue to stick a piece of very thin gampi paper in the areas where the image will be. This laminated paper is then used to take an impression from the freshly-carved keyblock.
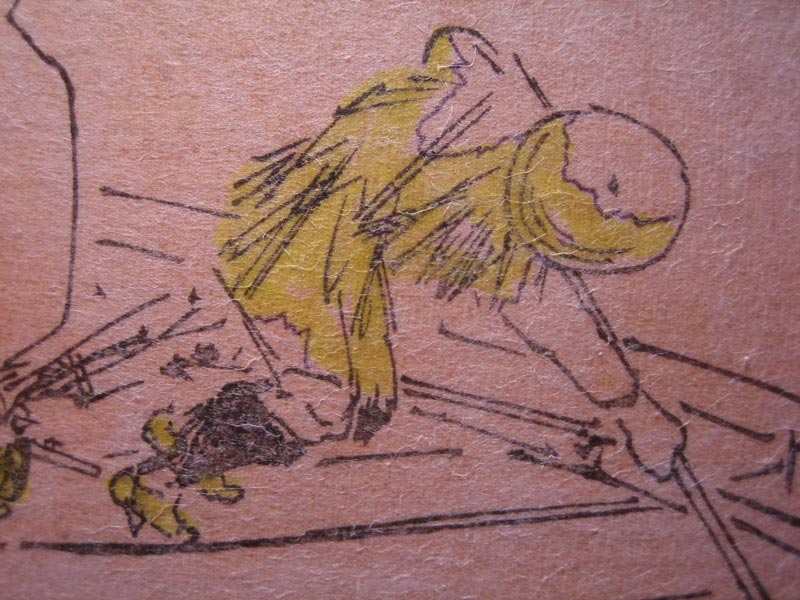
Here's one of the resulting kyogo, with some areas marked out for carving (in yellow):
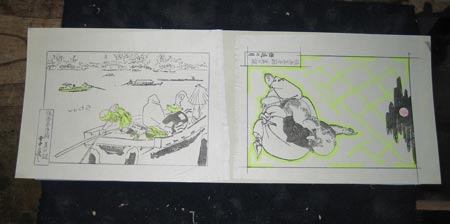
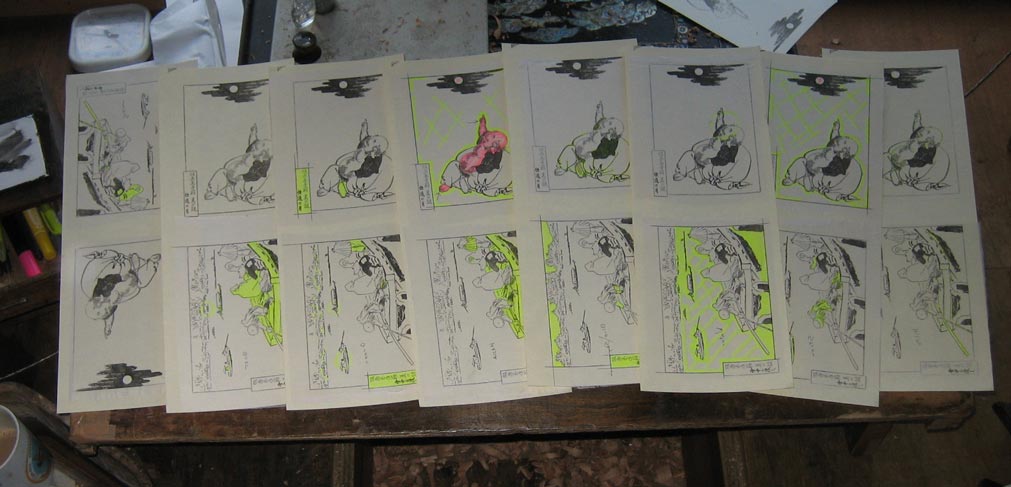
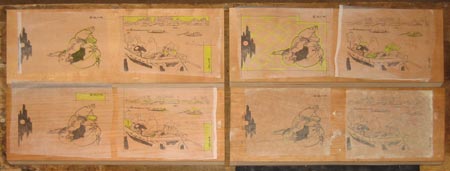
And here's the complete collection for this print pair:

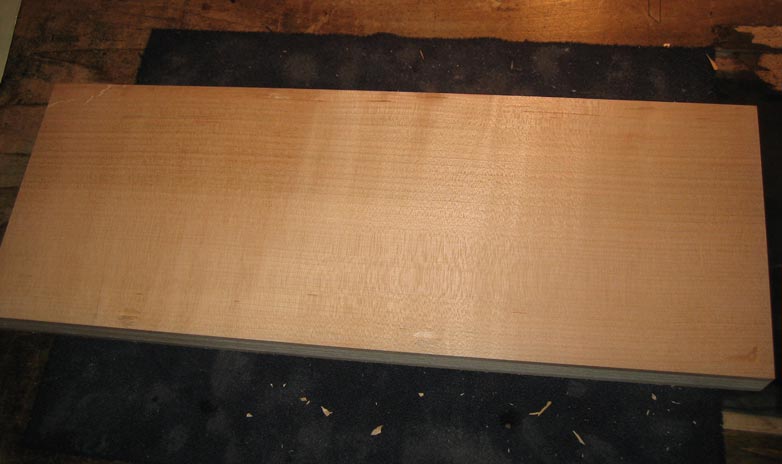
From my storeroom upstairs I picked out three more pieces of wood - this is cherry laminate I am using, from Woodlike Matsumura. I pick one piece with particularly smooth grain - this will be for the colour blocks with areas of wide and smooth colour - but the others are just 'random' as they come. I have of course ordered them the appropriate size for this series.
You can do this whole kyogo process two ways - print them with the location of the registration marks showing on each one, and then cutting matching marks after pasting them down, or print them by putting the sheets into the registration marks on the keyblock, and then pre-cut marks on the fresh colour blocks. That's the way I'm doing this one, and here is a fresh block with the marks cut:

This image got a bit blurred, but anyway, you can see the basic structure of the horizontal registration mark - just a line with a notch to allow the paper to fit in:

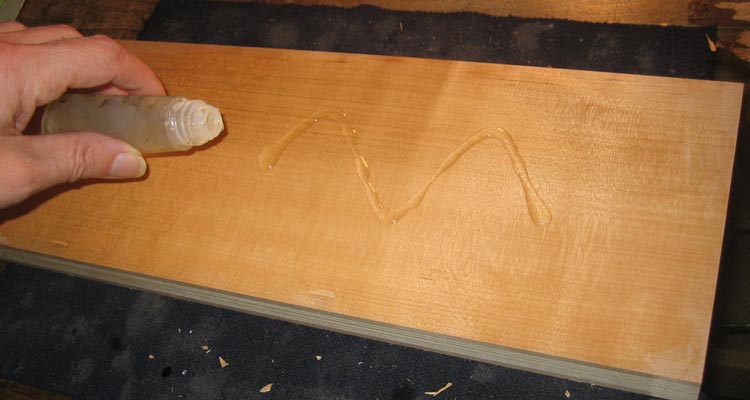
I use a thick mucilage glue:
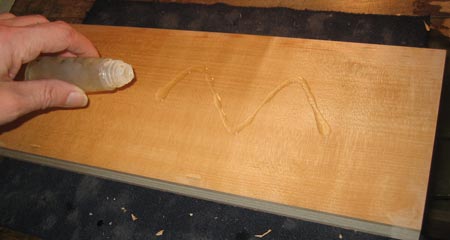
Spread it around:
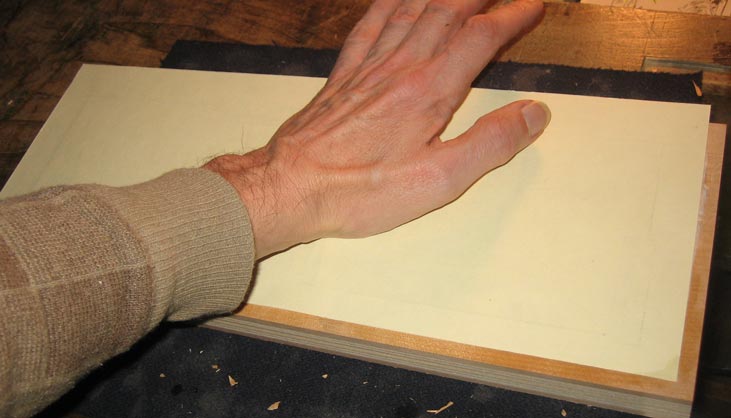
I can't show the next step - laying the sheet down - because I can't hold the camera at the same time - but once it's on the glue, it gets rubbed down firmly:

And the stiff backing sheet is gently peeled away ...

... leaving the two pieces of thin gampi (face down) on the wood, in exactly the correct position:
Here's a closeup. The lines are very sharp and clear, ready for carving colour zones:
Here is the whole set; first one side ...
... then flipped over (these two images have larger enlargements ...):
All ready for colour carving, which will begin later this evening.
By looking at those - and studying them carefully - you should be able to tell what the finished prints are going to look like!
Thanks for showing us that alternative way of registration using pre-cut marks. Is there a reason why you would choose one way over the other?

Dave...you give the impression that you pasted the kyogo sheets to both sides of the blocks right away but would you not run the risk of damaging the pasted down gampi on the opposite side while carving and rotating the block around ?
damaging ...
There is no damage ... in a lot of the photos you can see a dark blue piece of cloth. It's kind of a thickish piece of felty-like cloth which 'lives' on my carving bench permanently, and the block in use sits on it all the time, protecting it from scratching.
alternative way ...
I used to use the other method exclusively, mostly because it is 'traditional', but these days I use the pre-cut marks most of the time. My eyes really are going downhill rapidly in recent years, and this method doesn't involve accurate cutting of the registration marks - their position comes out automatically. The traditional way involves very careful cutting of those marks, and I was finding that I was losing accuracy, being unable to see them clearly ...
i was thinking the glue ur transfer emej to wood what name glue
thanks
transfer [image] to wood what name glue ...
The glue I use is a 'mucilage' - based I believe on gum arabic. It's quite sticky, holds the paper nicely, and washes off easily.
If the work has many fine lines though, I use something stronger - an actual white wood glue, although this is more difficult to wash off once the carving is done.
Dave, could you explain this registration method in slightly more detail? Do you mean you're cutting two registration marks - the kento AND the hikitsuke? Many thanks.
Do you mean you're cutting two registration marks?
The registration marks - 'L' kagi, and straight hikitsuke - are exactly the same as always, and when the block is being passed to 'Printer Dave' to begin his job, he will have no idea which method was used to create them.
Traditional method:
1) cut the keyblock lines, cut some registration marks
2) print the kyogo (colour separation sheets) by using larger paper than normal, rubbing ink over the top of the registration marks, and placing the paper over the top of the whole thing - not into the marks themselves.
3) the kyogo now have the locations of the marks printed on them. Work out the colour areas.
4) paste the sheets down onto new, completely untouched blocks.
5) Cut the colour areas, and cut the registration marks, which are visible on the kyogo.
This modified method:
1) cut the keyblock lines, cut some registration marks
2) print the kyogo by placing the paper into the marks themselves - just as you will eventually print the actual final copies later.
3) the registration marks do not 'show' on the kyogo, but are of course represented by the edges of the sheet. Work out the colour areas.
4) cut a set of registration marks on each of the pieces of wood that will become colour blocks.
5) paste the kyogo onto these blocks, fitting the sheets carefully into the fresh registration marks.
6) cut the colour areas
One other point to mention is that with the first method, the 'straight-line mark' will automatically be in the same place on each block, but with the second method, you have to make sure that you place it properly yourself - measuring the appropriate distance from the corner mark, and making sure that they are in a straight line together ...
Thank you Dave! Great instruction as ever. I have been using a registration jig, and still managing to end up with very mixed results on multi-block images, maybe I will try this method now, or go back to carving my kento marks on each block of wood, or simply stick to one or two colour images leaving less room for error! It's so frustrating after working hard on the carving and preparing the paper and mixing my colours to then see my prints misregistered.
to then see my prints misregistered
Remember though, that these marks aren't carved in stone. If something is wrong, and a colour is mis-registered, just move the mark.
When I first sit down to start printing, the marks are usually about right, but it's rare that they stay that way through an entire print run. Either a block will expand a bit from all the moisture, or the paper might start to get distorted from the rubbing, or etc.
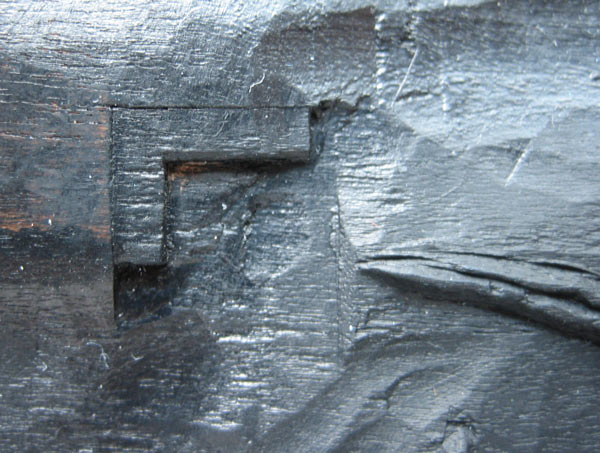
Just get a chisel out, and either pare the mark back a bit, or jam a sliver of wood in there and cut a new mark. Here's one that has been moved in two directions - 'out' on the vertical face, and 'in' on the horizontal face :
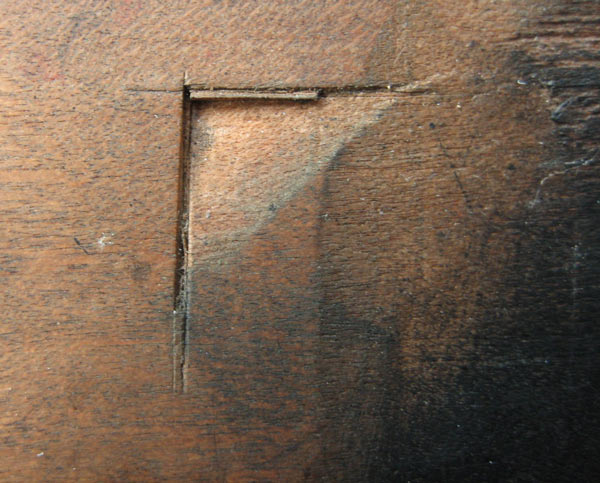
Old blocks can end up with a forest of shims in the corner ...
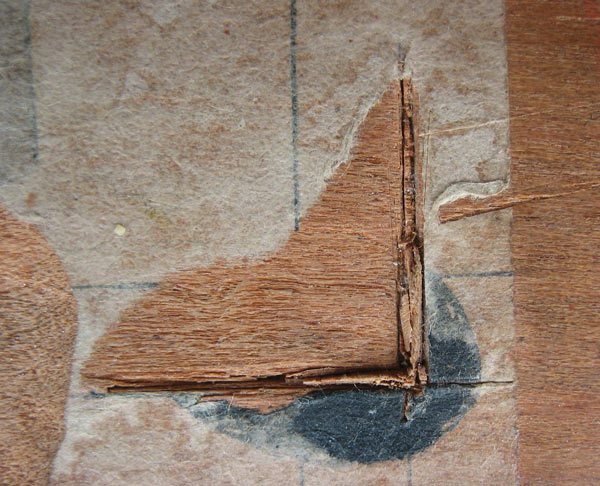
And sometimes you just have to clear it all out, plug it, and start fresh: