Posted by Dave Bull at 8:28 AM, July 27, 2010 [Permalink]
This thread about paper sizing is continued from here, and started here.

I went back up to the 'home center' this morning, to make a final decision on what to use for the heating tray. One day last week I had hopped on the bike and headed for a couple of local sheet metal shops - going by the listings in the Yellow Pages - but no luck ... they were all gone. And it's just as well really, because even if I had found one that could do the job, I know what they would charge - an arm and a leg. I remember when I had a similar tray made up for me around 40 years ago, for steaming and bending guitar parts, and that was around $20 I think, but there is no way I would ever get something for that kind of price these days!
I stopped by the local indigo dyeing workshop, to ask the owner Murata-san if he had any recommendations on somebody who could do the job, but he didn't, and he thought it would probably be 'around $400 ...'.
So it was off to the home center, to either get some supplies for making one, or to find something I could convert. And I found it straight away!
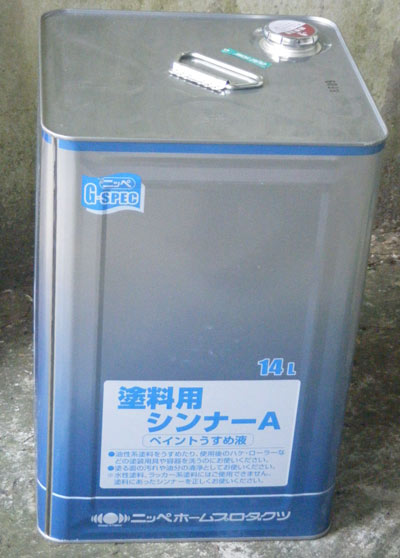
Of course, a large-size paint can! This one is not paint, it's thinner, which will clean out of the can much more easily than paint would, and it is very cheap - only 2,400 yen for the 14 liter can. I roped it onto the back of my bike, brought it home, and transferred all the thinner to an old 'poly tank' that has been gathering dust here. So I now have a lifetime supply of paint thinner ... not that I ever paint anything, but it should be useful for cleaning rollers and stuff.
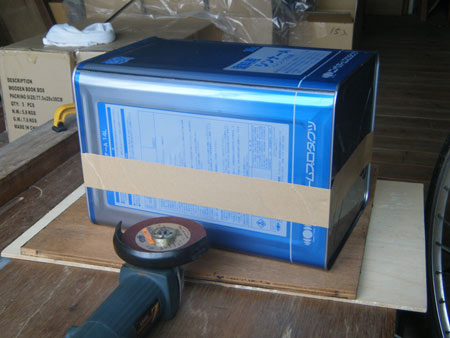
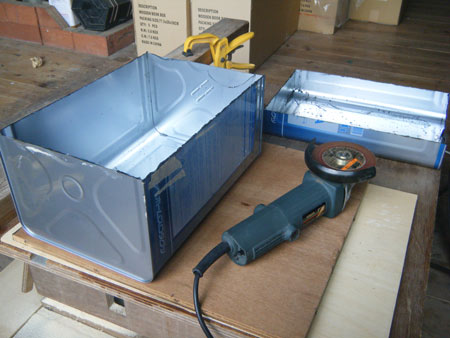
Anyway, to work ... First step (after washing it out thoroughly) was to split it in two:
The metal of the can is way too thin to support itself now that the can is cut apart, so it's necessary to make a kind of frame for it. After notching out the corners down about 5cm, I cut some thin slots in four pieces of wood. Each wooden piece slots over one of the sides, covering up the raw edge, and the metal is hammered and rolled over a couple of times.
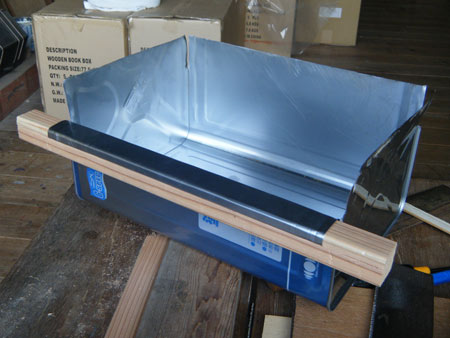
I repeated this for each side, and then securely screwed them all into place from the inside.
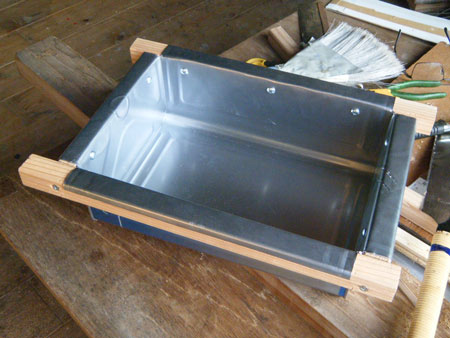
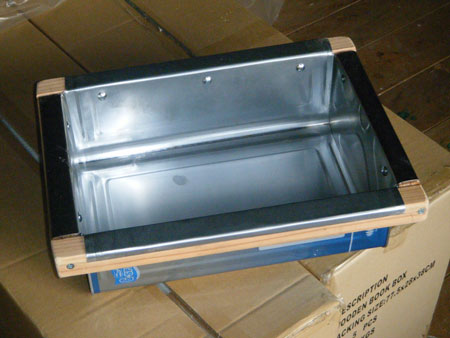
After cleaning up the corners a bit, it starts to look like a sizing tray! It's very 'tight', completely waterproof of course, and sits perfectly flat on the table.
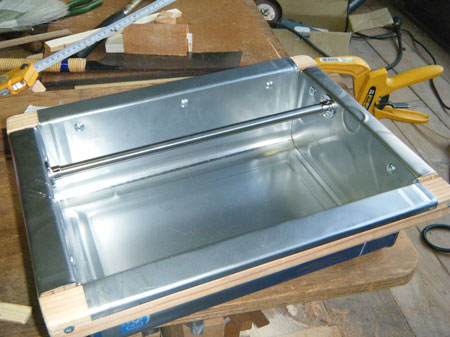
I fitted a stainless steel rod across the top, to act as a 'wipe-off' bar:
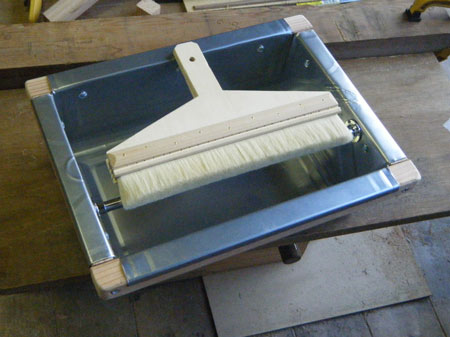
And here she is, posed with my new dosabake (sizing brush), ready for action!
This thread about sizing continues here.
Very ingenious! I must say, even the things you build on your own for your own shop use, look like they could be sold on the open market, so clean and precise. Usually, the stuff I see people build for their own use looks like caca. Once again, very well done.
Boy, you are resourceful! You haven't said how you're going to heat it uniformly.
Very nicely done!
Completely impressed!
You haven't said how you're going to heat it uniformly
That's coming next of course, but before that, I have to leave this for a bit and try and catch another juggled 'ball' that is about to hit the ground - printing out some of the My Solitudes book pages for Ichikawa-san to make some more books (for back orders). There are no 'minions' here to do that kind of support work, so Mr. Master Craftsman himself (hah!) is going to have to do it ...
Thanks for the nice comments, guys!
You never cease to amaze me with your resourcefulness...
You have unbelievable patience. I would have destroyed this trying to make it work... oh, wait, where is the other half? Is that the one you destroyed getting this to work and you are not showing us that one?? It would make me feel a lot better. . . hahahaha
Good job as usual
Well, now that you mention the 'other half' ... the part I didn't use ... I did at first consider cutting the can the 'opposite' way around - incorporating the original 'pour spout' in the part that I kept, instead of leaving it in the offcut. This would have given me a sizing tray with a 'drain' as it were (using the original cap to keep it sealed during use, of course.)
But that cap has a thin plastic seal, and considering that this tray is going to be used on a heater, I thought this might cause leaks and trouble. And anyway, it's an open tray ... I'm not going to have any problem emptying and cleaning it!
But if you do have any ideas for how to use that smaller unused section, let me know - before next Tuesday, which is the monthly pickup day for non-burnable, non-recyclable garbage!
You have unbelievable patience
Patience? I had a most pleasant and peaceful day! I lazed around in the morning doing email and stuff, then took a bike ride (about 8km or so) to the home center to get those supplies. I had a light lunch at a bakery on the way home, then a little 'napper'. (Long hot bike ride, you know!)
Then, for the rest of the afternoon, I messed around in the large (and cool!) room in the first basement overlooking the river, thinking twice and cutting once, while building this thing.
I finished it up just before dinner, then spent the evening doing some paperwork and catching up on some reading, etc.
And they (you!) pay me for this! :-)