Posted by Dave Bull at 4:24 AM, April 20, 2010
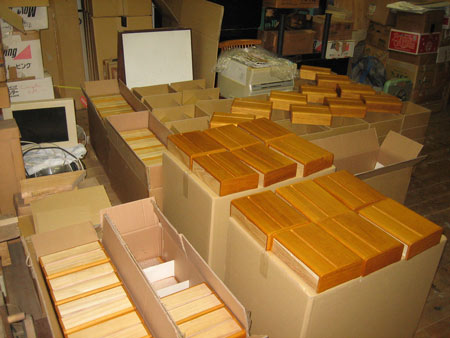
Time to fix the cases! With the first batch of prints now done (actually still sitting under the drying boards, waiting to be trimmed, etc.), it's time to figure out what to do with the cases.
There are two parts to the job - gluing the inserts into the drawers, and widening the slot for the acrylic panel. The guys at the wood shop sent over a box of inserts cut to the correct size, and they have done a magnificent job - the pieces are exactly the right size. I did a test on one drawer, and the four pieces just perfectly squeezed into place. That part of the job should go with no problems.
But widening the slot is a lot more complicated. I spent this morning in the usual three-step procedure: think about various approaches, decide on one of them, and then ... do it! I made a quick bike trip to the nearest 'home center' (which is actually not all that 'near' - around a 30 minute hard ride ...) and picked up a small hand-held trimmer/router kind of tool, then built a jig so that I could cut the slots accurately.
Here's how it turned out:
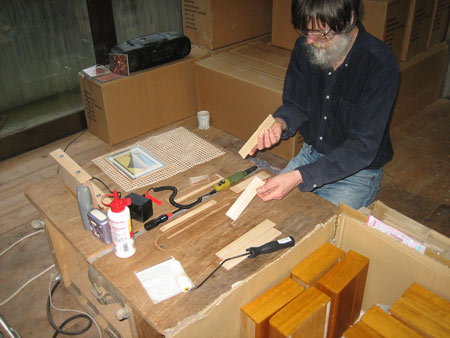
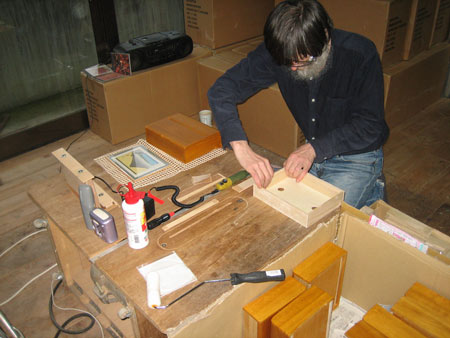
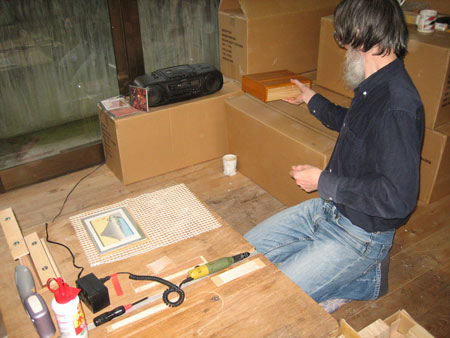
The scene of the crime - down in my 'first basement', the room that mostly serves as a storeroom. I'm going to work on the top surface of my table saw:
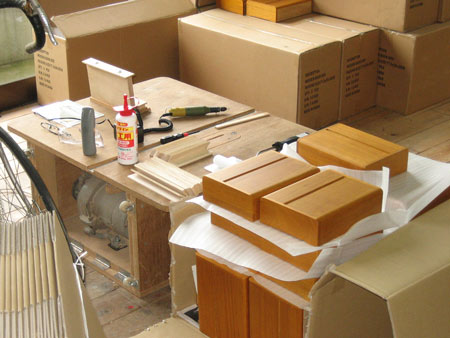
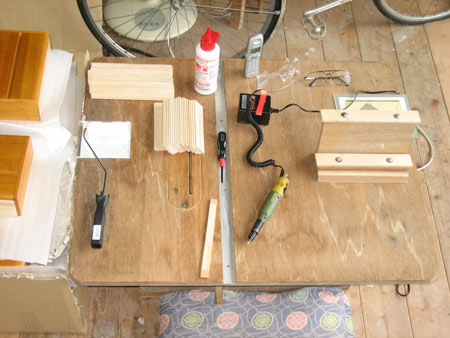
Here's a shot with all the tools, etc. laid out. We'll step through the procedure in the subsequent photos ...
Here's the main jig. It has three 'points of contact' for the trimming tool, two slanted edges to hold it at the correct angle and a base piece to control the depth. The guide pieces have slots (hidden under the washers) so that their position can be adjusted by loosening/tightening the screws.
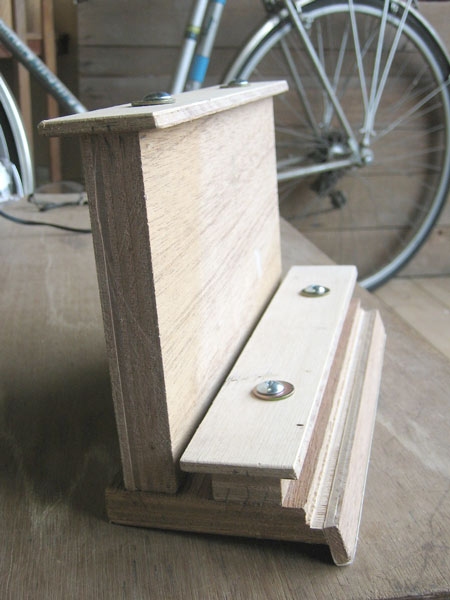
The small 'lip' piece at the front of the bottom of the unit slips right down into the slot on the top of a case. It sits very firmly, and needs no further clamping.
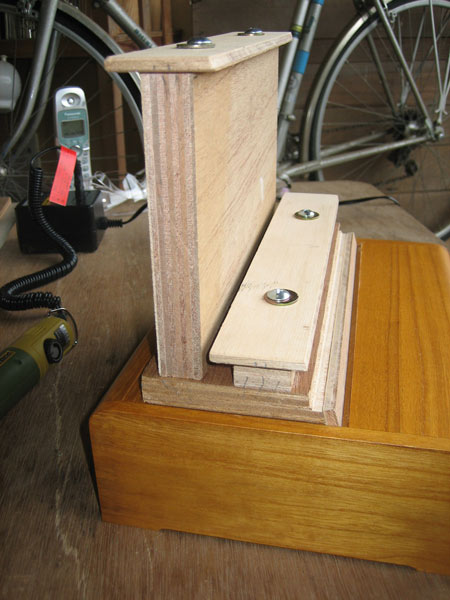
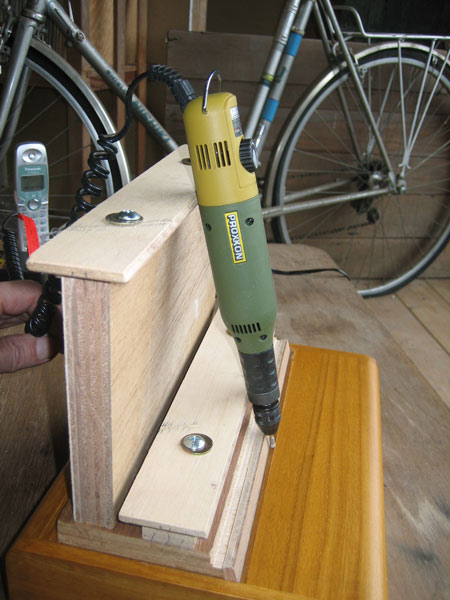
Here's how the tool will 'ride' along the guides:
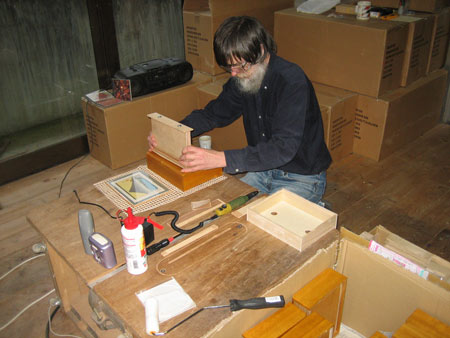
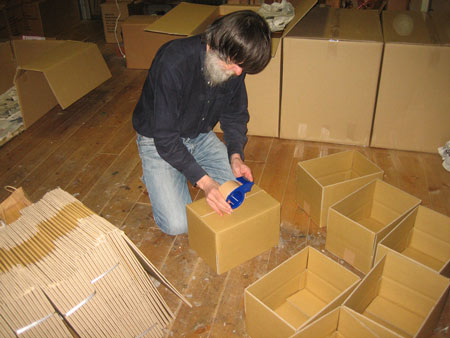
OK, let's have a go! First step is to inspect four insert pieces, so see which orientation is best (some are slightly warped and thus need to be inserted in a particular direction to glue securely).
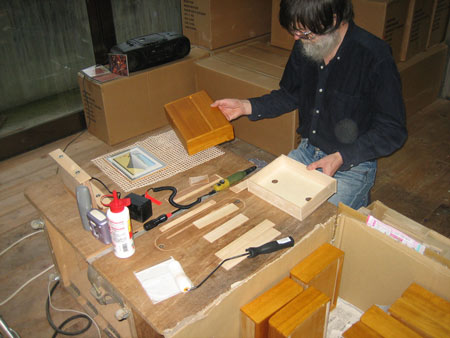
Grab a case from the input pile, and put the drawer on the left workstation and the body on the right:
A squirt of white wood glue goes onto the special 'hi-tech' glue platform (an old CD case):
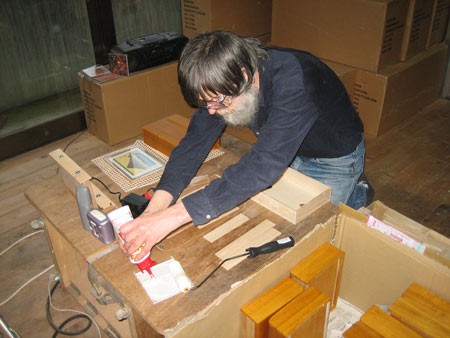
Using a dense spongy paint roller ...
... to roll a thin layer of glue onto the slats.
The pieces are then pressed into place inside the drawer.
They fit very tightly, and the two smaller pieces perfectly clamp the longer ones in place. For the few cases in which they don't 'sit' tightly, there are a couple of small sticks at hand to hold them wedged in place:
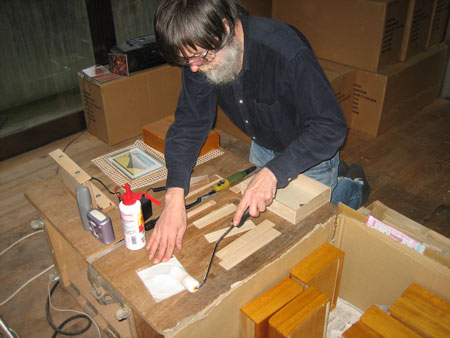
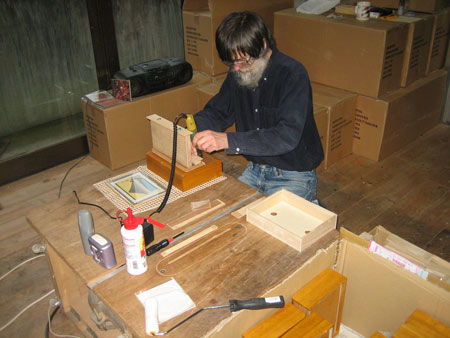
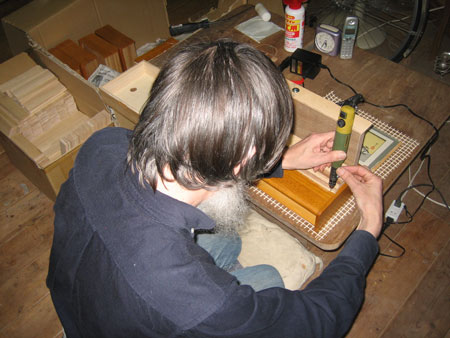
With the glue now left alone to make a first 'set', I turn to the other workstation, put the jig in place on the case body ...
...and start cutting:
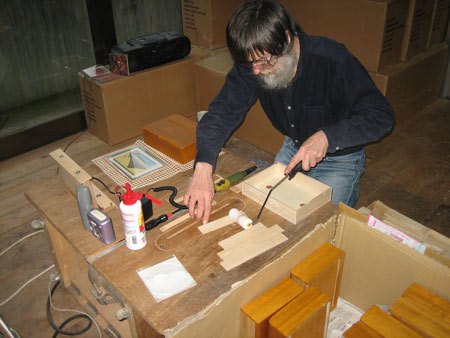
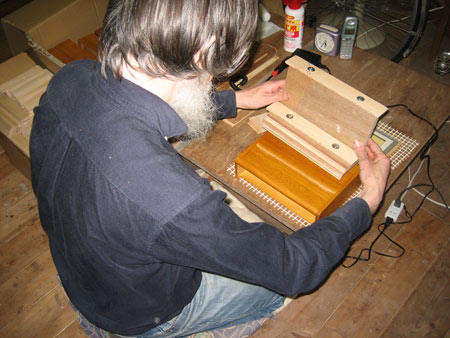
Let's move the camera so you can see what's going on. It just takes a second - lower the cutter into place ...
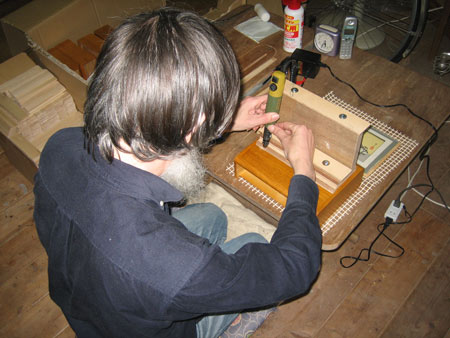
.. and pass it carefully along the length of the slot.
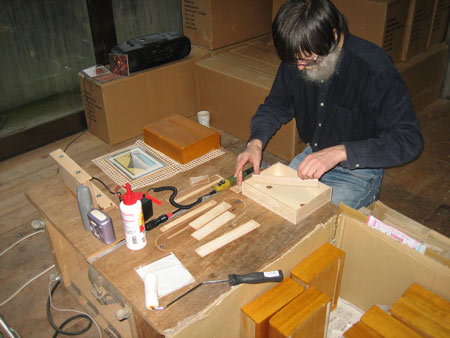
Remove the jig:
Make a single pass with a very soft sandpaper, to take the sharpness off the new edge:

Test the fit:
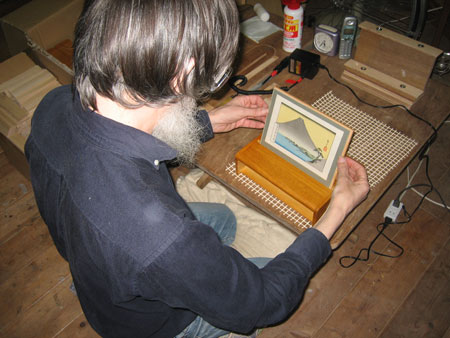
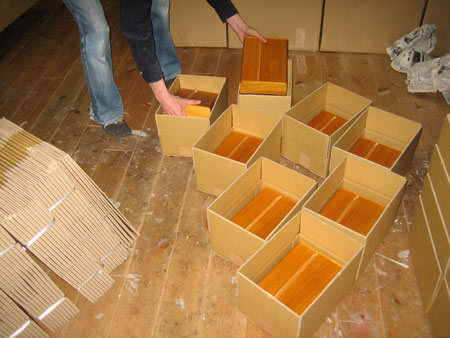
Replace the drawer, and put it onto the 'out' stack:
That little 'shelf' behind me has room for eight cases, so each time it is full, I end that batch.

Rather than put them back into the original large cartons, I get their own shipping boxes ready:
They are of course not ready for shipping yet. The print, wooden stand panel, acrylic sheet, invoice, cover letter, etc. etc. all will come later.
To do the batch of eight took exactly 24 minutes, start to finish - three minutes each. That's working at a nice relaxed pace, no danger of damaging any of them ... The pile begins to grow ...
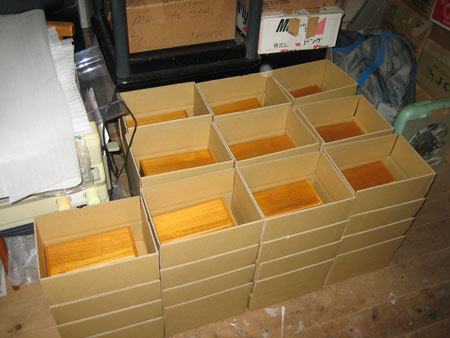
So ... say a half-hour for each batch of 8, gives a total runtime of around 13 hours for all 210. I'm writing this at dinner-time after doing five batches of 8 so far. I'll do some more this evening, and will then try to get them all finished tomorrow, if there are no distractions/interruptions.
The day after that will be print trimming, checking, signing, sealing, and mounting. I'll print out all the story sheets, fold them over the mats, then collect the other components; invoices, etc., and start wrapping!
Thunderbirds are go!