Posted by Dave Bull at 2:08 PM, February 13, 2009 [Permalink]
Continued from [Seacoast in Winter - 12] | Starting point of the thread is [Seacoast in Winter]

OK, final couple of steps ... at last!
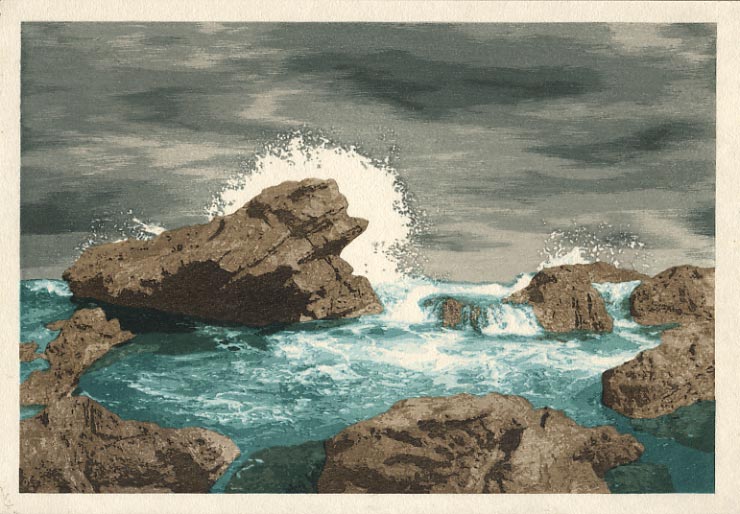
Step #16 - The last actual colour impression on the print uses the same block as the first impression - and adds depth to the sky. The darker surrounding also makes the spray area 'pop' much more!

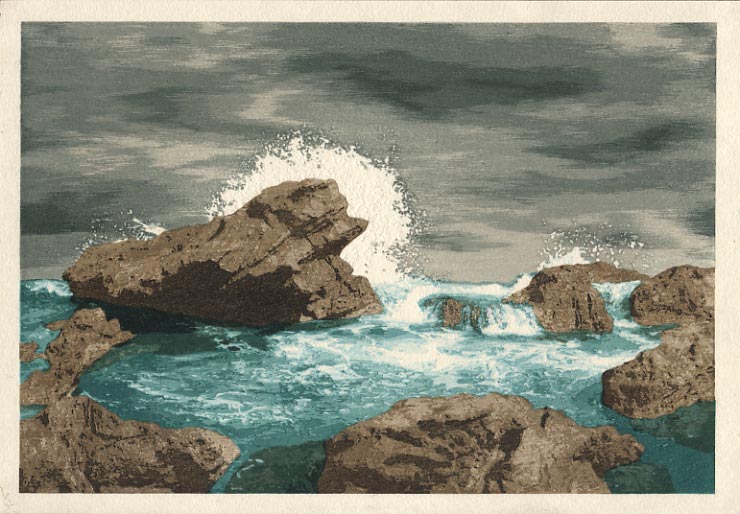
Step #17 - And our last impression is a karazuri (embossing) on the spray itself. I carved a random jumbled pattern in that area to give some texture, as the smooth white paper just looked too unreal by itself. (This is probably difficult to see in the small image - click for the enlargement ...)

Now that all the stages are done, I have put the slideshow online, so you can see the print come to life step by step, without having to click click from page to page ...
So there we have it .. another one done. After a couple of days of postponed deskwork, I'll be making another 100+ sheets of paper wet, for the second printing batch. Anything you think I should change?
