« [Forest in Autumn - 1] : the concept | Main | [Forest in Autumn - 3] : Colour Separations »

[Forest in Autumn - 2] : first steps

Posted by Dave Bull at 11:05 PM, July 24, 2007

Continued from [Forest in Autumn - 1]

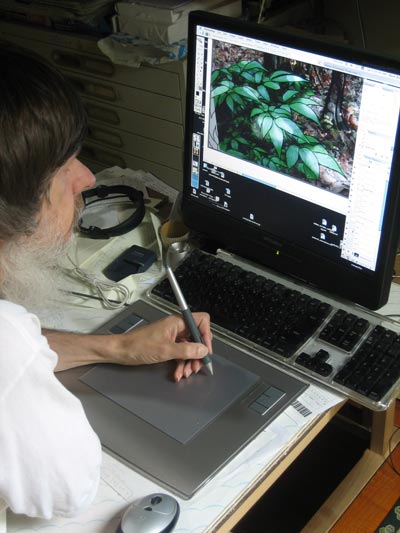
Unlike the previous print, which was structured around an actual view of the river, this one is not a 'real' scene, but one 'assembled' from pieces ... the tent, some trees, and some bushes. These are all put together in a series of Photoshop layers, and then, when it seems to be satisfactory, I trace the image using my Wacom pen tablet, working at a high level of magnification:

When all parts of the image are done, blocking out the photo layers gives me the line drawing ready to print onto thin paper for pasting onto the block. We saw this in the previous post, but here it is again:

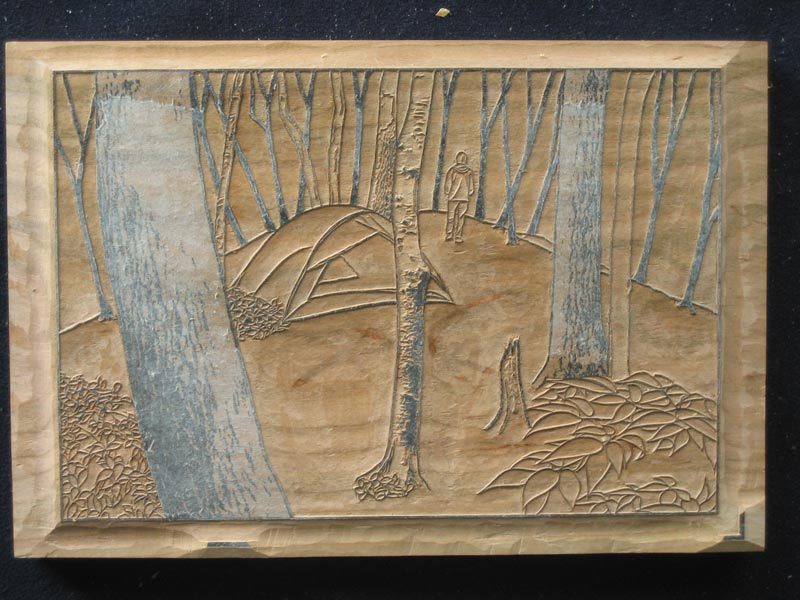
Then, finally, down to the carving bench in the workshop! I've actually had a very productive couple of days carving work on this block, and it's almost done! Just those last two textured tree trunks to go (click to enlarge) ...

The thread continues in [Forest in Autumn - 3] ...

Discussion

Following comment posted by: Barbara on July 25, 2007 3:32 PM

Dave,
This is truly the best use of the amazing computer technology available to us, taking lots of stuff and putting it together, saving hours of drawing, and getting a great final image that is then worked by hand. I cannot think of a better way to use photoshop! It sure saves time in the planning stages as you can so quickly change your mind and move the imagery around. I have one of these tablets but don't use it much...maybe this will be the year! ha.
Barbara


Following comment posted by: pietrocelli on July 25, 2007 8:38 PM

I like the surface of first tree. It is so strange with this shape of tent in tree wood,same shape like the mountain behind, maybe still one this shape forward closer little small...:_)) thank you David


Add Your Input


Remember Me? (with a cookie ...)

(you may use HTML tags for style)

Back to the Main Page