Posted by Dave Bull at 8:17 PM, May 12, 2007
Continued from [River in Summer - 3] | Starting point of the thread is [River in Summer]

Here's where I got to, the day after getting back from the trip to the woods ...
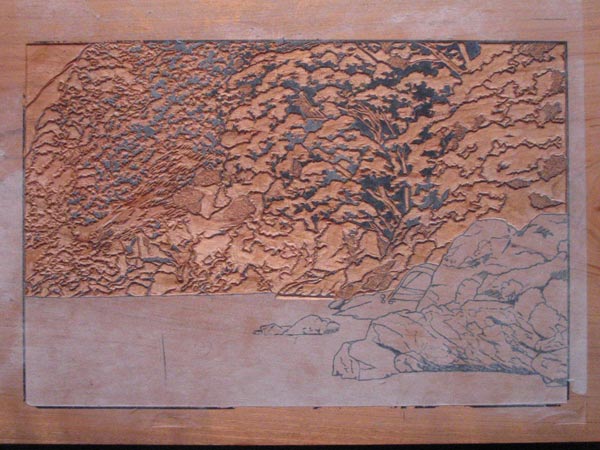
It's time, I think, to check up on how the carving is actually going. I'd like to print a proof of the part I've done so far, but I don't want to get pigment all over the block. Trying to mask out the untouched areas would just be a mess, so I'll use carbon paper to pull a rough 'proof'.
First step is to tape a sheet of paper securely over the carved area.
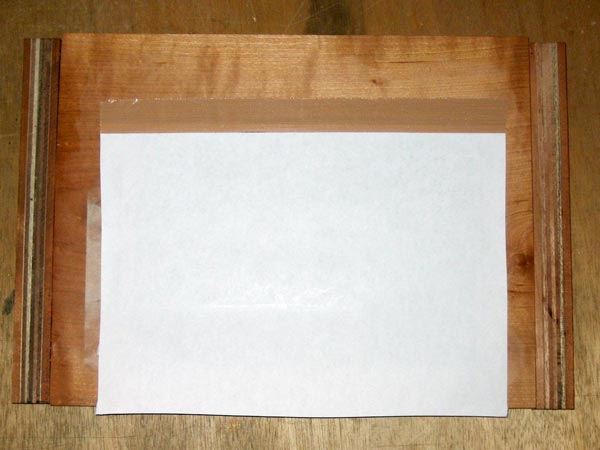
I then slip a sheet of carbon paper between the wood and the paper ... face up. (This sheet is a bit too small, but I'll move it around bit by bit so I can cover the whole area).
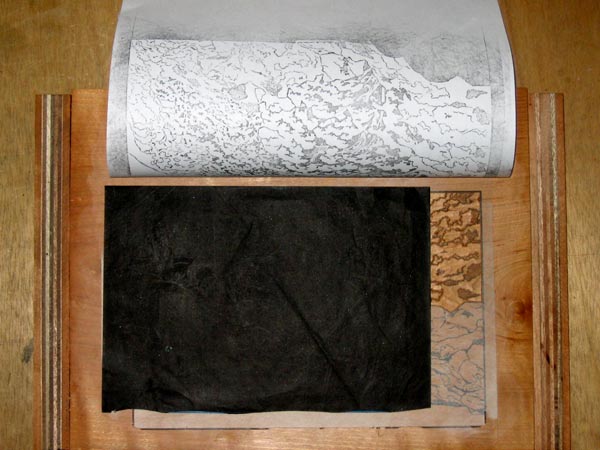
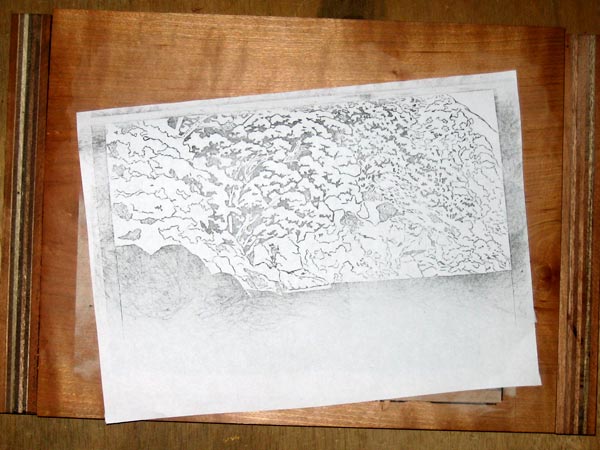
Then I rub the surface of the paper just as I would when making a normal print. It comes up pretty clear, and I can get reasonable feedback on how the cutting looks:
One thing worth mentioning is that it's important to clean off the block carefully with a stiff brush before doing this. Any small wood chips left lying on the surface can make dents in uncarved areas if pressed by the baren ...
The thread continues in [River in Summer - 5] ...