Basic Sizing Procedure
The Basic Sizing Procedure
[Note from Dave: I have to mention right up front that I am not an expert at paper sizing. For most of the thirty years that I have been making prints, I have relied on professionals to do this, ordering the sizing to be done as the paper is on the way to me from the papermakers. But in recent years the quality of their work has decreased steadily, and things are getting to the point where I have no choice but to learn to do it myself. What you see on this page is the basic procedure as I have learned it to date. I will update it and amend it as I learn more about the process. And for those are considering their own sizing attempts, a page of 'recipies' is here.]
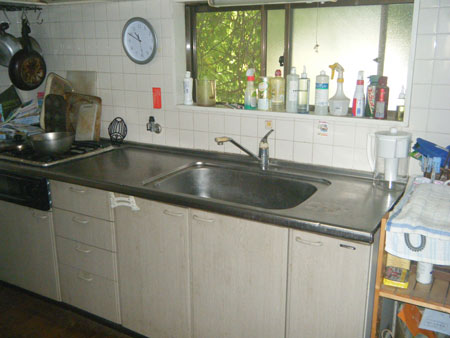
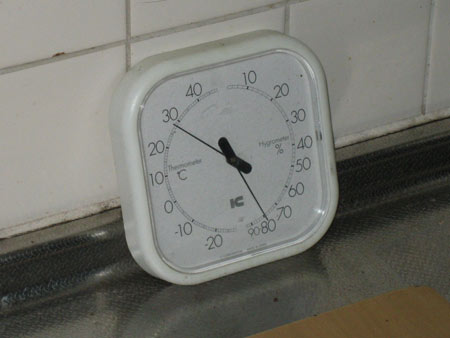
Anyway, let's begin. Here's the 'scene of the crime' - my kitchen:
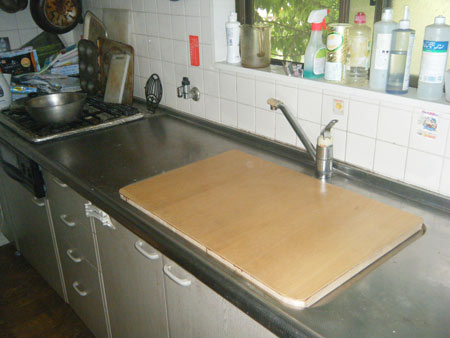
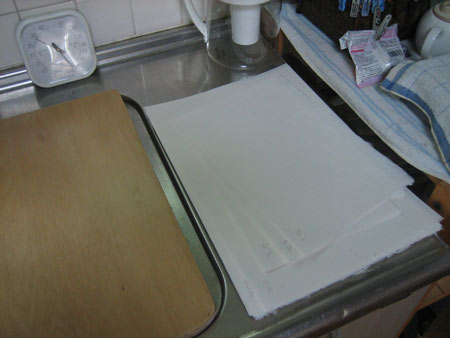
I cut a panel of plywood to fit over the sink and give me a solid surface on which to work. Professional sizers use a wide and flat metal countertop, but for now, this will have to do the job. As you will see below, I place the sheets of paper on a flat and waterproof sheet for brushing each of them.
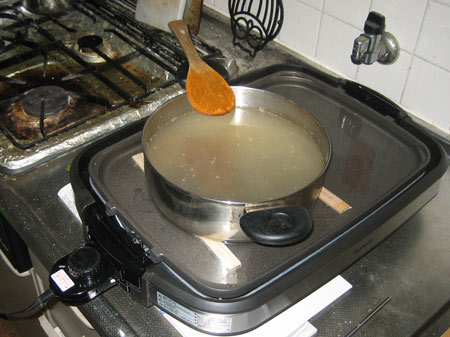
To heat the size mixture, I will be using a hotplate unit (described in more detail in this post of my Woodblock RoundTable.) This being a Japanese house, there are of course no electrical sockets on the counter top, so I have to have a wire hanging down the front ... (Don't get me started on that one!)

Because the process you are about to see is a 'training run', I have prepared a numbered batch of unsized sheets. I'll keep notes as I go along (trying different variations of strong/weak size, etc. etc.), so that when I test the paper on my printing bench later on, I'll be able to make sensible decisions about what worked and what didn't. (This is not my 'real' paper; that stuff is way too expensive (and special!) to waste on such testing. This is a batch of cheap stuff I ordered specifically for these tests.)
Here are the raw materials - for two liters of water, I will be using 50 grams of alum (left) and 120 grams of nikawa glue (in 'shaved' form)

I prepare the alum first. It dissolves easily in warm water in a small pan, and I set it aside.

Next comes the nikawa glue. This is 1.9 liters of warm water, with the glue sprinkled into it. At this point I'm using a temperature of 50C (in the top pan).
After ten minutes or so, it's still not dissolving very well, so I crank the temperature up a bit, to 60C.
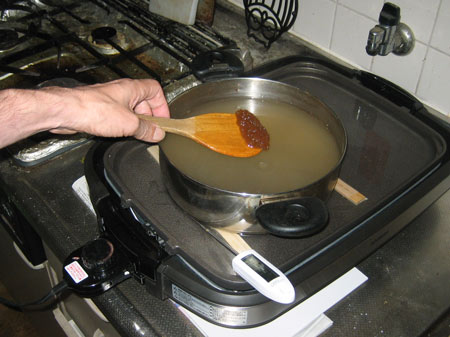
At that point, it started to melt into the water, whether because of the slightly increased temperature, or the longer time, I can't say. In any case, I have been warned about heating the glue too much, as it apparently destroys the collagens, so I didn't let it go above 60C.

The reason I didn't heat it up directly in the sizing tray is that the mixture has to be strained.
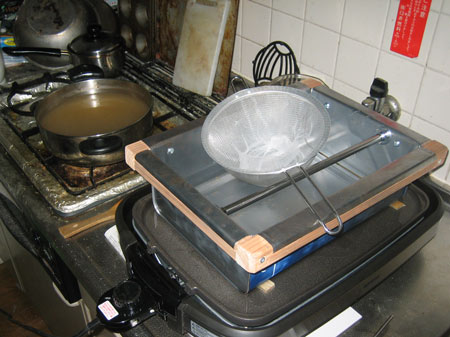
I'm using a normal kitchen sieve, with a net thing stretched over it. The mesh is quite small, but it didn't seem to catch anything. (The nikawa was supposed to be 'high quality' and 'pure', so maybe they were honest ...)

Because I don't want the paper to be too resistant to the entry of pigment, I'm going to go light on the alum. For the first half of this test batch, I'm only putting in 1/2 of the 50 gram mixture that I prepared. (I later put the rest in, so I'll have something to compare with after the sheets are being test printed ...)
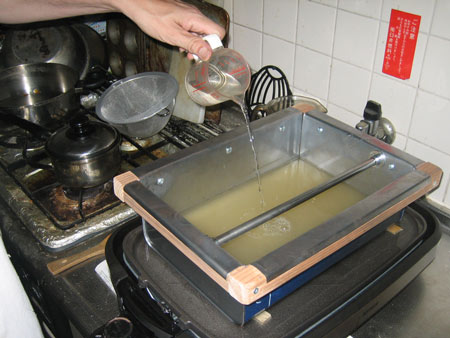
I mix it well, and stabilize the temperature at 50C. That seems plenty warm enough I think.

Ready to go ...
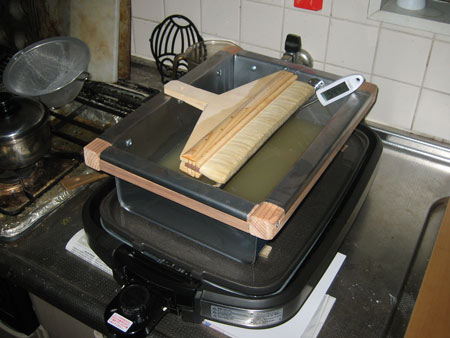
Here's an overview of the workstation. There is a good light right above the 'table', so I should easily be able to see how the wetting action proceeds.

This is far from the optimal temperature and humidity for this work. Winter is best - cold and dry. In summer there is a real danger of the whole batch of glue getting moldy, but because this is only a quick test run, I don't anticipate any such problem today, even though it is very hot and damp ...
After dipping and wiping the excess off the brush, I prepare to start a stroke, holding the paper in place with the tip of my finger:
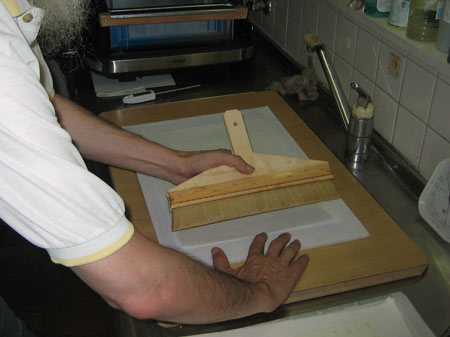
It is very difficult to get the brush to move perfectly smoothly across the surface of the paper ...
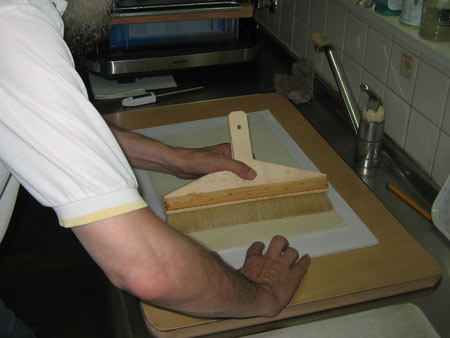
... right to the far end. Given that we want the liquid to be applied perfectly evenly, the stroke has to start quickly, then gradually slow down as the brush empties out.
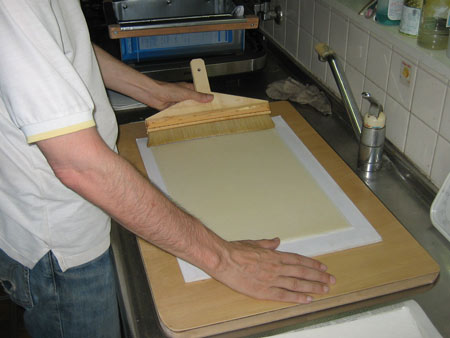
Here's a total failure ... too much was dumped on at the beginning of the stroke, and a line over at the left shows where my brush caught and held for a split second ...
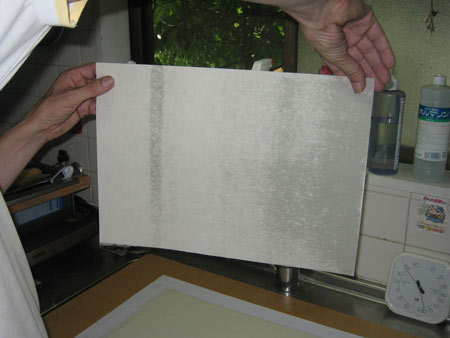
This one seems to have come out fairly smoothly, although it looks a bit mottled ...
There are many options on how to proceed with the work. One method is for the top surfaces of the entire batch to be done first, the paper then dried, and the reverse side done later (optional). Or the top side can be done on the whole batch, with it then being flipped over for the back side to be done immediately (this is the way sizer Misawa-san has been doing my own paper up to now ...).
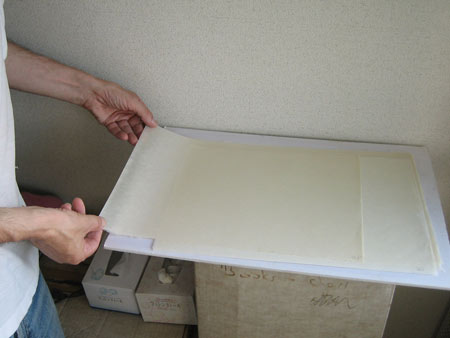
For this test batch today, I tried various options, keeping notes about what I did for later comparison and checking. Once they were all done, I let the stack rest for a while, for the moisture to even out a bit, and then took the deck of wet sheets upstairs to the drying room. I first teased a sheet off the pile, offsetting it by a few centimeters:
It is then very easy to clip on one of my 'patented' :-) clip units
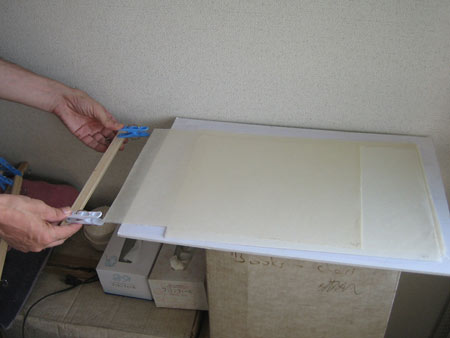
From that point on, it's a one-hand job - the wet (and very soft) sheet is easily lifted up ...
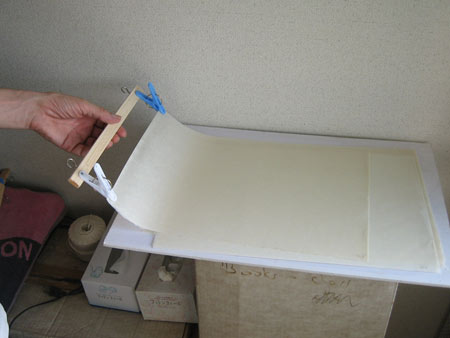
... and hooked onto the ceiling cords:
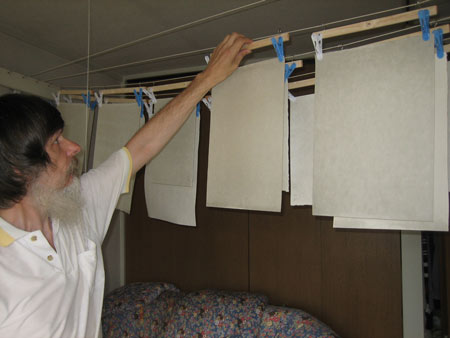
I have the windows and door cracked open just a little bit. I'll watch over the next couple of hours, trying to let it dry slowly and smoothly, without wrinkling up too much. Nothing is dripping onto the floor, which I understand would be a sign of 'too much' moisture in the sheets.
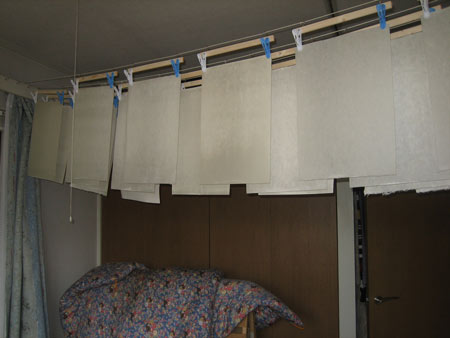
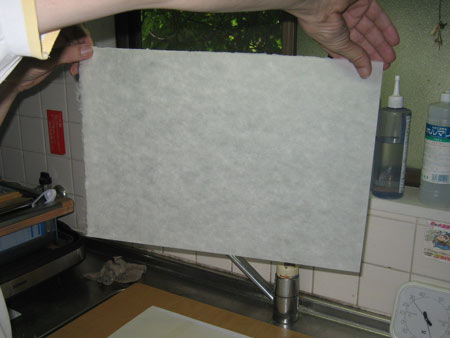
As you can see from the visibly uneven moisture on some of these first few test sheets, my brushing technique still has some way to go! But that's what junk test paper is for ...
(We'll have another report later, after I have more experience!)

