
February 27, 2006
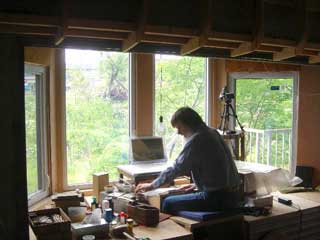
I've known ever since deciding on this scroll project that I won't be able to use my normal printing bench for this job. As you can see by this snapshot, there just isn't room for large blocks in my 'print window' setup. And as paper of this dimension is very difficult to handle from a seated posture, I'm going to use a separate 'stand-up' workbench, built against the wall on the other side of the room.
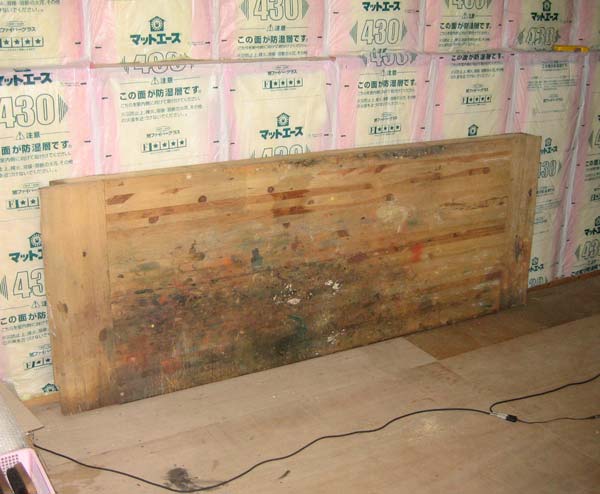
As I mentioned on the previous page, I got involved in toymaking in my early days in Japan, and built a workbench for the job. As Japanese apartments certainly don't have extra rooms available for 'workshop' use, the workbench was a 'fold-down' type, fastened to the wall at one edge, and hinged to flop down so the space in the room could be used for other purposes. The bench went through many transformations over the years, and is still with me, although certainly a bit battered these days.
So I dug it out of the storage space in the first basement, wrestled it down the stairs, and fastened it to the rear wall of the workroom:
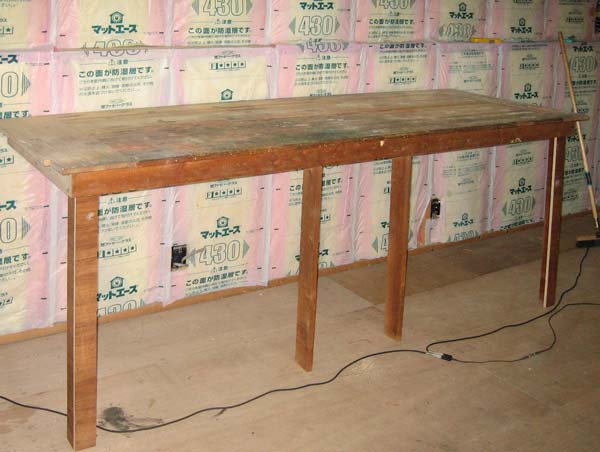
When you swing it up, the fold-out legs drop into place, and presto, instant bench!
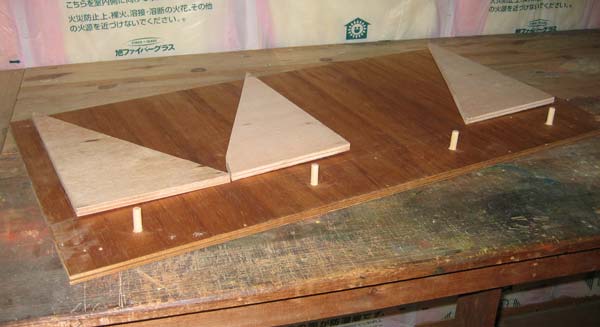
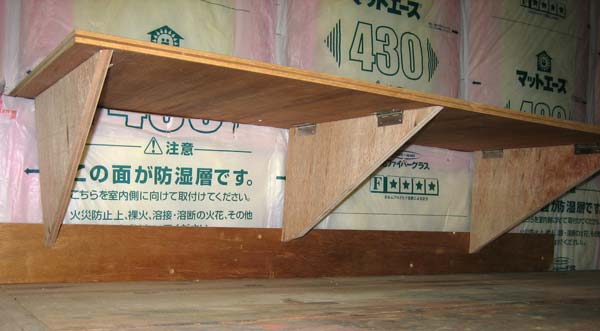
The basic method of printing requires that the deck of paper waiting to be printed is stacked just at the rear of the woodblock. After brushing the pigment on to the wood, one sheet is pulled from the stack and slid gently onto the block. After rubbing it is then flipped over off to the side, onto a waiting platform. Paper sheets move one-by-one along this route: from the rear stack, onto the block, then onto the side stack. So I need a place to stack the sheets waiting to be printed, but because of the large size of the blocks, there just isn't enough room at the back of the block. The solution is to create an elevated platform overhanging the bench. Here's a shot showing the underside surface of this platform, with three support flaps, and four pegs ...
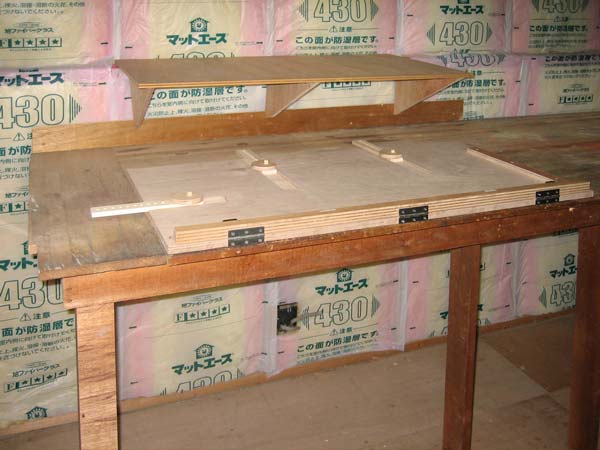
And here it is in place, with the pegs dropping into holes in the ledge on the wall, and the flaps opened to support the top surface.
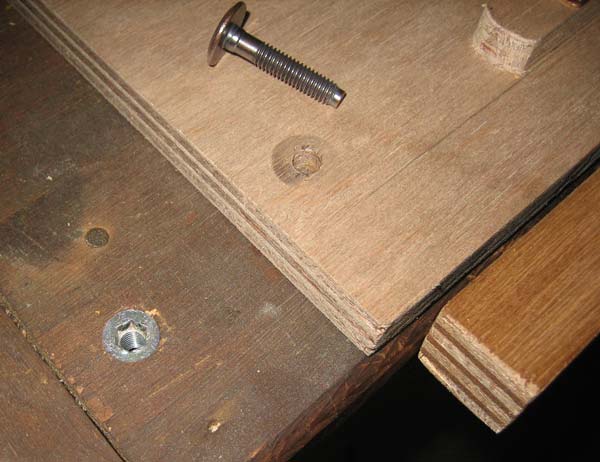
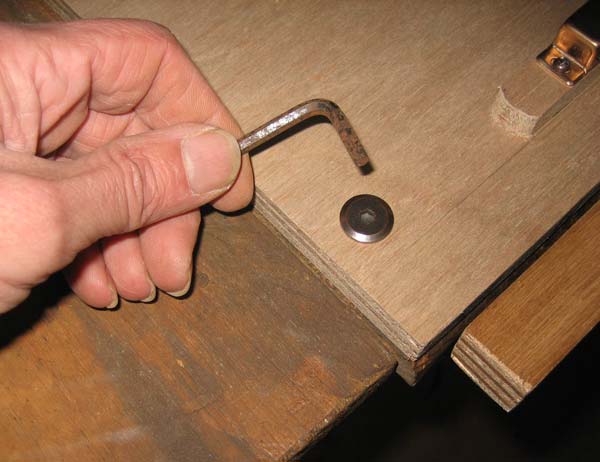
Next step is to put in place the block jig built the other day; this must be as stable as possible, so I drilled the bench top and inserted threaded sockets in two places. Bolts down through the jig fasten into these sockets, and now nothing will move!
So here it is, basically ready for work. I'll need to head downtown next week sometime and pick up some kind of light units to hook up to the sockets waiting up on the wall ...
I'm certainly going to miss the natural light from the large windows, but that can't be helped; I don't want to mess up the arrangement over on the front side of the room, as I will be using that printing bench for other printing during the year ... on the Small Print Collection.

![]()
![]()