Posted by Dave Bull at 2:25 AM, May 3, 2012 [Permalink]
OK, if you are sure that you want to learn the 'secret' of how this case works, here we go!
The thing itself is simply a plain wooden box shape - a thin base that slots into the surrounding four pieces.
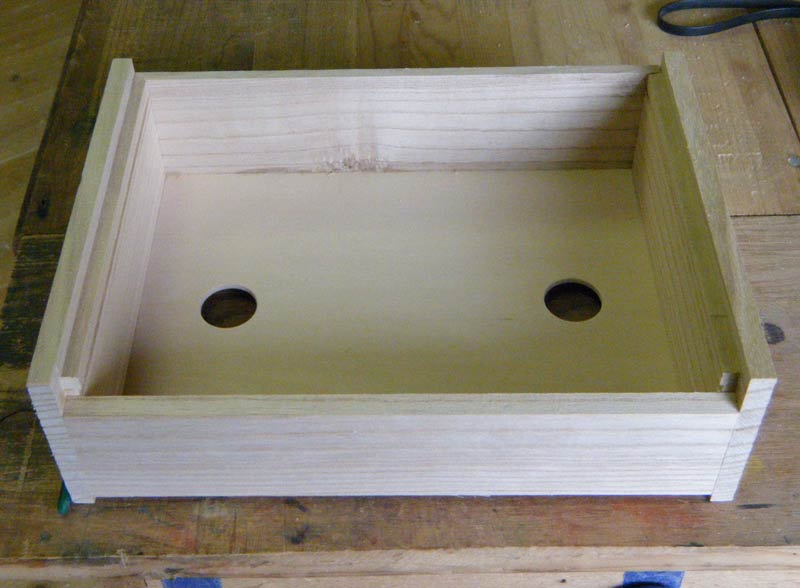
The front and back are plain, but the two sides are thicker and have rabbets on the top surface as well as two small slots.
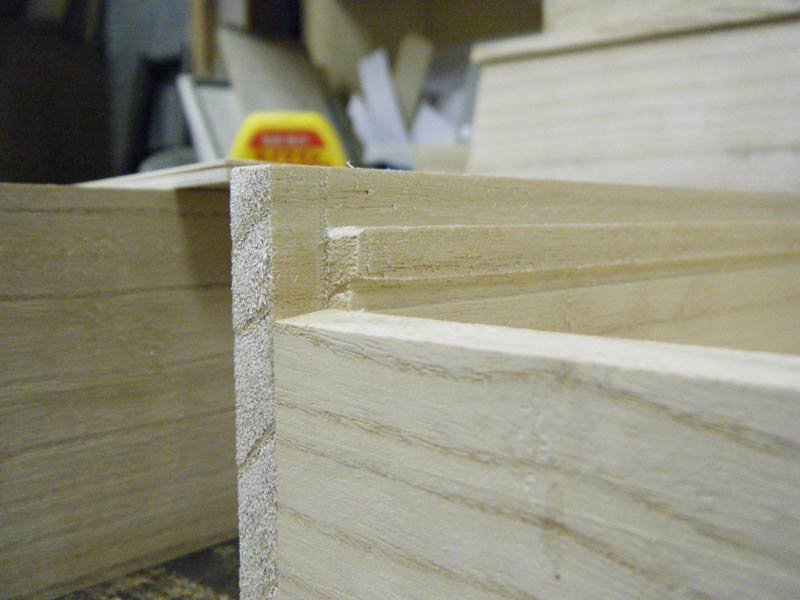
This next photo is a closeup of the side detail, with a couple of things to note - the top edge of the front is slightly beveled downwards. The piece that was cut off has been retained, and we will meet it again further down this page. And the entrance of the slot in the side is very slightly opened up, to allow its matching part to slide in easily.
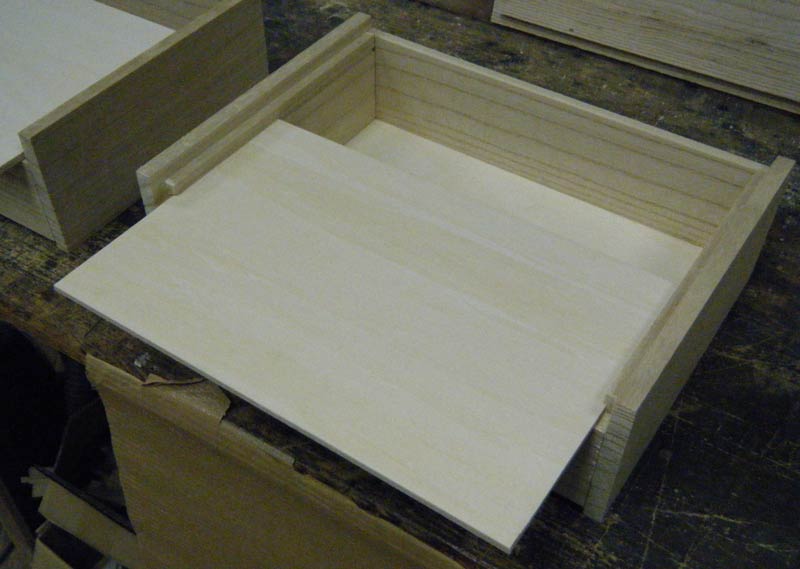
Here's the underside of the top piece, which is 15mm thick. It has rabbets all around, allowing it to fit into the prepared box. The small notch you see is where the groove on the top surface (for the stand) is showing through.

Here's how the top piece will fit in:
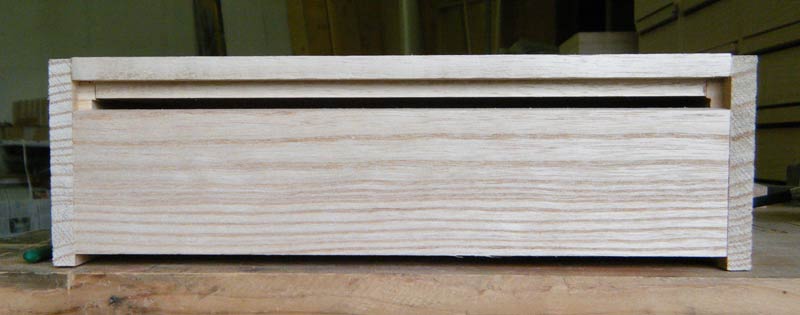
And if we zoom in for a closeup, we can see what looks like a misfit. The rabbet in the top seems to be too shallow - the top sticks up too far, and it doesn't 'mate' with the slot in the side. Relax - all is as it should be ...

Before we can proceed with fitting the top, it needs to get its front 'lip'. This is the piece that was parted from the front wall earlier. It is flat on the place where it is being bonded to the top, and still has the 5 degree bevel on the other side.

After gluing, it gets two very fine passes on the router table (at five degrees), to smooth off the face that will mate with the box front ...

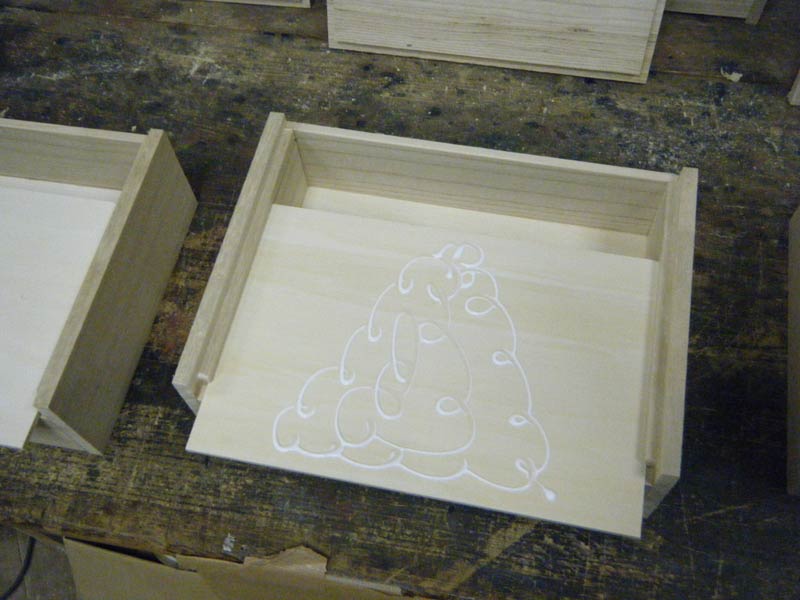
OK, let's put it all together. This is the 'spring' that will hold the top in place. It is a simple rectangular piece of 4mm ply, and is cut to fit exactly in that slot, with no 'play' whatsoever. We slide it in place ...
And put a 'Christmas Tree' of glue on it. This shape is important.
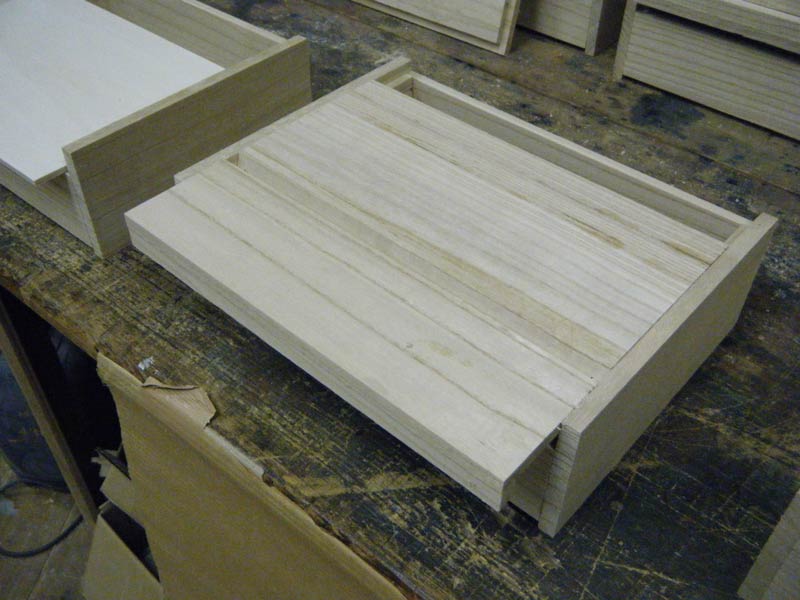
The top goes on, and with my hand reaching inside the case, I squeeze the two parts together, and try the movement of the top forwards and backwards. I let the two pieces 'find' their proper orientation, and after a few seconds to let the glue 'set' a bit, pull it out and place it on the bench with a weight on top for drying.
After the glue is dry, the tops can go into place. They won't go all the way in, as the lip at the front still needs a final delicate shaving, to allow it to close (hopefully) without leaving any visible joint at all at the place where the two 5 degree bevels meet up. You can see that three of the cases in this photo have now had that shaving ...

Why that Christmas tree shape of the glue? The spring is allowed to be 'loose' at that end, so that there is only light resistance when the top is first inserted. Then as the top is slid forward to close the case, the more tightly glued parts of the spring enter the slot, and the resistance grows. (Remember, the slot is 'mis-aligned' with the top ...) If we have got them sanded just right, and if the weather over at your place will co-operate (not too humid), it will close with a very satisfying smooth, yet snug, fit.
[To leave comments on this entry, please do so on the previous page.]