Posted by Dave Bull at 2:05 AM, April 17, 2012 [Permalink]
Another two today ... they're getting a bit 'complex', so it's difficult to get three full runs in a day ...
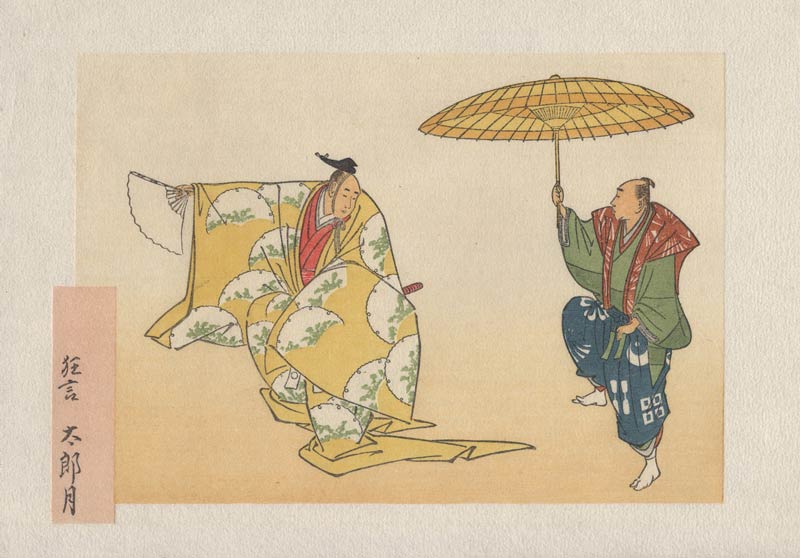
This one needs no particular explanation - a nice gradation to put the two men into proper 'space':
And with this next one, we can see just why I said a short while ago that we were only around halfway through the number of impressions. There are rather a lot of empty spaces on that kimono pattern, and we're going to fill them all with gradations, in a selection of various tones!

Let's use vermillion for the first group ... I do all three in the group at once, of course - trying to get the second and third ones brushed on before the first one dries ... Keeps me busy!
As always, we appreciate the 'step by step' process that you show us as the prints come to life. For this particular step, I was watching as you put the gradations on the fans in the kimono. You used a small block to 'tap' or lightly rub the printing block after making the impression but before you inked the printing block for the next print. What is the purpose of the small block that you used on this impression, and what type of material did you use to cover that small block?

... a small block to tap the printing block ...
Hi Dale, thanks for watching! The use of that little block is perhaps best explained by simply directing you to this page: 'Example of Gradation Printing" in my (somnolent) Encyclopedia. (Although I guess most reference encyclopedias are 'somnolent', actually ...)
The fabric is just a scrap of denim, of course taken from old jeans. The only 'important' point about the choice of fabric is that it doesn't shed little bits that would remain on the printing surface ... For these tiny gradations, I used a single piece all the way through without changing, but for larger, denser gradations, it sometimes gets messy, and has to be tossed out and replaced.