Removing Prints from Backing
After purchasing a package of beautiful senshafuda prints in an auction, we discovered that they were all laid down on a very poor quality, and apparently quite acidic, paper. The prints were not all that old - most of them dated from the 1960s - but they were already becoming browned in places where they had been glued. It was necessary to get them off those backing sheets as soon as possible.
Here's a basic outline of the procedure we followed. Before starting, there are a few things to mention:
- we inspected the prints carefully, and determined that the pigments were of a type that would allow the prints to be moistened (and bathed), without blurring.
- the washi used for these prints is also very strong, and we knew it would survive immersion with no problems.
- we know what we are doing. If you have no experience with this type of work, please think twice before trying it on important prints...
Senshafuda prints of this type were designed and produced with one idea in mind - that they would be collected by aficionados. These people were members of groups, and most senshafuda were commissioned by such groups, with the work being done by printmaking workshops. The prints were produced in fairly small batches, just enough for passing around to the group members, with some more for exchange with other groups. They were not commercial items.
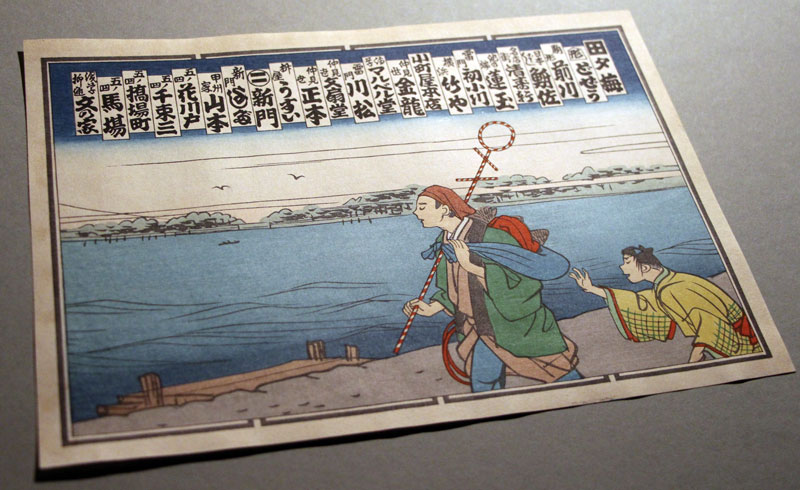
But because they were collected, it is inevitable that when we come across them now, we find that they have been pasted into albums. Senshafuda were made in a variety of sizes, all of these being multiples of a standard 'base' dimension (a single senshafuda, in a vertical orientation). You will see examples of many of the sizes in the following photos: 1 x 2, 1 x 4, 2 x 2, and even a few in the maximum possible size of 2 x 4 (which fills an album page).
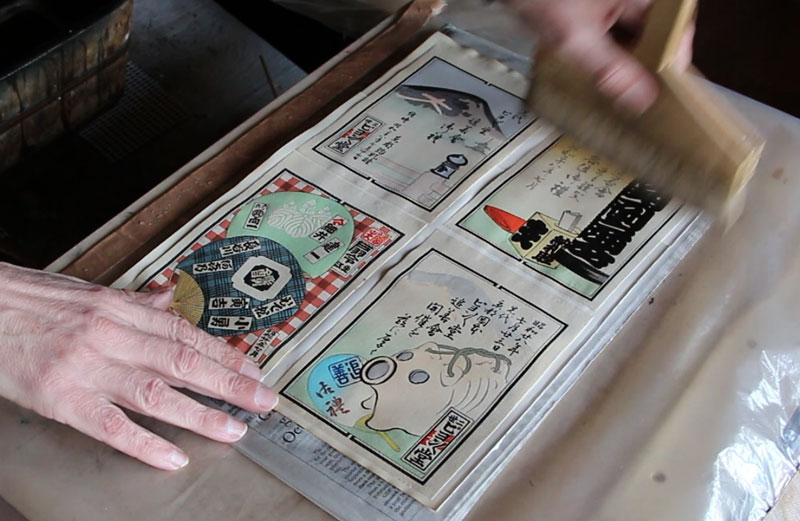
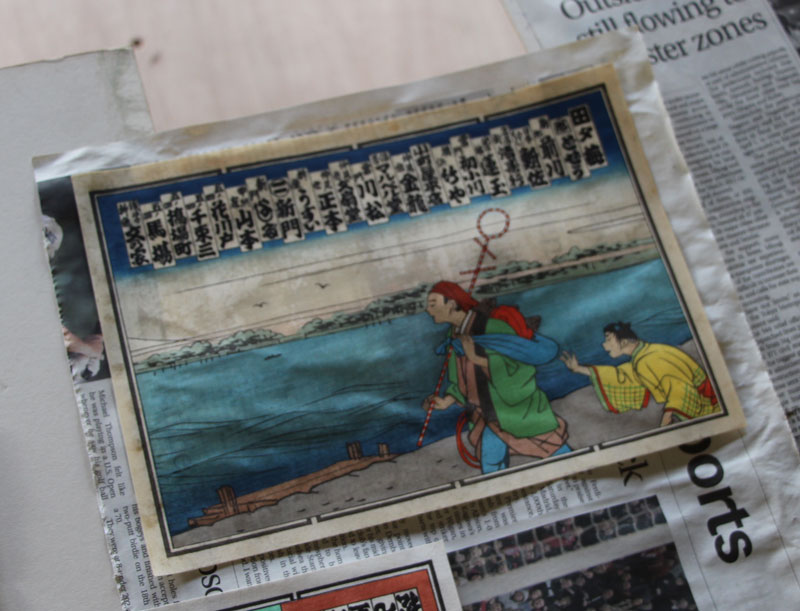
The prints in this batch were for the most part pasted down along the top and bottom edges, with some being pasted on all four sides. We began by preparing a stack of newsprint moistened in the same way that we prepare it for the actual printing process. It is quite damp, but not outright wet. Once that 'bed' was ready, we lightly brushed water over each page of prints, and inserted them between sheets of the stack.
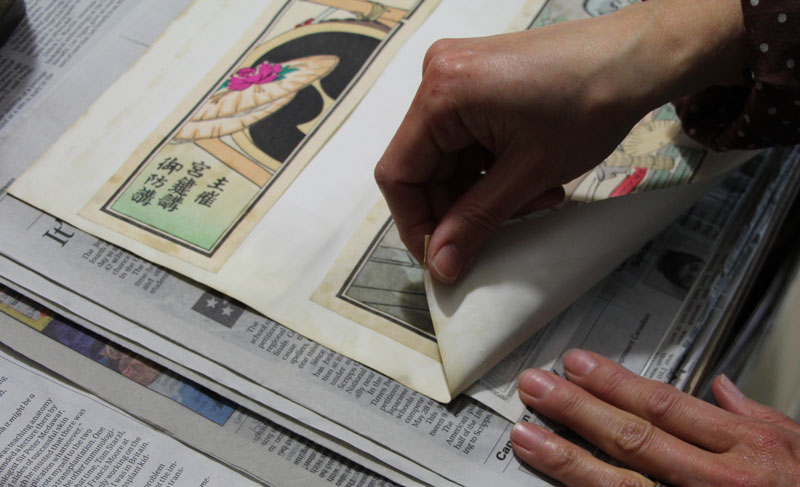
Just how long one has to wait until this next step is totally dependent on the nature of the particular adhesive holding the prints down. The one used for these prints softened quite rapidly, and we were able to gently tease the prints away from the paper after about an hour. You peel the backing off the print, not the other way around. This lets you watch closely for any sign that the print might be beginning to tear ...
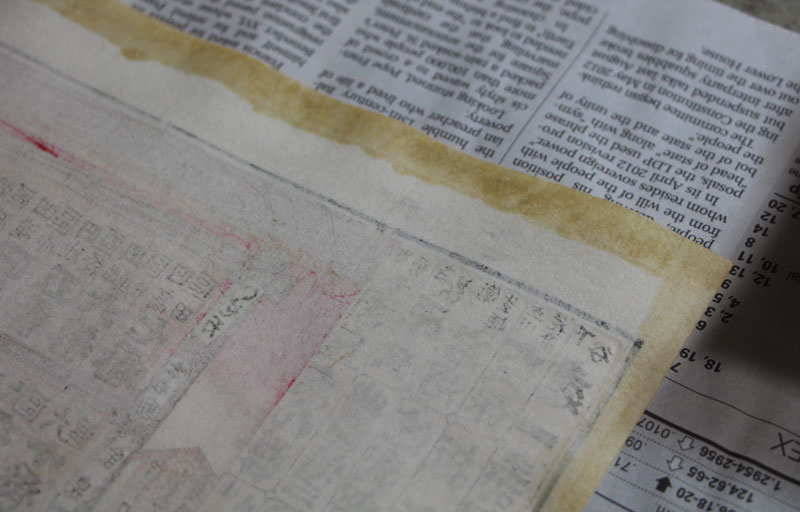
Here's the back of one of the released prints. There is still plenty of brown glue present, and it must be removed.
Into the bath it goes ... After a few minutes to soften up, the glue is removed from the paper with the use of a brush with fairly firm bristles, but very soft tips.

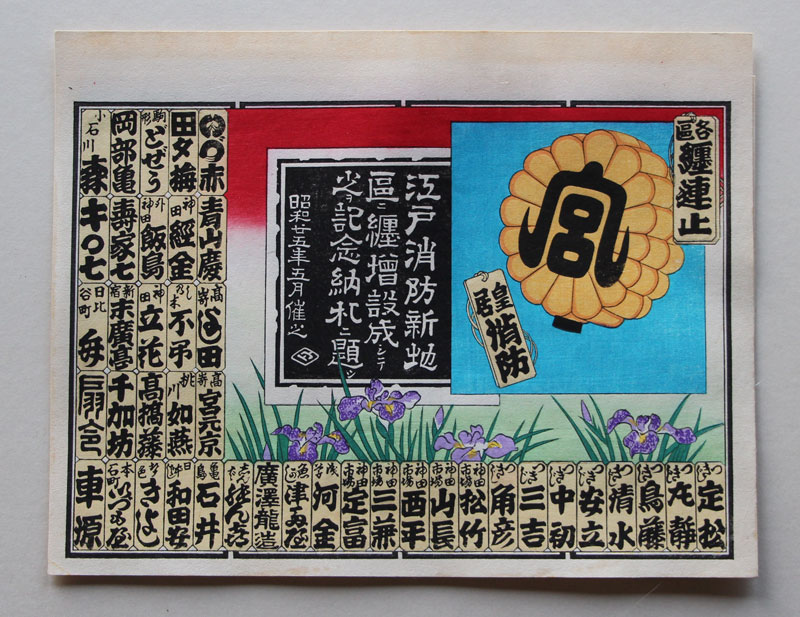
Here's that same sheet as it comes out of the bath. You would think it was pretty much destroyed, but we'll see further down the page how it turns out ...
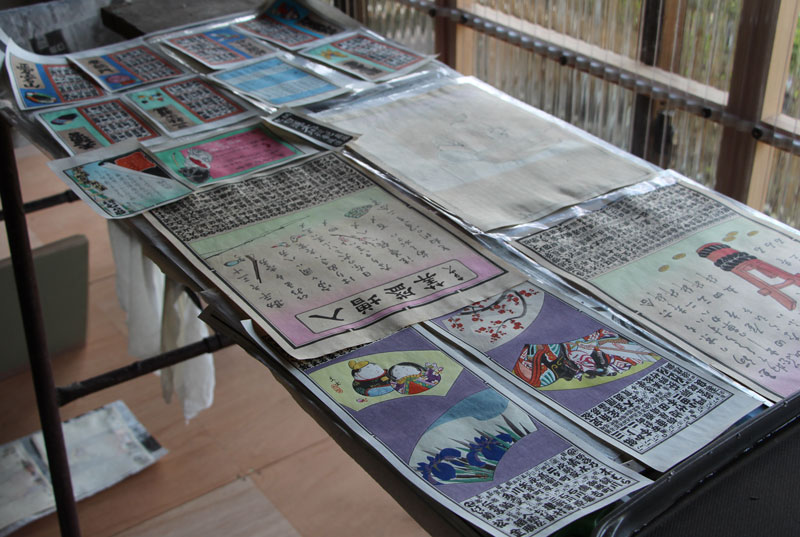
We spread them out over sheets of newsprint where they air-dry until a good % of the moisture is gone. If they were left to dry completely this way, they would be wrinkled, but if we put them into our drying boards in the soaked state, the boards themselves soon become warped and unusable. This is a good balance ...
It's difficult to give you instructions on just when to put them into the boards for pressing. Too soon, and they will become wrinkled. Too late, and they will be wrinkled before the pressing. There is a 'just right' moment that you will learn by experience. (If you get it wrong and the print is wrinkled, dampen it and try again ...)
It's also interesting to note that the stain on this print seems quite strong. Take a look at the photo further down the page to see it after drying ...

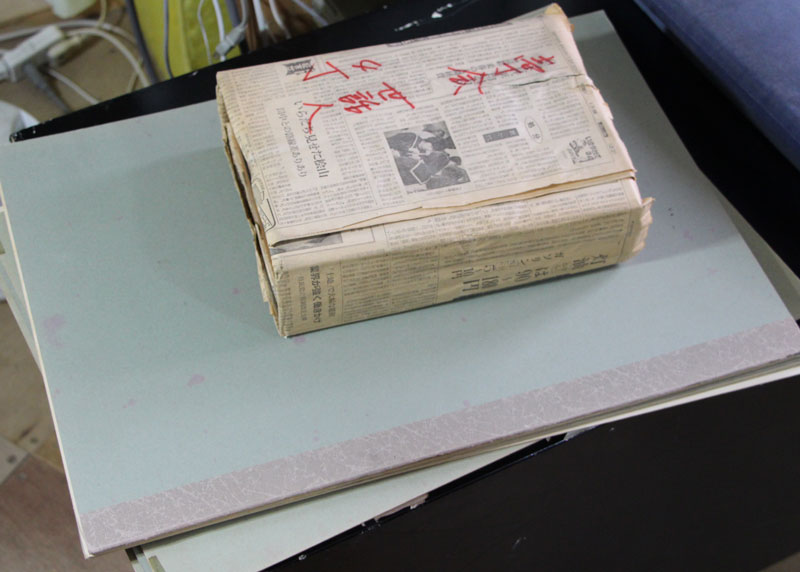
We use 1mm illustration board (smooth type) for the final drying and pressing. Because most of the moisture is already gone, the boards themselves stay quite flat, and we air dry these by themselves on a sunny day later.
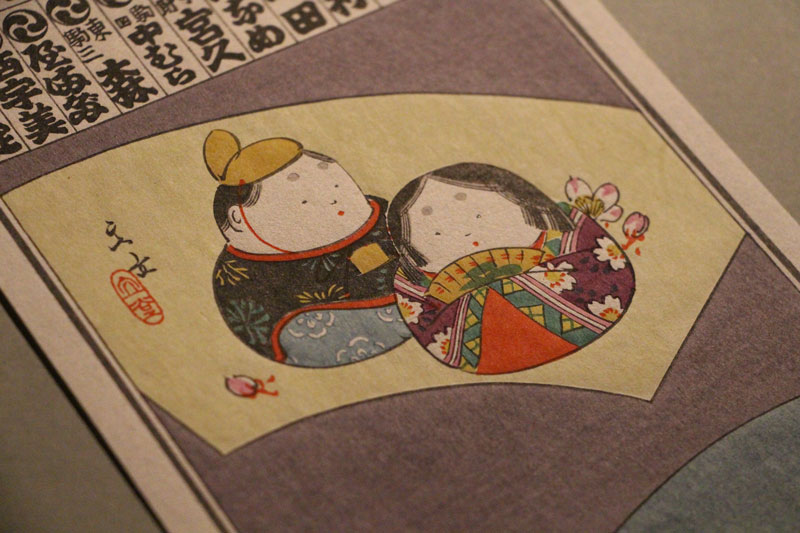
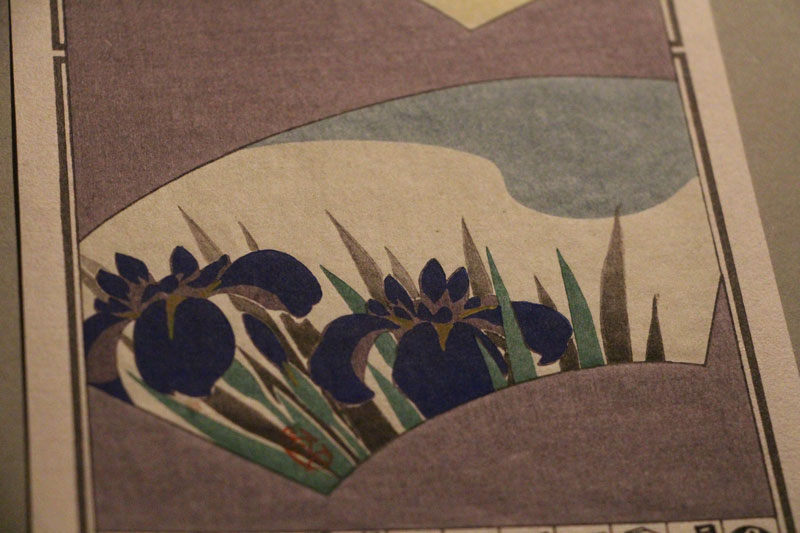
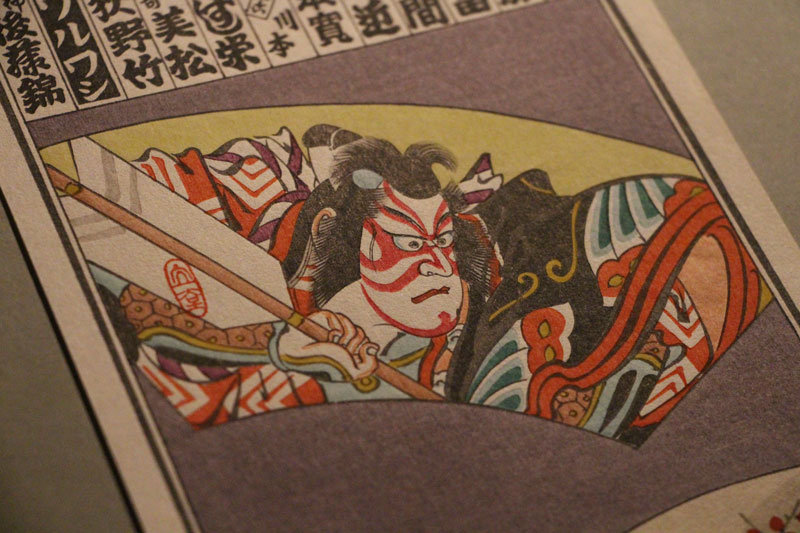
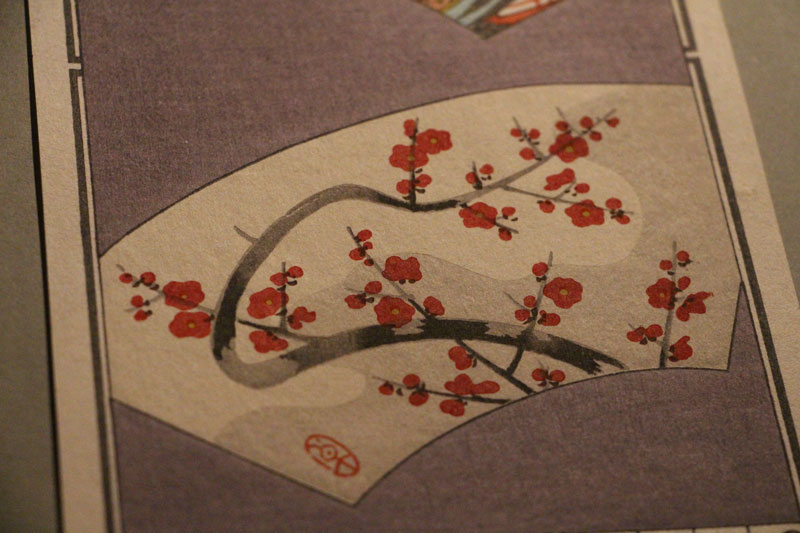
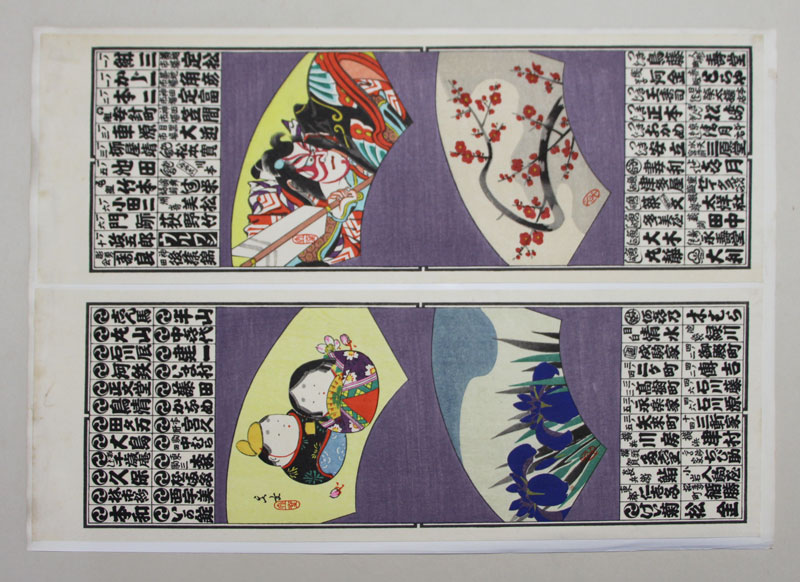
Here are some shots of the 'liberated' prints:
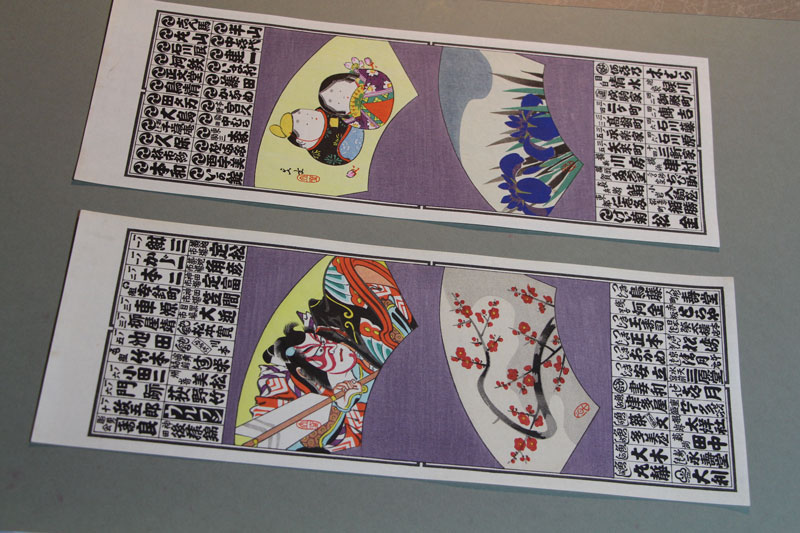
And just for fun, here are some closeups of the pair of prints we saw back up at the top of the page. Such beautiful delicate printing! And now safely preserved for many people to enjoy in the future ...