Carving the Colour Blocks
Once the kyogo are safely glued down, the carving of the colour blocks begins. The process is pretty much the same as carving the key block - the same three steps are used. One difference is that as there are no lines on these blocks - only masses - it is not necessary to cut both sides of each line.
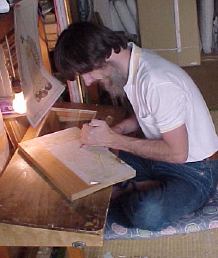
The first step is to use the main carving knife to cut around the outside of each colour area. Keeping the flat face of the blade against the wood area that will be retained, hold the blade at about the same angle as that used for regular carving, and cut down the line that borders the colour zone.
Where exactly you cut will depend on how thick that line is. A general rule might be to keep just a little bit 'outside' the centre of the line.
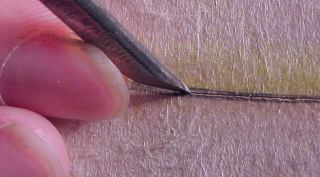
Once all the outlines have been cut, the next step is to use a marunomi to cut a shallow groove just a few millimetres to the outside of each colour mass.
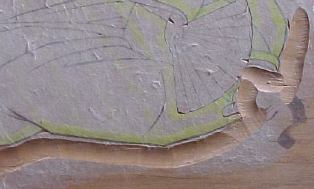
Then switch to the large clearing chisel, the soainomi, and clear away the unneeded waste to a distance of about 4cm out from the wood that will be retained. The traditional Japanese measurement for this is yubi sanbon - the width of three fingers placed side by side.
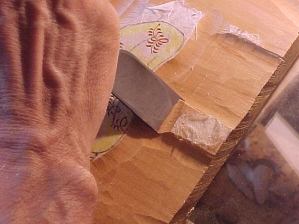
It is at this point that the chips really start to fly, and the room, which up until then has been fairly neat and clean, starts to look like a carver's workshop!
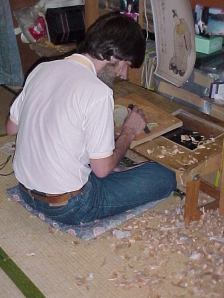
When the bulk of the waste wood has been removed, the aisuki chisels are used to trim away that left-over strip between the channel carved by the marunomi and the line incised by the carving knife.

After this is cleared away, go over the surface of the block with the aisuki, paring away any sharp ridges left by the clearing chisel. If left alone they will collect pigment from the brushes and may be the cause of blots on the print.
It is also a wise idea to use a chisel and pare away the sharp edge of the unneeded outer area of the block surface, to avoid having the baren strike it and leave marks in the print.
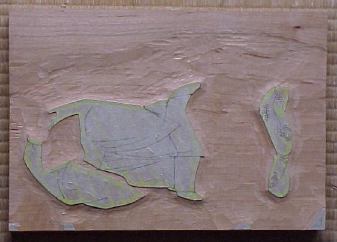
You're done ... Wash off the remaining kyogo paper, being careful not to disturb those portions that carry the registration marks. These are not usually cut at this stage but are left for the printer to cut.
(In the block in this photograph, two colour zones have been carved, and you can see the places where two 'kagi' and two 'hikitsuke' will be carved.)
