Making the hanshita with a copy machine (for carving a reproduction of an existing colour print)
- A 'photo-essay' showing how I make the 'hanshita' for each of the prints in my series of reproductions of Katsukawa Shunsho's 'Hyakunin Isshu'
David Bull
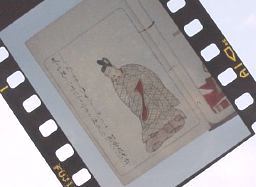
The starting point for the process is a colour slide (positive) of the page in the original book (published in 1775). At the beginning of the project I ordered a set of these slides from the Toyo Bunko, a museum/library here in Tokyo.
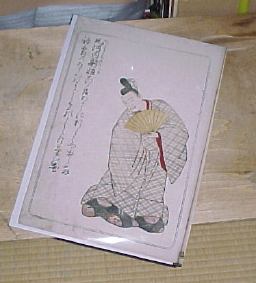
I have this negative enlarged into a normal photograph, scaled to match the size I wish the carved block to be.
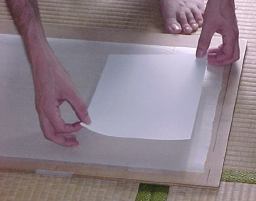
I want this image to be copied onto a very thin paper, but such paper is impossible to use with a copy machine, so I first use a low-tack spray glue (3M '55' type - also known as 'Repositional 75') to lightly coat a sheet of standard 'copy' paper ...

... and then tack this sheet to the back (the 'non-shiny' side) of a sheet of hand-made thin Japanese washi. 'Usu-mino' is one such paper, but the one I am using in this photograph is an extremely thin paper known as 'Usu-gampi'. Mr. Isami Misawa has treated this with strong sizing for me, so that it will stand up under the following process without tearing or losing fibres.
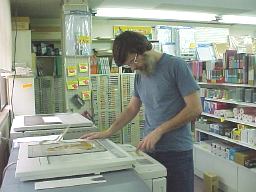
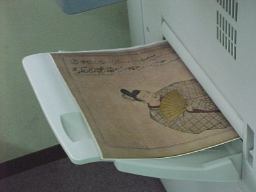
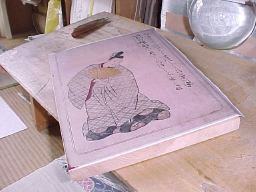
The laminated paper is then trimmed to size, and used in a high-quality colour copy machine to make the hanshita from the photograph. Even though the first block carved will be the key block, on which nothing but the black outlines of the design will be carved, I use a colour copy for this hanshita. If I were to use a black and white copy, many of those portions of the original print in say, a deep red colour, would reproduce as muddy black, and it would be difficult to see the lines while carving. Using a colour copy allows all lines to be seen clearly. (Colour copy technology just a few years ago was too poor for this, but recent machines will produce crisp and clear lines ...)
A typical hanshita for a woodblock print is not reversed; it has the same left-right orientation as the finished print. Pasting it to the wood face down ensures the proper orientation of the design. But I have found that when using a colour copy as a hanshita, the light film of oil that is left on the surface of the paper by the copy machine causes parts of it to peel away from the block during the carving. So instead of pasting it face down in the usual way - I set the machine to make a reversed copy (a mirror image), and paste this face up. If the paper of the hanshita was thick, this method would cause problems in the carving, but this usu-gampi is thinner even than tissue paper.
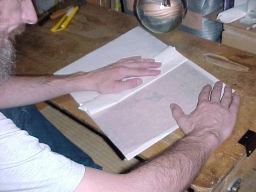
Before it can be pasted onto the wood though, a bit more preparation is necessary. The registration marks must be drawn in the proper place, and the gampi paper must then be removed from the backing sheet. It is extremely difficult to handle this thin paper by itself, so before peeling off the backing sheet, I use the same spray glue to lightly tack another sheet of copy paper to the front face to act as a temporary support ...

... peel away the unneeded backing sheet ...
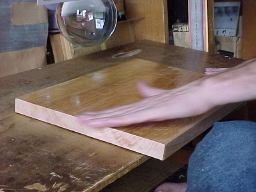
... and then start the pasting process. A 'dry run' allows the block to be checked to ensure that no small knots or irregularities in the wood line up with any critical areas of the design. Once this is OK'd, I rub a film of glue (I use a ready-made 'gum arabic') over the entire surface of the block ...
... and lay the hanshita in place.

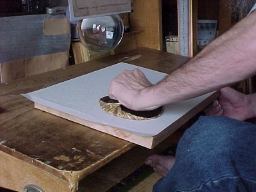
After initial smoothing with the hands, a few rubs with the baren ensure good adhesion.
The temporary supporting sheet is then carefully peeled away ...

... and the block set aside while the glue is allowed to dry thoroughly.
When it is ready, the carving begins.
Photos by Fumi Bull ...