Tying the Baren Cover (continued from previous page)
|
Tying the Baren Cover (continued from previous page)
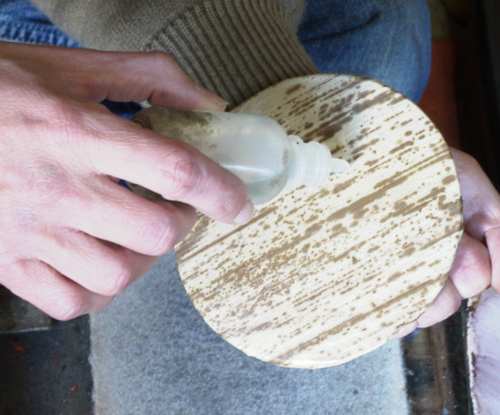
Then of course, it needs a dab of camellia oil ...
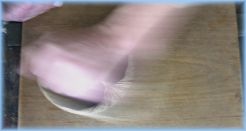
... a rub on the oiled pad ...
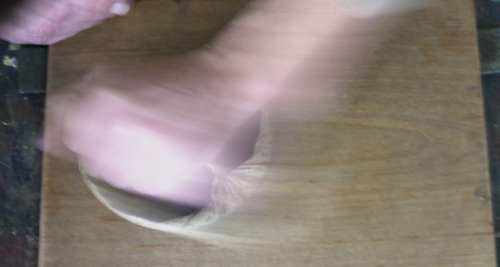
... and a short brisk workout on the blank block (the same board we have used for tying it).
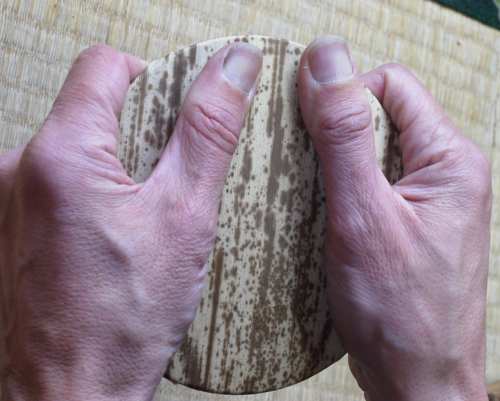
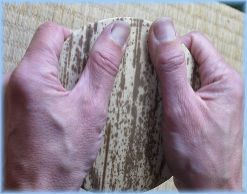
The finished baren should be so tightly held in its skin that it is impossible to turn it. Only after a number of prints have been pulled does it start to loosen to the point where it can be turned (as it must be frequently during use, to minimize wear).
The bottom surface should be perfectly smooth, with no protrusions or wrinkles. (This baren is not flat, but has been built-up with shims inside - under the coil - to give it a gentle arched shape. This gives much better control, and allows the pressure to be very finely 'aimed')
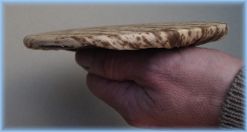
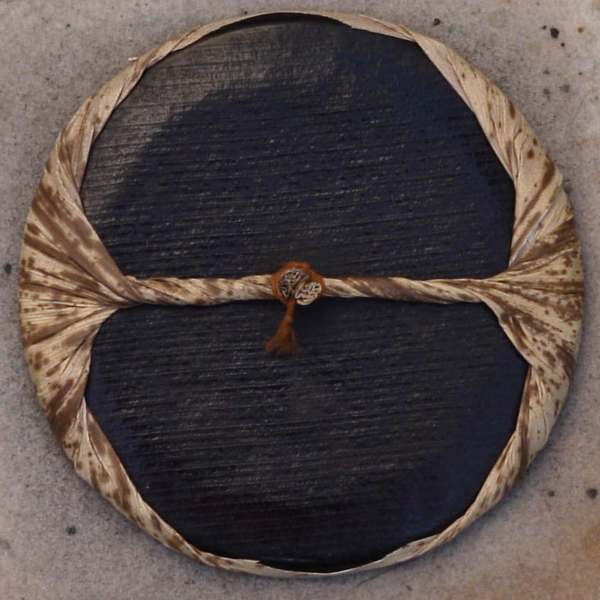
Finished! (... not perfectly symmetrical though is it ... give me a couple more decades at this!)
Notes on this business of baren tying ...
I know that when some of my friends in [Baren] (the international internet group devoted to woodblock printmaking) read this section, some of them will say "Dave, why do you make this look so difficult? It's not necessary to be so strict about something like tying a new cover on the baren. You are going to scare people away from trying printmaking!"
I myself have quite mixed feelings about this. When I first started printmaking, I knew nothing about any of the things I have written on this page; I didn't even have a baren - I used a wooden spoon. And the prints I made were ... basically OK ... certainly interesting enough to encourage me to continue with printmaking. So when seen from that viewpoint, these points I make about "it must be tight!", etc. etc. are unnecessary, and perhaps they could even be discouraging.
But there is another view here, one that must be expressed. I will make no excuse for demanding that something be done properly, and I use that word consciously. Let me try and explain ...
I know that some of my printmaking friends are making prints that use (for example) quite weakly-applied pastel colours - watery pigments mixed to create a lot of 'texture' in the impression. Now to print colour in that fashion, quite a variety of tools could be used - it is even possible to wrap a cloth around your hand and use that to print, very successfully. So the baren tied by such a printmaker will not look like the one in the picture above; it may have a cover quite loosely folded into place. Is that wrong? Of course, not at all - the tool should match the job required.
But a professional printer (as opposed to an artist/printmaker) needs a tool that will enable him to handle whatever job comes across his workbench. And a baren tied in the proper way (I'll use that word again!) will allow him to print stong colour, weak colour, textured colour ... you name it, and he will be able to do it. And - the baren will do most of the work for him! A good tight baren held firmly in the hand becomes an extension of one's guts - and that is no exaggeration; the power comes up through the body, down through the shoulder and arm, and right through the baren and paper down into the bench and on into the earth ...
So I make no apology for stressing the points about tightness, and for making you go through 60 photos when half-a-dozen might have been 'adequate'. I want to encourage the development of top-level printing skills.
A page of Questions and Answers based on this section.
Back to the first page ...