Tying the Baren Cover (continued from previous page)
|
Tying the Baren Cover (continued from previous page)
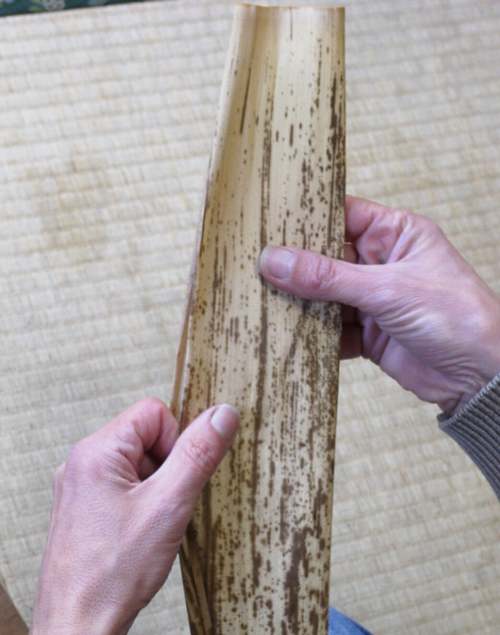
Fold the skin in half along the centre line ...
Starting about 12cm down from the root ...
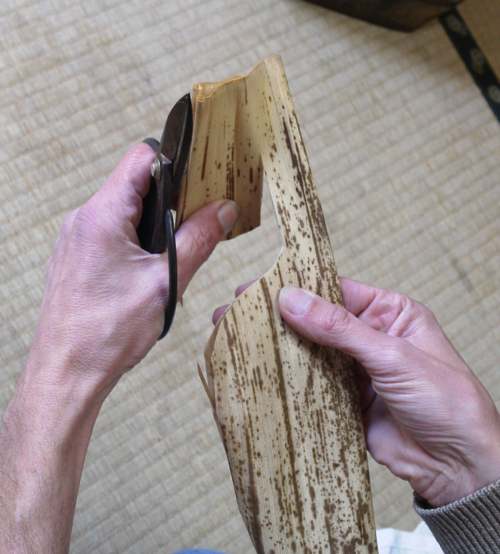
... clip out the unneeded portion.
Stop about 15mm from the centre line, turn a bit, and then pull off the waste. Just how thick/thin to leave this center portion (which will form half of the handle) is a matter of personal taste. Some printers prefer a very thin handle, so they trim quite a lot at this stage, but a handle cut too thin will of course break easily ...

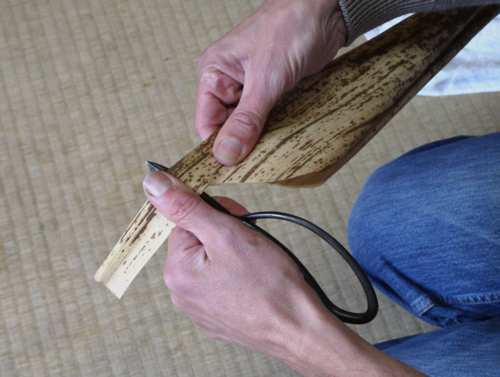
Then run the thick root part of the skin once or twice over the back edge of the scissors blade, and 'break' it a bit, to give it some flexibility and making it much easier to tie later.
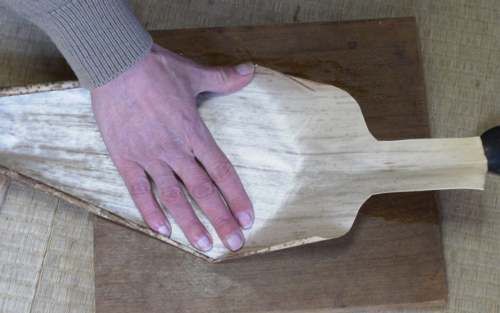
Move along fairly quickly, before the skin can start to dry and shrink. Lay the skin face down on the board ...
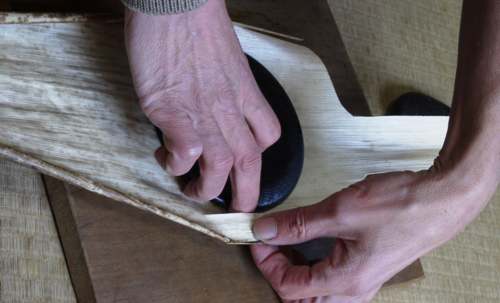
... and lay the baren in place (being careful not to 'spill' the coil from inside). I am 'measuring' with my fingers here - the traditional term is yubi san bon - 'three fingers' distance between the baren and the edge of the skin at the trimmed curve.
Holding the baren firmly in place with one hand, tear off the unneeded wide part of the skin. Again, I am 'measuring' with my hand - in this case my middle finger is determining the amount of skin to be left behind after tearing.
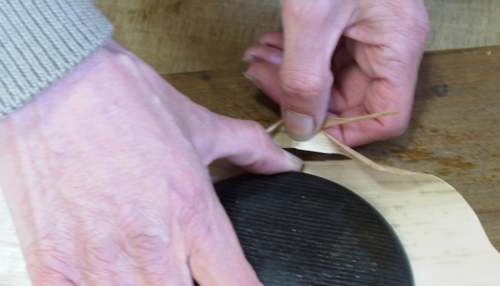
Same on the other side - in this case my thumb is holding down the skin while I tear away the excess.
Once the excess has been torn off, wrap the two edges up over the baren ...
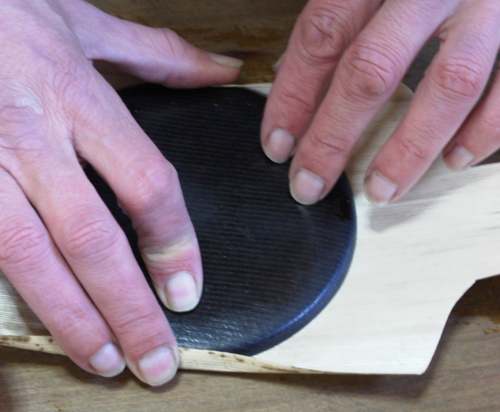
... hold them in place with the thumb and fingers of one hand, flip the baren up and over, and with the thumb of the other hand, draw the skin tightly over the coil, adjusting your grip as necessary. Again, the idea at every stage is to get that skin as tight across the coil as possible ...
Did I forget to mention ... nothing in this whole tying process ... nothing ... is as important as getting a good tight skin!
Move on to the fourth page ...