
Studio Soundscape
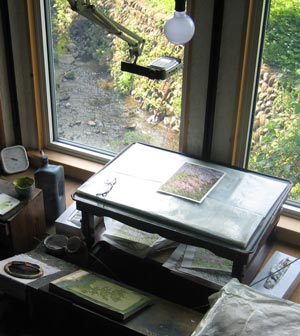
A short time ago, I picked up a new compact digital recorder to replace the one I have used for a few years, and which is now on its last legs. After reading a number of online reviews, I chose one called the Zoom H2, and it is turning out to be a fantastic little machine. To make this soundscape, I mounted it on a modified flexible arm stolen from a desk lamp, and positioned it to 'float' just a few inches over my head (photo), where it picked up pretty much exactly the same sounds that I myself hear while working.
But if just played you the soundscape without any explanation, you wouldn't really be able to tell what is going on, so before we start, let's have a quick 'tour' of what you are going to hear. Here is a 5-minute audio file (in .mp3 format) with my introductory explanation to the soundscape (link pops into small separate window). After you listen to this introduction and follow along with these photos, you will then 'understand' the Soundscape much more easily ...
Next photo: this is where it all happens - my printing alcove (these photos should all be clickable for enlargements). I sit on the blue cushion with my legs down in the 'hole' (which is full of wood shavings). The bench - with the block waiting to be printed - slides in place over my knees, and just behind that, is the low table which holds the paper to be printed. I am left-handed, so the various printing tools are positioned to my left, and another low stand on the right is used to receive the paper after printing.
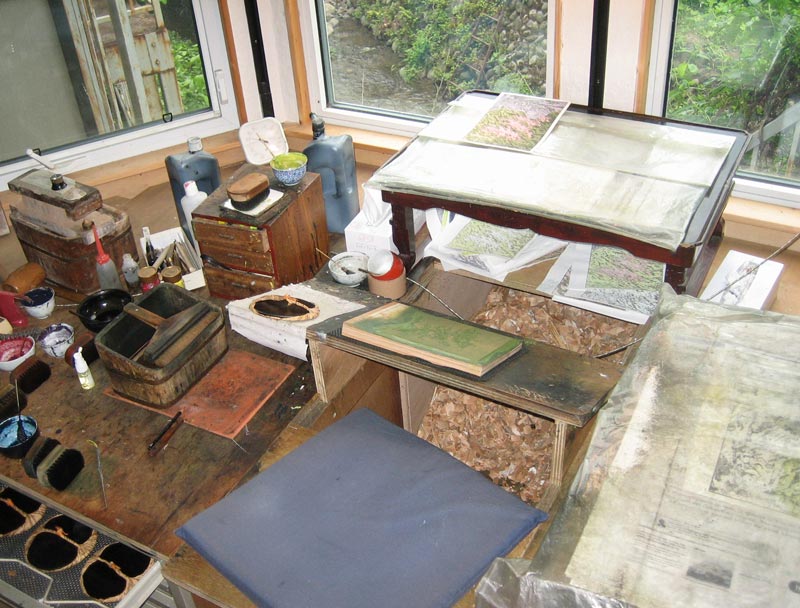
Let's focus on the elements we will hear in the soundscape:
- small bowl containing water, with a little 'applicator' that I use to dab some onto the block.
- small bowl containing paste, with a bamboo stick that I use to dab some onto the block. This bowl usually rests on a circular stand, so that I can tilt it to a suitable angle as needed.
- the bowl of pigment, with its own applicator.
- the brush, standing on a white tile.
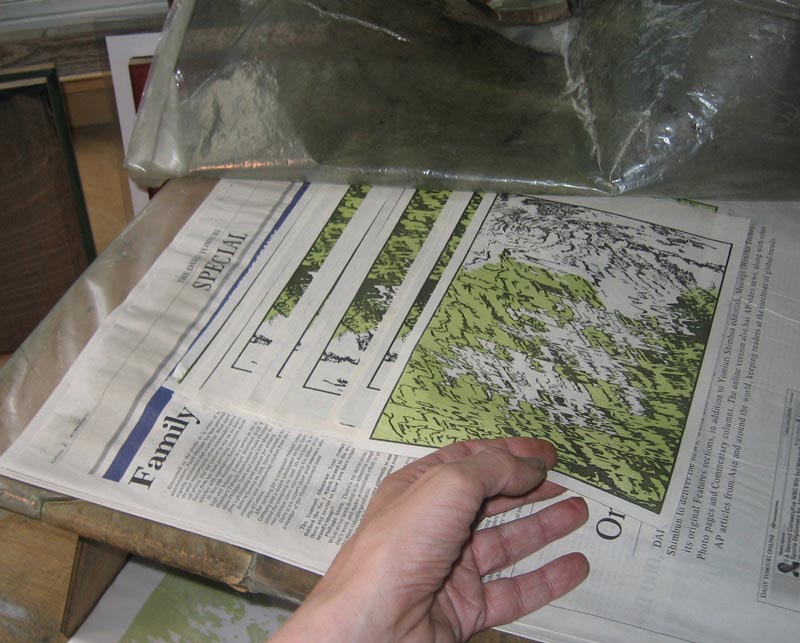
- the paper waiting to be printed is kept between sheets of dampened newsprint, inside this folded plastic sheet.
- the block, ready to be printed. It stands on a couple of pieces of 'non-slip' stuff ...
- the baren on its pad.
- the plastic folder ready to receive the printed paper.

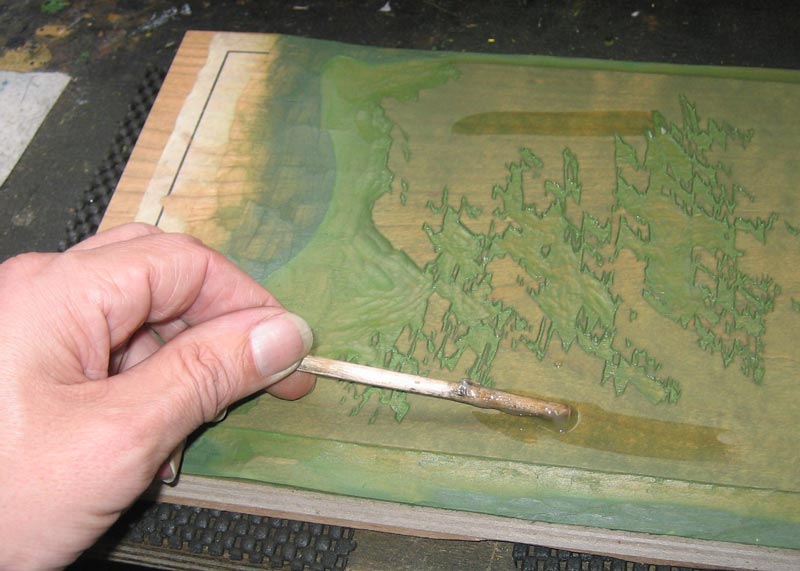
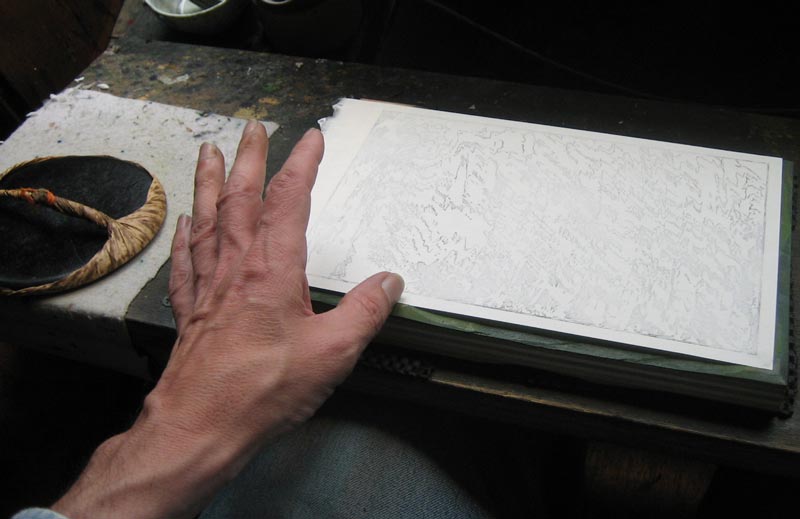
First step is to dab a touch of water on the block. This isn't always necessary, but today I'm keeping the pigment a little bit 'thick', and using this water to thin it out to the tint I need. Doing it this way gives me good flexibility to control it as I go along through the print run.
As the applicator goes back into its bowl, you should hear a small 'ding' ...
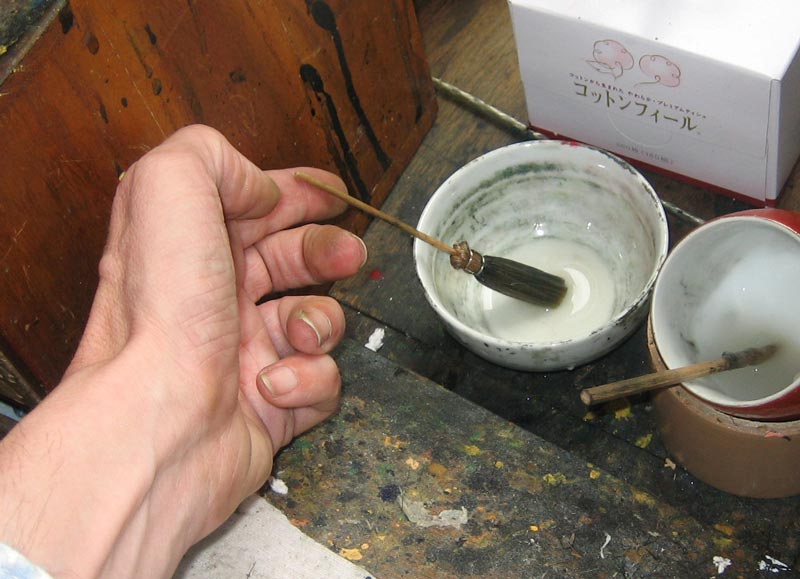
Now a dab of paste. The paste is firm enough that a bit of it will hang on the end of the stick while being transferred to the block. Again, this is not needed with absolutely every impression, and I omit this when I feel that paste is building up in the brush a bit too much.
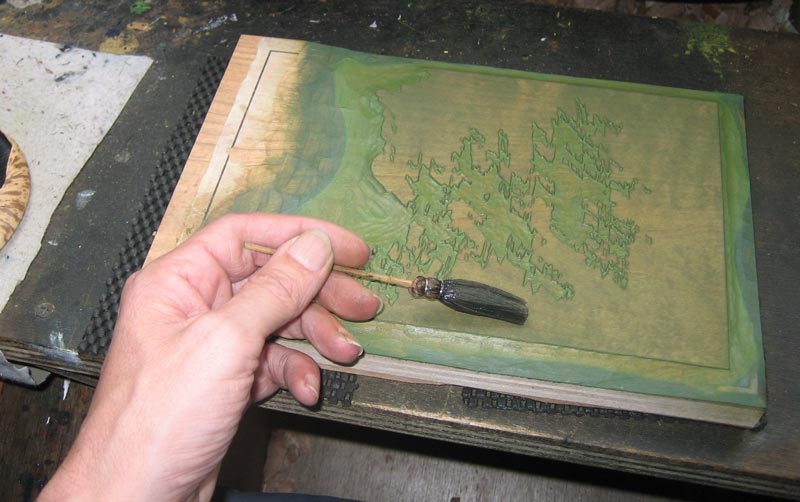
Here we see some pigment being splashed onto the block. It's best not to lay it down onto the same spot on the wood every single time, as that section of the block soon gets over-saturated with it.
And again you should hear a little 'ding' as the applicator is put away.

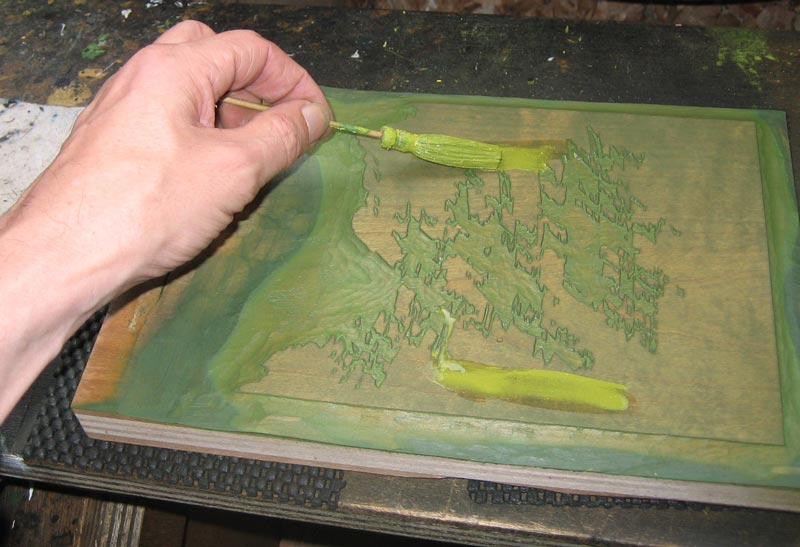
As my hand lets go of that applicator, it grabs the brush, and a split second later you should hear the sound of the pigment being rubbed over the wood - roughly at first, then gradually softer and softer, until the final few strokes should be almost inaudible.
We see here the paper waiting to be printed is stacked in place face down. At the time this photo set was taken, only the key block had been printed; this green will be the first colour ...
I tease the first sheet off the pile ...

... then lower it into place on the block. (I'm taking these photos by myself this afternoon, so can't show you a shot of it going down onto the wood - that needs two hands!)
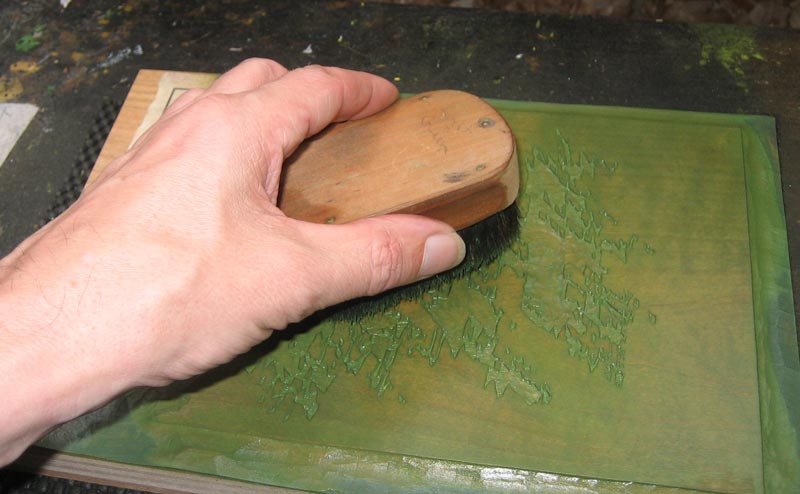
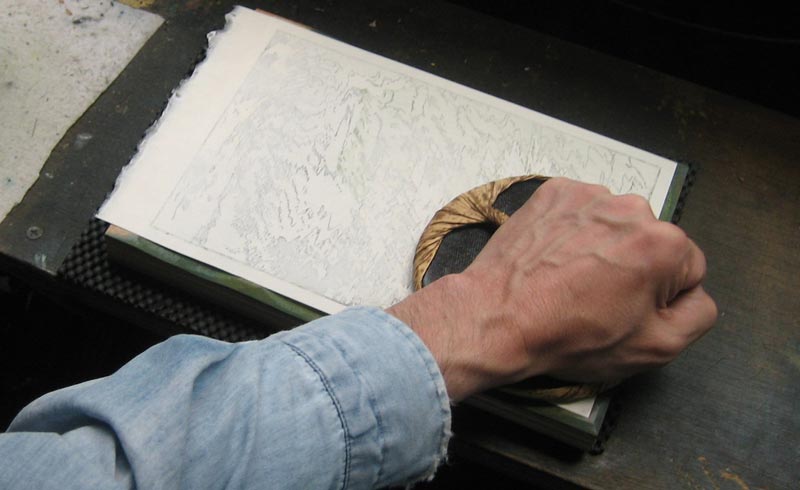
It is then burnished with the baren. This is the most vivid sound you will hear throughout the entire process ...
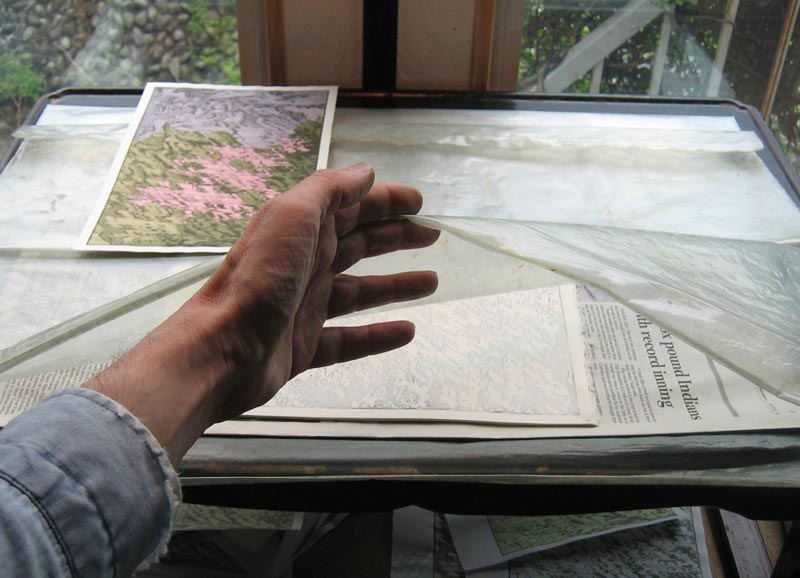
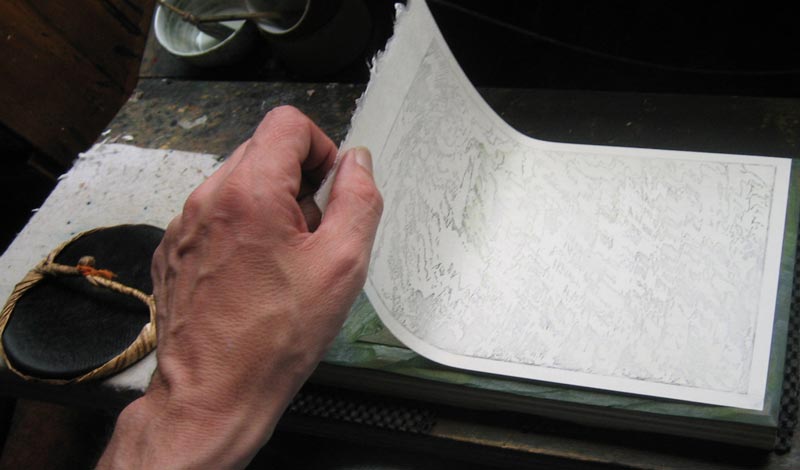
Peeling the paper up should also be clearly audible ...
The plastic sheet to my right is lifted up ...
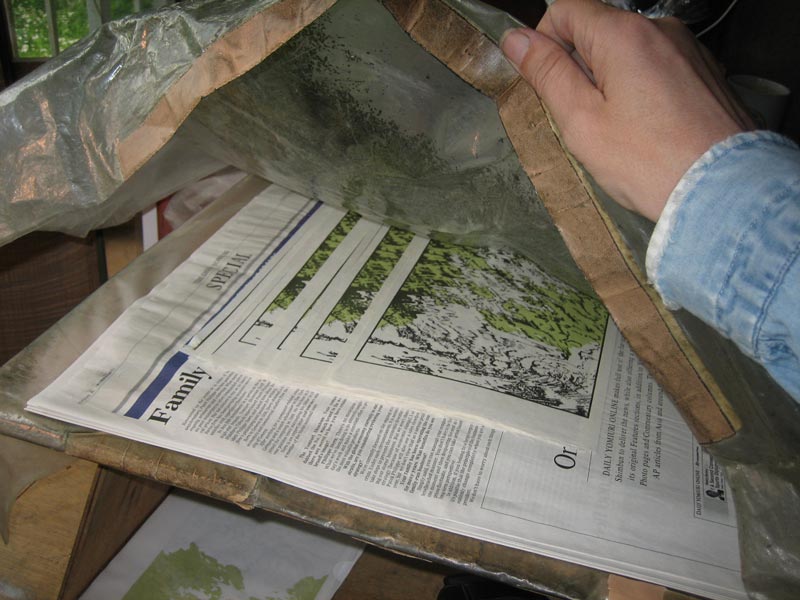
... and the sheet slipped into place - face up. This allow a quick inspection, to ascertain that there are no problems with the impression and registration, and it also leaves the sheets in the same order as they were before printing. Once the entire batch is done, this package will be simply flipped over, and placed in position ready for the next colour. (Note also that the sheets are stacked heads'n'tails here, and staggered; these techniques greatly help to keep the moisture even across the width of the paper.)
So that's how each sheet goes .... there's only a hundred or so left to be done in this batch!
The links below are for the soundscape itself - a 30-minute session of printing this same colour. The first link will play in your browser, as with the small introduction file above, but I really recommend downloading it to your computer, and then playing it on your audio device using headphones. That'll put you right into place on my cushion!

Play the Soundscape / Download the Soundscape (use a right click or Control-click on this link)
Now, about that kingfisher ... Today turned out to be a very lucky day for recording this Soundscape; no sooner had I turned on the recorder and started printing, than the kingfisher who 'owns' this stretch of the river decided to drop by for a visit. All during the 30 minutes that I was recording, he was flying back and forth outside my windows. If you are using headphones to listen to the recording, you will hear him approach from one side, and then fly off in the opposite direction. A minute later, he will come back the other way.
You will also hear - about 2/3 of the way though - our town 'chimes'. These ring at 5:00 every afternoon, and are intended to let children who are playing outside know that 'it's time to head home'. (Although honestly speaking, there are no children 'playing outside' these days at all ...) The chimes are broadcast from a series of loudspeakers mounted on very high poles, and my home is within range of two of these, so you will hear the 'double effect', as the sounds reach me at an offset interval ...
I hope you enjoy this little aural 'window' into my working day!